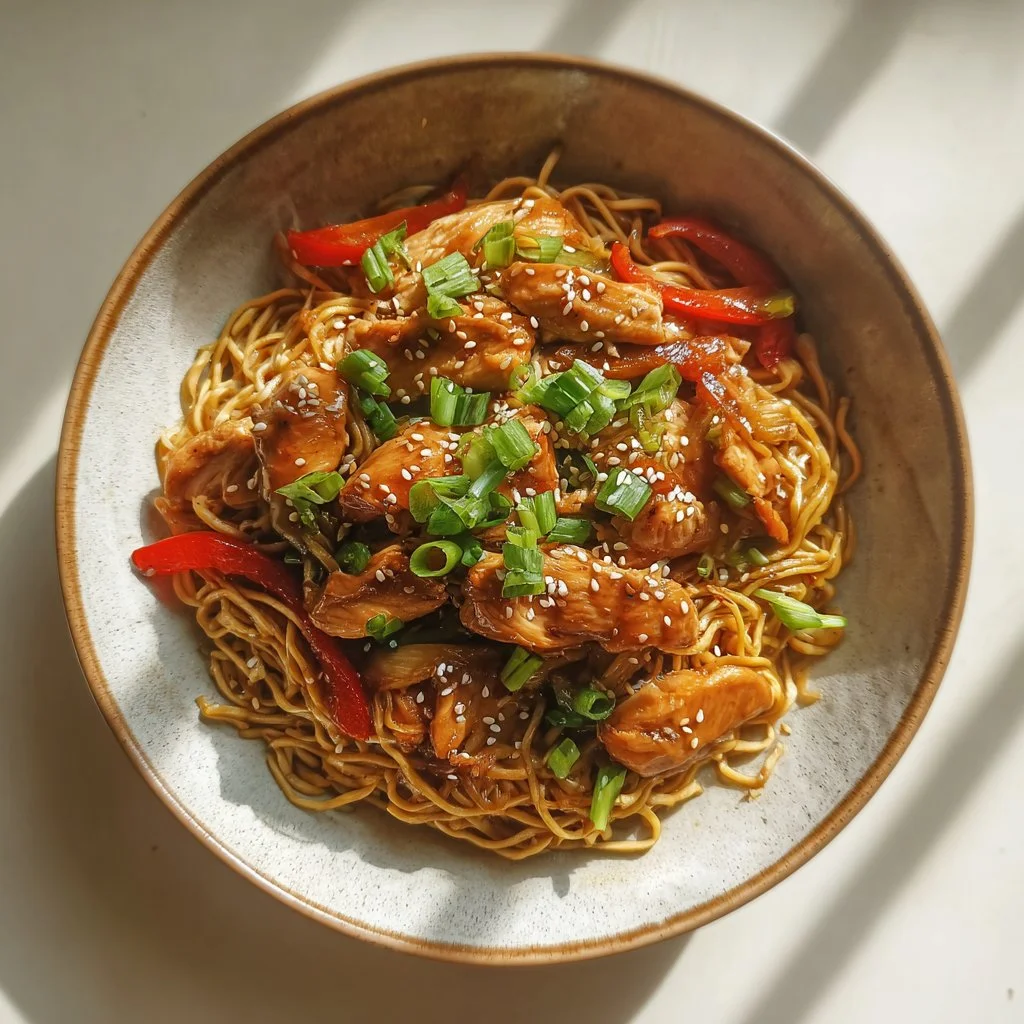
Bright, sticky, and impossibly quick, this garlic chicken noodle dish is a weeknight game-changer.
It takes pantry-friendly ingredients and turns them into something that tastes like takeout.
Ready in under 30 minutes, it’s perfect for busy nights and hungry families.
Try the slightly different version on my site if you want a second take: a second Sticky Garlic Chicken Noodles recipe.
Why You’ll Love This Sticky Garlic Chicken Noodles
– Ready fast: a full dinner in about 20–30 minutes.
– Big flavor: sweet, salty, and garlicky in one bite.
– Family-friendly: mild heat and an easy texture kids enjoy.
– Pantry-first: most ingredients are common staples.
– Versatile: easy to swap proteins or veggies.
– Great for meal prep: reheats well for lunches.
This dish balances sticky-sweet honey and soy with the sharpness of fresh garlic and the toasted warmth of sesame oil. The chicken browns and caramelizes, creating pockets of flavor, while the cornstarch-thickened sauce clings to egg noodles creating glossy strands that are chewy and satisfying.
"Five stars — quick, comforting, and better than takeout! The sauce is perfect and the noodles stay chewy. Family favorite." — A happy reader
Key Ingredients for Sticky Garlic Chicken Noodles
Chicken breast (200g), sliced:
Chicken gives the dish substance and soaks up the sauce. Buy fresh, firm breasts with a pale pink color and minimal scent. If you substitute thighs, expect more fat and a richer flavor; brown time may vary and thighs stay juicier if you prefer that texture.
Egg noodles (200g):
Egg noodles provide the chewy, silky strands that hold sauce well. Look for fresh refrigerated egg noodles for a tender bite, or dried for convenience — dried will need slightly longer to reach the ideal chew. Substituting rice noodles gives a lighter gluten-free option but the texture will be less springy.
Garlic (3 cloves), minced:
Garlic is the aromatic backbone; fresh minced garlic gives bright, pungent flavor and caramelizes in the pan. Avoid jarred minced garlic for the best aroma, though it can be used in a pinch. If you want a milder profile, roast garlic first for a sweeter, softer character.
Soy sauce (3 tablespoons):
Soy adds the salty-umami base that balances honey’s sweetness. Use regular or low-sodium soy depending on salt sensitivity; tamari is a suitable gluten-free swap with a slightly cleaner flavor. Replacing soy with coconut aminos reduces salt and changes umami depth, producing a slightly sweeter profile.
Full Ingredient List for Sticky Garlic Chicken Noodles
– 200g chicken breast, sliced
– 200g egg noodles
– 3 cloves garlic, minced
– 3 tablespoons soy sauce
– 2 tablespoons honey
– 1 tablespoon sesame oil
– 1 tablespoon cornstarch
– 1 bell pepper, sliced
– 2 green onions, chopped
– Salt and pepper to taste
Step-by-Step Instructions for Sticky Garlic Chicken Noodles
Step 1: Cook the egg noodles according to package instructions, drain, and set aside.
Bring a large pot of salted water to a rolling boil and cook the noodles until al dente. Drain well and toss with a drizzle of sesame oil to prevent sticking while you cook the rest.
Pro Tip: The noodles should look glossy and still have a slight spring when you bite them.
Step 2: In a bowl, mix soy sauce, honey, sesame oil, and cornstarch to create the sauce.
Whisk the soy, honey, sesame oil, and cornstarch together until smooth; the cornstarch should dissolve completely. This slurry will thicken on contact with heat and give the dish its signature sticky coating.
Pro Tip: The sauce should be smooth and slightly viscous, with no visible cornstarch lumps.
Step 3: Heat a large pan over medium heat and add a little oil.
Use a wide skillet or wok so everything has room to brown. Heat the pan until the oil shimmers but isn’t smoking to ensure a good sear on the chicken. For more searing techniques, see this guide on a similar skillet pasta method at healthy garlic parmesan chicken pasta.
Pro Tip: The oil should ripple and smell warm, not burnt.
Step 4: Add sliced chicken and cook until browned and cooked through.
Spread the chicken in a single layer and let it sear without moving for 1–2 minutes to develop color. Cook through, about 4–6 minutes depending on thickness, then push to the side. Season lightly with salt and pepper.
Pro Tip: The chicken should be opaque with a golden crust and juices run clear.
Step 5: Add minced garlic and sliced bell pepper to the pan, cooking for another 2-3 minutes.
Toss garlic and bell pepper into the hot pan, stirring to wilt the pepper slightly while letting the garlic perfume the oil. Avoid overcooking the pepper; you want it tender-crisp for color and bite.
Pro Tip: The garlic should smell fragrant and the peppers keep a bright color and slight crispness.
Step 6: Pour the sauce over the chicken and vegetables, stirring until well combined and thickened.
Give the sauce another quick stir, then add it to the pan. Stir continuously as it comes up to a simmer; within a minute the cornstarch will thicken the sauce into a shiny glaze that coats the chicken.
Pro Tip: The sauce should cling to the back of a spoon and form a glossy coating.
Step 7: Add the cooked noodles to the pan and toss everything together.
Add noodles straight into the sauce and toss for 1–2 minutes until every strand is coated and warmed through. If the sauce seems too thick, add a splash of water or reserved noodle cooking water to loosen it.
Pro Tip: The noodles should be evenly coated and slightly glossy, not pooled in sauce.
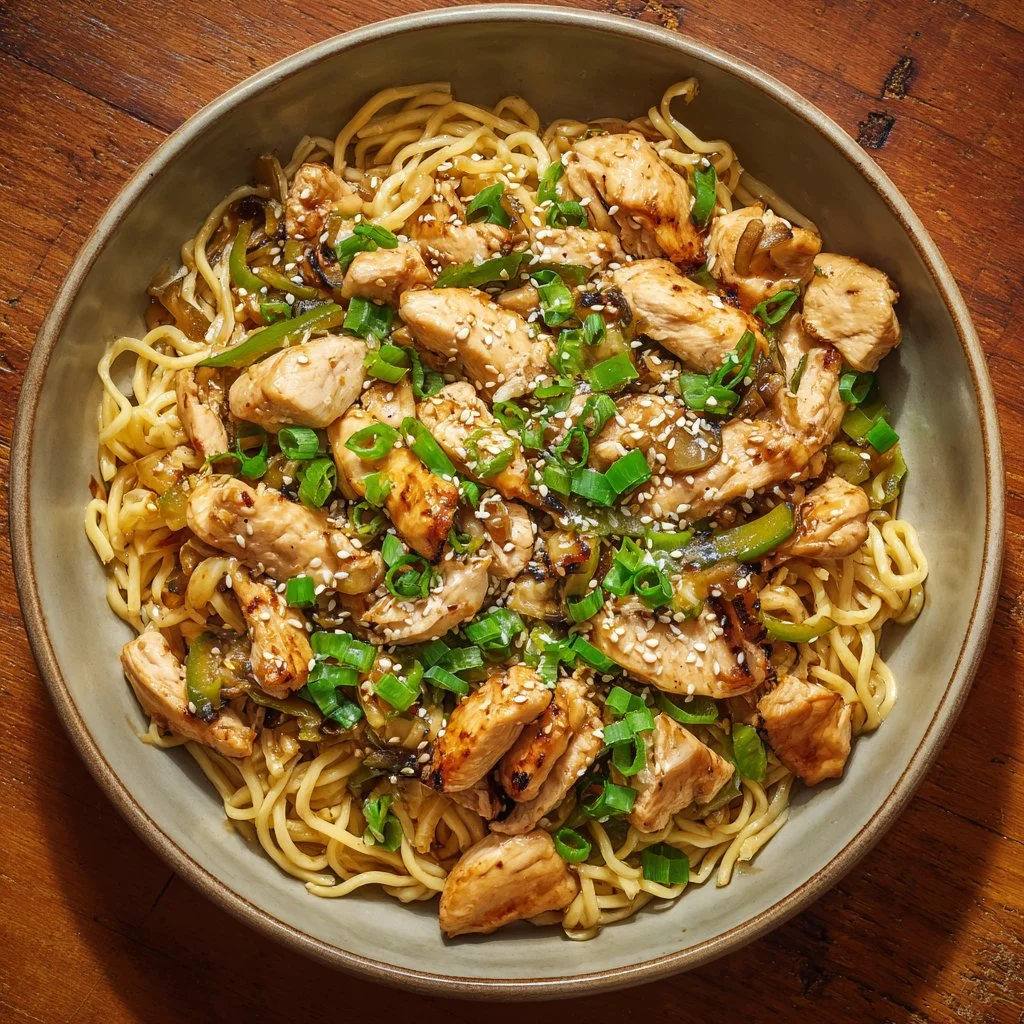
Step 8: Season with salt and pepper, and serve hot, garnished with chopped green onions.
Taste and adjust seasoning; finish with green onions for freshness and color. Serve immediately on warm plates to keep the sauce sticky and the noodles supple.
Pro Tip: The final dish should smell bright of garlic, glisten with sauce, and have a balance of savory and sweet.
Expert Tips for Sticky Garlic Chicken Noodles
– Use medium-high heat for searing the chicken so you get a caramelized surface without overcooking the interior.
– If the sauce breaks or becomes too thin, whisk 1 tsp cornstarch with 1 tbsp cold water and stir in over medium heat to re-emulsify.
– For perfectly textured noodles, undercook by 30–60 seconds if you’ll toss them in the pan; they’ll finish cooking in the sauce.
– A wide skillet or wok prevents overcrowding and steaming; don’t cram the pan when browning the chicken.
– If chicken is dry, slice it thinner next time and sear quickly at higher heat; thicker pieces need gentler cooking.
– Use noodle water to adjust sauce viscosity; the starch helps the sauce cling without diluting flavor.
– Avoid adding too much honey at once; add and taste to prevent an overly sweet sauce.
– Don’t skip resting the chicken briefly after cooking if you cook larger pieces; it keeps juices locked in and improves texture.
Storage & Freezing for Sticky Garlic Chicken Noodles
Fridge storage: Cool to room temperature, then store in an airtight container for up to 3–4 days. Use shallow containers to chill quickly and keep noodles from sogging.
Freezer storage: For best results, freeze components separately. Place chicken and sauce in a freezer-safe container for up to 2 months; freeze noodles in a separate bag to avoid mushy texture.
Thawing: Thaw frozen components in the fridge overnight. Reheat gently in a skillet with a splash of water to revive the sauce and noodles.
Reheating: Warm over medium heat, adding a tablespoon of water or broth if the sauce has tightened. Microwaving works in a pinch; stir halfway through to promote even heating.
Variations & Substitutions for Sticky Garlic Chicken Noodles
Chicken Thigh Version: Swap chicken breast for boneless skinless thighs and brown slightly longer. Result: more forgiving, juicier meat with deeper flavor from the fat.
Spicy Kick: Add 1 teaspoon chili garlic sauce or a pinch of red pepper flakes to the sauce. Result: a pleasantly hot dish where the heat complements honey’s sweetness.
Vegetarian Option: Replace chicken with firm tofu, pressed and pan-seared until crispy. Result: a plant-forward, protein-rich bowl with a similar sticky glaze and pleasant chew.
Peanut Twist: Stir 2 tablespoons peanut butter into the sauce for a nutty depth and thicker body. Result: a creamier, Thai-inspired profile that pairs well with lime and cilantro garnish.
Frequently Asked Questions About Sticky Garlic Chicken Noodles
Q: Can I use a different noodle type?
A: Yes. Thick udon or lo mein-style noodles work well; they hold sauce similarly to egg noodles. Rice noodles will make the dish gluten-free but the texture is more fragile. If swapping, adjust cook times so the final bite remains slightly chewy.
Q: How do I prevent the sauce from becoming grainy?
A: Dissolve the cornstarch fully in cold liquid before adding it to hot pan ingredients. Stir constantly as the sauce heats so the cornstarch primes evenly — sudden high heat can cause lumps. If lumps appear, strain or whisk in a cold cornstarch slurry to smooth.
Q: Can I meal-prep this dish for lunches?
A: Yes. Store sauce-chicken separate from noodles if possible to maintain noodle texture. Reheat quickly in a skillet, adding a splash of water, and toss to recoat; this restores stickiness without over-softening noodles.
Q: What if my chicken is overcooked and dry?
A: Slice it thinner before reheating and toss with the sauce to add moisture. For future batches, sear at higher heat briefly or use thighs which tolerate longer cooking better and retain juiciness.
Q: Is there a gluten-free version of Sticky Garlic Chicken Noodles?
A: Absolutely. Use tamari or a gluten-free soy alternative and swap egg noodles for rice noodles or gluten-free wheat noodles. Mind cross-contamination if cooking for someone with celiac disease.
Final Thoughts on Sticky Garlic Chicken Noodles
If you loved this recipe, please leave a star rating in the recipe card below and pin it to Pinterest for later.
Try these related takes for more inspiration: Instant Pot Sticky Garlic Peanut Noodles with Chicken, 20 minute Crispy Garlic Chicken Noodles – Half Baked Harvest, and Sticky Ginger Soy Glazed Chicken Meal Prep – Budget Bytes.
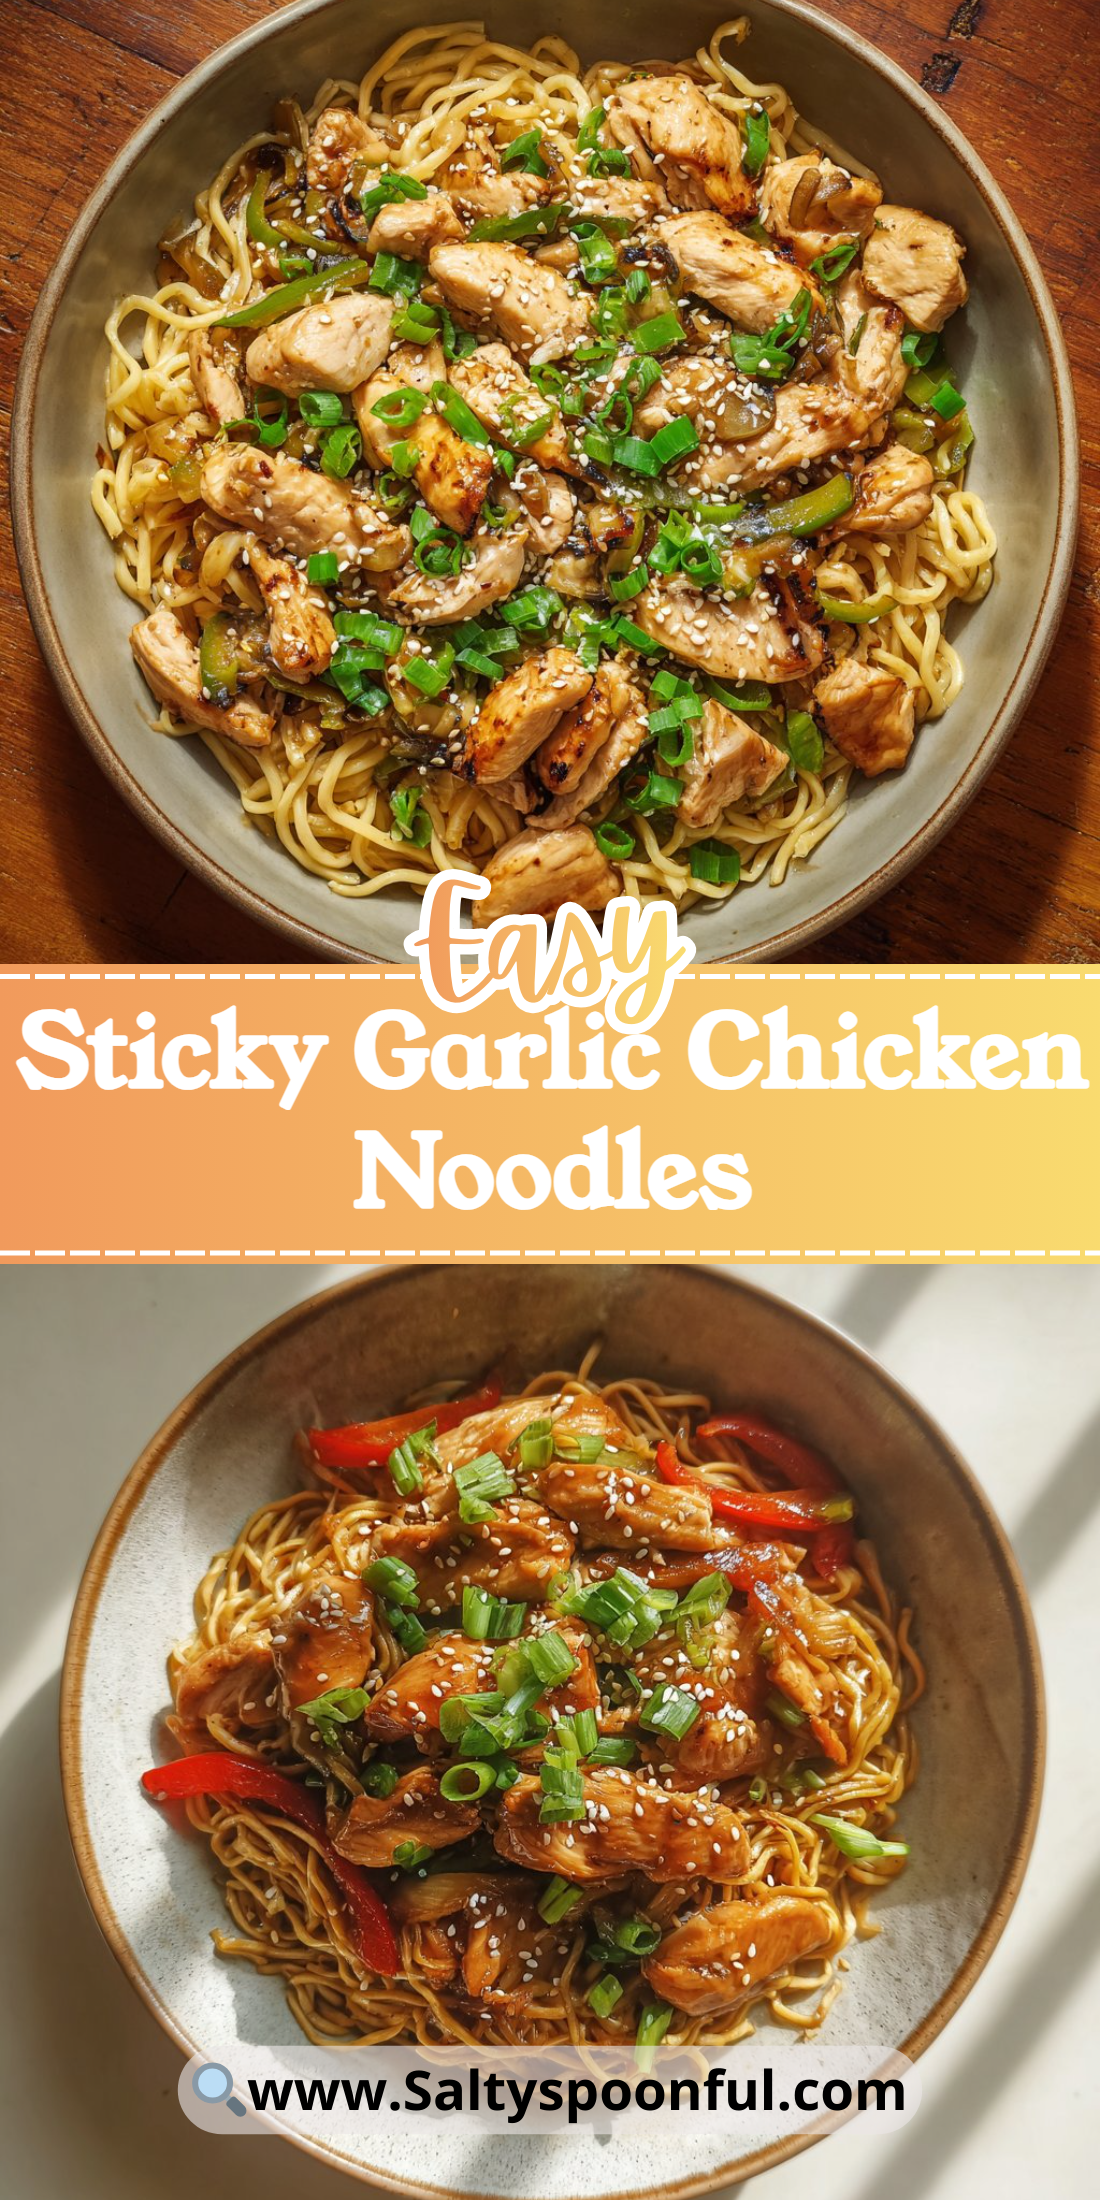
Sticky Garlic Chicken Noodles
Ingredients
Method
- Cook the egg noodles according to package instructions, drain, and set aside. Toss with a bit of sesame oil to prevent sticking.
- In a bowl, mix soy sauce, honey, sesame oil, and cornstarch to create the sauce, whisking until smooth.
- Heat a large pan over medium heat and add a little oil.
- Add sliced chicken and cook until browned and cooked through, about 4-6 minutes.
- Add minced garlic and sliced bell pepper, cooking for another 2-3 minutes.
- Pour the sauce over the chicken and vegetables, stirring until well combined and thickened.
- Add the cooked noodles to the pan and toss everything together until coated.
- Season with salt and pepper, and serve hot, garnished with chopped green onions.