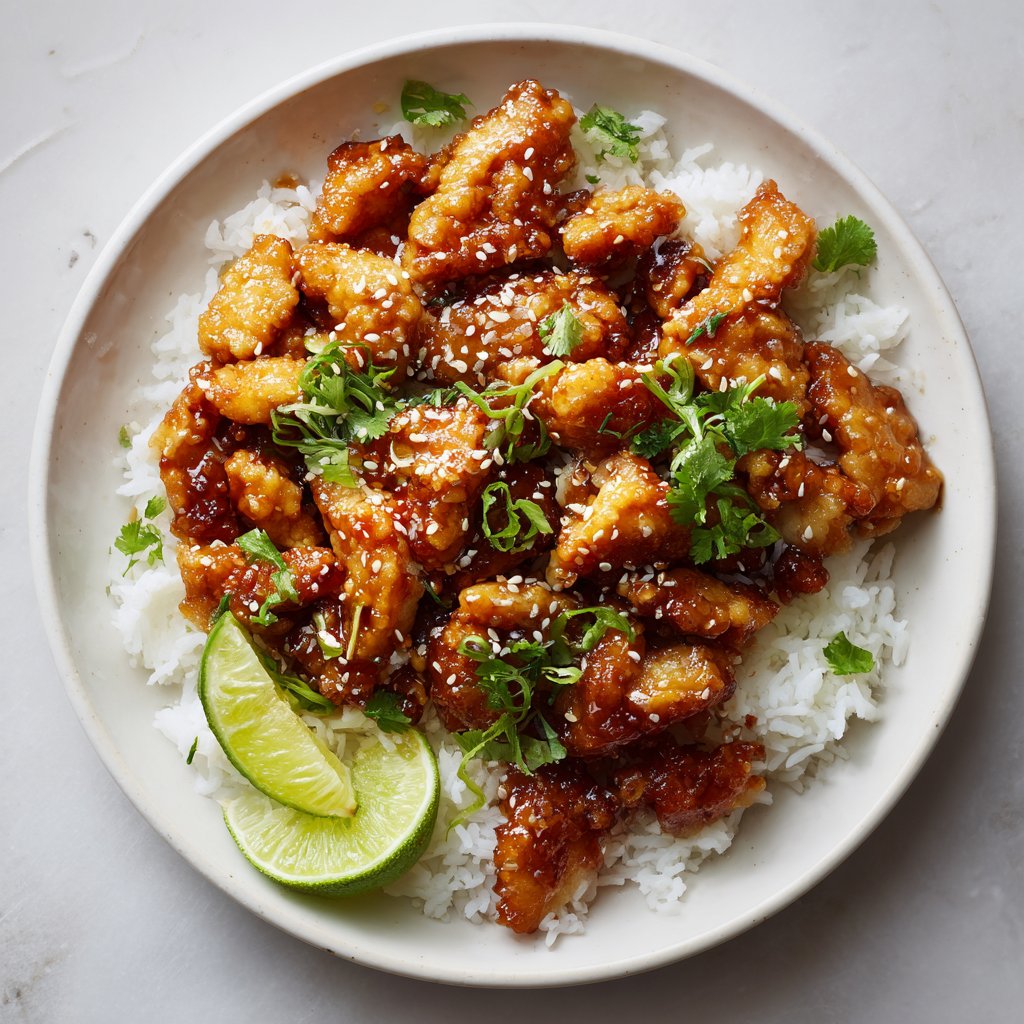
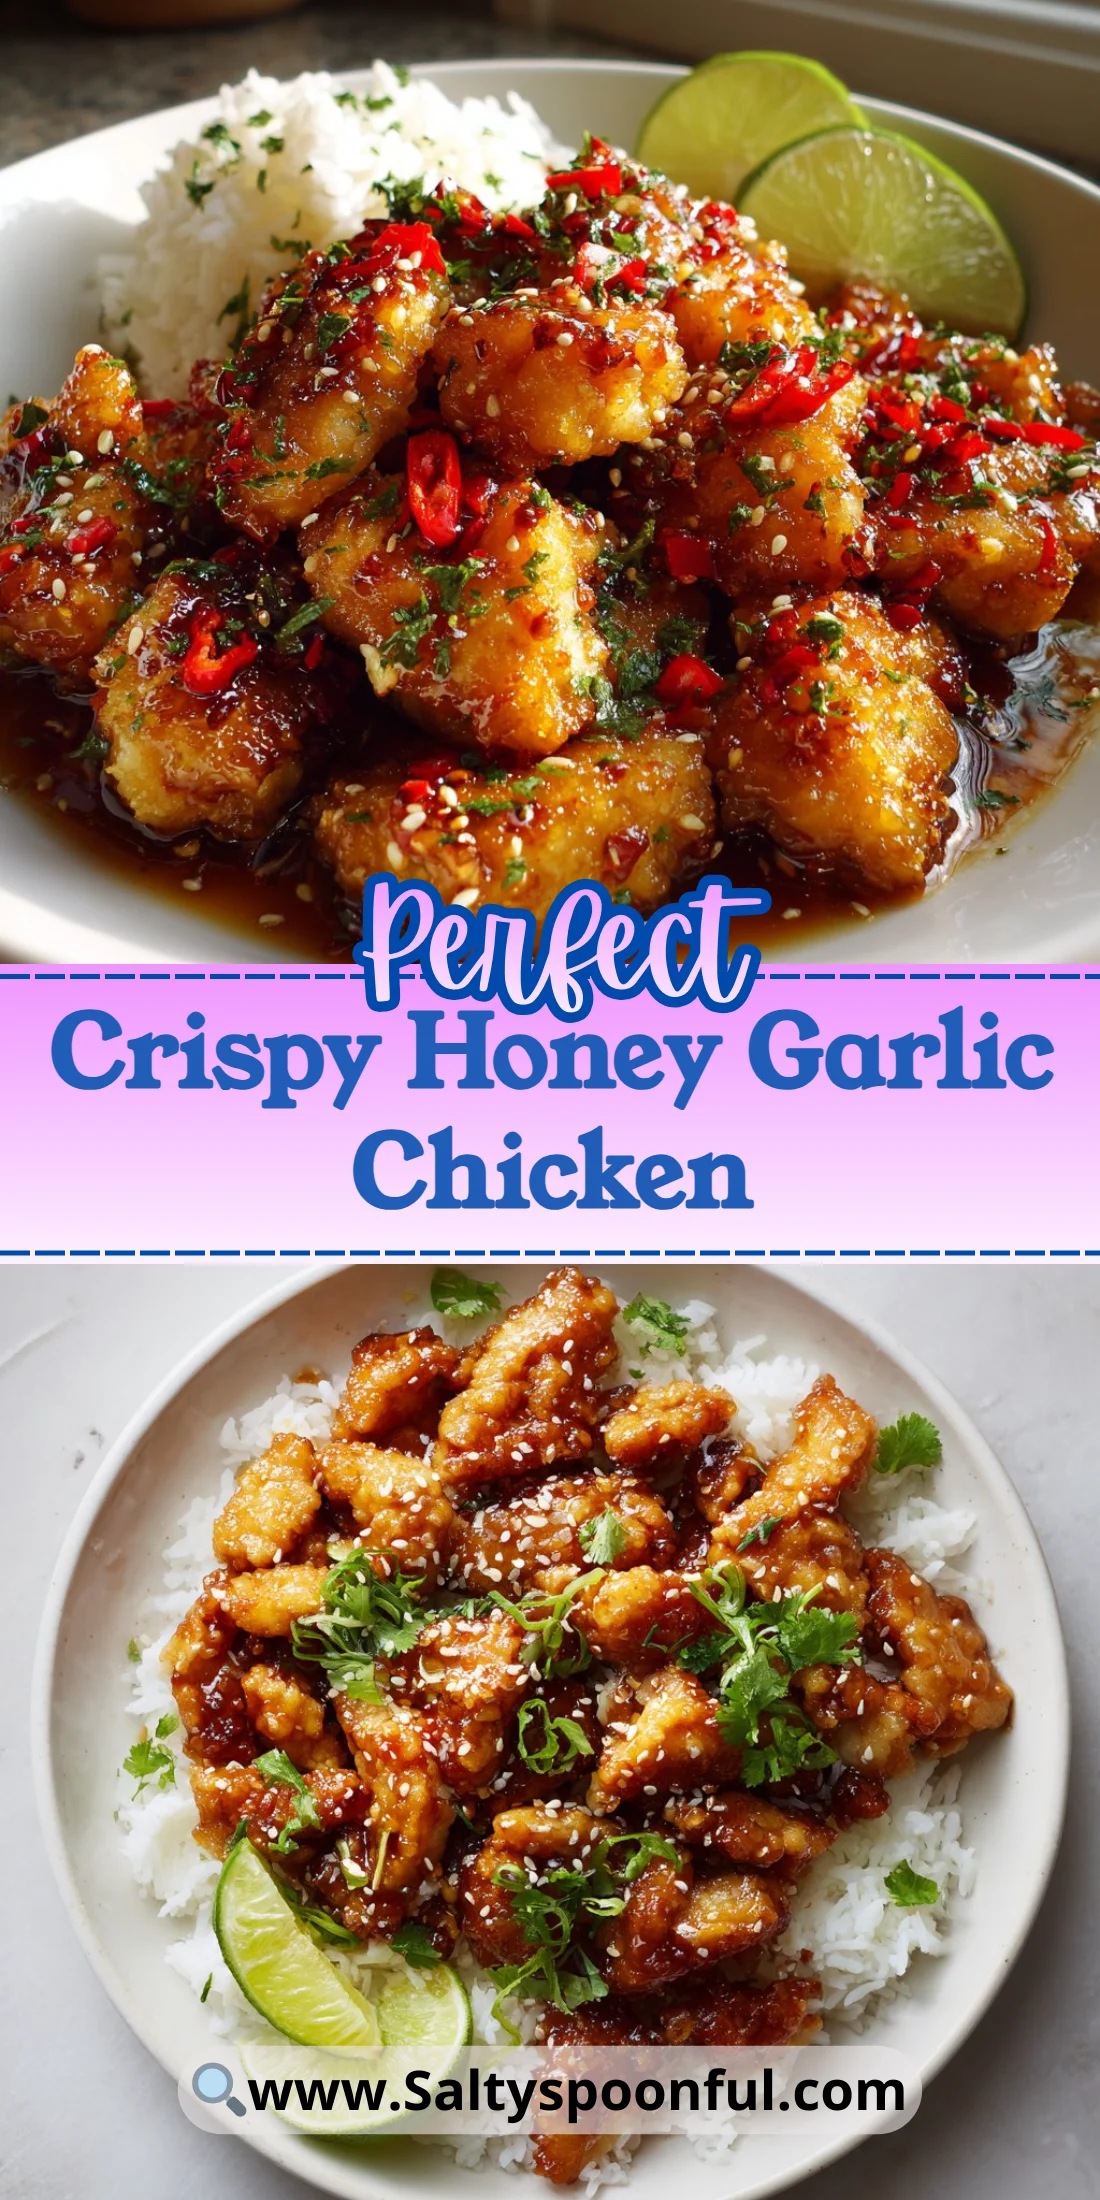
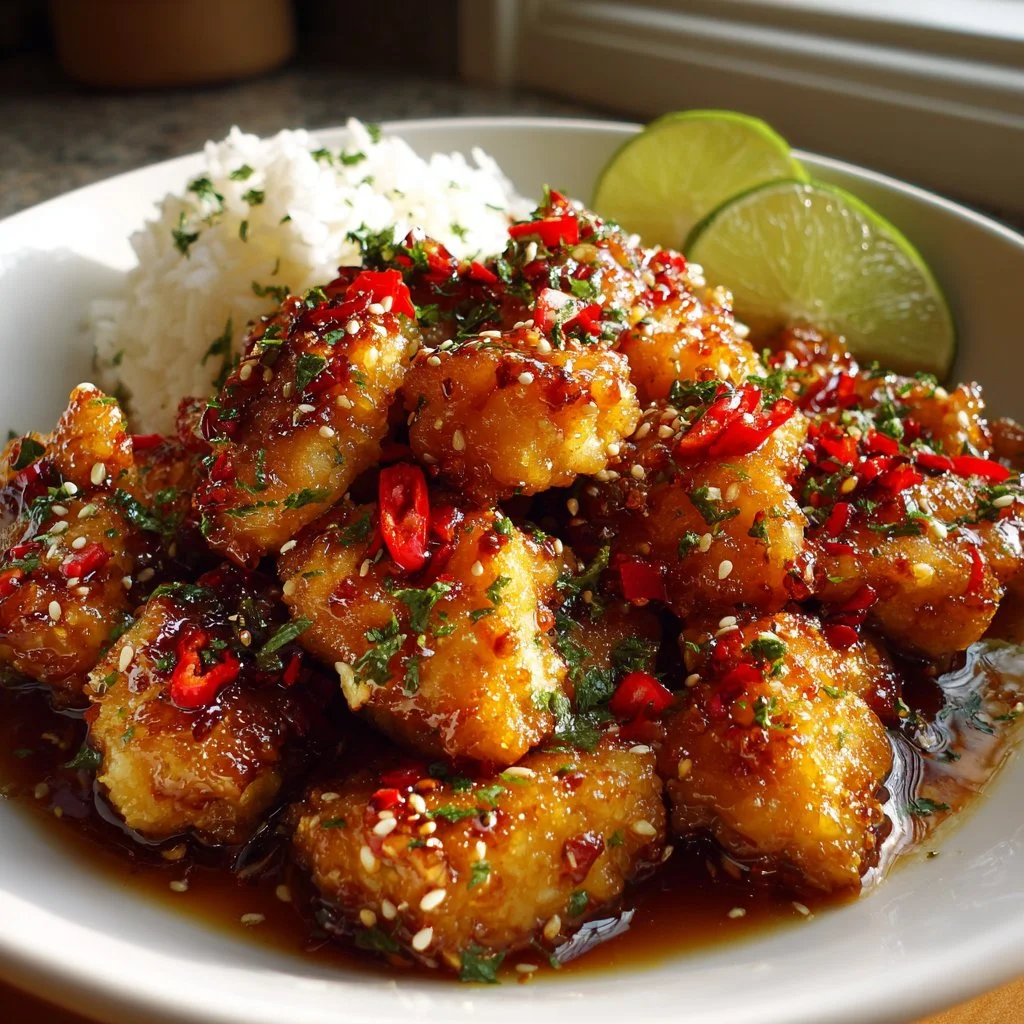
Bright, sticky, and ridiculously satisfying — this Crispy Honey Garlic Chicken comes together fast and feeds a crowd. It’s the kind of weeknight dinner that feels a little special without any fuss.
The sauce is sweet with a savory backbone; the chicken is seared until the edges are lightly crispy. Serve it over rice and quick-steamed veggies for a complete meal.
Want a hands-off slow-cooker version for busy nights? Try a different method with a set-and-forget option like this slow-cooker honey garlic chicken for meal prep nights.
Why You’ll Love This Crispy Honey Garlic Chicken
– Fast to make: ready in about 20–30 minutes.
– Few pantry staples: honey, soy, garlic, cornstarch — simple.
– Crispy edges with sticky sauce: two textures in every bite.
– Kid-friendly and weeknight-approved.
– Easy to scale up for guests or meal prep.
– Versatile: pairs with rice, noodles, or greens.
This dish balances sticky-sweet honey with umami soy and pungent garlic, creating a sauce that clings to crispy-tossed chicken pieces. The texture contrast — slightly crisp exterior and juicy interior — is what makes it addictive. The cornstarch in the sauce helps it gloss and thicken without becoming gloopy.
“Five stars — My family devoured this in minutes. Quick, easy, and the sauce was perfect. Will make again every week!” — Real reader review
Key Ingredients for Crispy Honey Garlic Chicken
Pick the best core ingredients and the recipe sings. Below are the top picks and why they matter.
- Honey: Honey provides sweetness and a glossy finish when reduced. Use raw or mild-flavored honey for a clean taste; avoid overpowering flavored honeys. If you substitute maple syrup, expect a deeper, earthier flavor and a slightly thinner glaze.
- Soy sauce: Soy brings salt and umami that balance the honey. Use low-sodium soy if you monitor salt, but taste before adding extra. Tamari works as a gluten-free swap and gives a richer, cleaner soy flavor.
- Chicken breast: Bite-sized pieces of chicken breast cook quickly and stay tender when not overcooked. Look for even-thickness pieces to ensure uniform cooking. If you swap to thighs, you’ll get more fat and a juicier result, but slightly less crispness at the edges.
- Cornstarch: Cornstarch is the secret for a glossy, slightly thickened sauce that clings. Mix it into the sauce before hitting the pan so it disperses evenly. Arrowroot is a possible substitute and produces nearly the same sheen, but avoid flour — it needs longer cooking and can dull the sauce.
Full Ingredient List for Crispy Honey Garlic Chicken
– 1 pound chicken breast, cut into bite-sized pieces
– 1/2 cup honey
– 1/4 cup soy sauce
– 3 cloves garlic, minced
– 1 tablespoon cornstarch
– 1 tablespoon vegetable oil
– Salt and pepper to taste
– Sesame seeds (optional, for garnish)
– Lime wedges (optional, for garnish)
– Cooked rice (for serving)
– Mixed vegetables (for serving)
Step-by-Step Instructions for Crispy Honey Garlic Chicken
Step 1: Make the sauce by mixing honey, soy sauce, minced garlic, and cornstarch in a bowl.
Pro Tip: The sauce should look slightly cloudy because of the cornstarch; after a quick whisk it will be smooth and glossy when heated.
Step 2: Season the chicken pieces with salt and pepper.
Pro Tip: The chicken should feel evenly coated; press a few pieces to check seasoning and even size for uniform browning.
Step 3: Heat vegetable oil in a pan over medium heat until shimmering.
Pro Tip: When the oil gently ripples and spreads across the pan, it’s hot enough; you should hear a soft sizzle when a piece of chicken touches it.
Step 4: Add chicken pieces in a single layer and cook until browned and cooked through, about 5–7 minutes, turning once.
Pro Tip: The chicken surface should show golden-brown sear spots and the pieces should feel firm but springy when pressed.
Step 5: Pour the prepared honey garlic sauce over the chicken and toss to coat evenly.
Pro Tip: At first the sauce will look thin and glossy; keep stirring so every piece gets coated and the pan returns to a simmer.
Step 6: Let the sauce simmer for a few minutes until it thickens and clings to the chicken.
Pro Tip: Visual cue — the sauce should reduce into a shiny glaze that slowly trails a spoon and leaves a glossy coat on the chicken.
Step 7: Serve the chicken over cooked rice with mixed vegetables on the side.
Pro Tip: Scoop the glossy chicken over steaming rice so the sauce soaks in slightly; garnish right before serving for best presentation.
Step 8: Garnish with sesame seeds and lime wedges if desired for brightness and crunch.
Pro Tip: The sesame seeds should look toasted and scattered; a squeeze of lime will add a fresh sheen and lift the sweetness.
Expert Tips for Crispy Honey Garlic Chicken
– Temperature tip: Start with a hot pan and medium heat; too low and chicken stews, too high and the honey scorches. Aim for a steady sizzle.
– Timing tip: Bite-sized chicken cooks quickly — 5–7 minutes is typical. Overcooking dries chicken, so remove when just firm and let sauce finish it.
– Texture troubleshooting: If the sauce is too thin, mix 1 tsp cornstarch with 1 tbsp cold water and swirl it in, simmering until glossy. If it’s too thick, stir in a splash of water or stock to loosen.
– Equipment tip: Use a heavy skillet (cast iron or stainless steel) for even heat and better browning. Nonstick works but won’t produce the same fond for flavor.
– Sauce clarity: Whisk cornstarch into the sauce cold before adding to prevent lumps and ensure a smooth glaze.
– Aroma check: Cooked garlic should smell fragrant but not bitter; if it browns too quickly, lower the heat and add sauce to cool the pan.
– Common mistakes: Don’t crowd the pan — overcrowding causes steaming, not crisping. Work in batches if needed to maintain a crispy exterior.
– Serving tip: For a noodle twist, toss the finished chicken with hot noodles and a few steamed greens; try it with recipes inspired by other sticky-sauced dishes like sticky garlic chicken noodles for ideas.
Storage & Freezing for Crispy Honey Garlic Chicken
Store cooled leftovers in an airtight container in the refrigerator for up to 4 days. Use a shallow container so the pieces cool quickly and maintain texture.
For freezer storage, lay cooked chicken in a single layer on a baking sheet to flash-freeze, then transfer to a freezer-safe zip-top bag or rigid container for up to 3 months. Label with date and portion size for easy thawing.
To thaw, move the container to the fridge overnight. Reheat gently in a skillet over medium-low heat, adding a splash of water or broth to revive the glaze, or microwave in short bursts, stirring between intervals to keep the coating even.
Variations & Substitutions for Crispy Honey Garlic Chicken
– Honey Garlic Chicken Thighs: Swap chicken breast for boneless skinless thighs. The thighs add more fat and juiciness, giving a richer mouthfeel and slightly deeper flavor while still getting crisp edges.
– Spicy Honey Garlic: Add 1–2 teaspoons Sriracha or 1/2 teaspoon red pepper flakes to the sauce. You’ll get a sweet-heat balance that complements rice and cooling cucumber salad.
– Honey Soy Salmon: Substitute salmon fillets for chicken, sear skin-side down first then glaze. The result is a buttery fish with the same sticky-sweet glaze and quicker cook time.
– Honey Mustard Twist: Replace half the honey with Dijon or whole-grain mustard for tang and depth. This turns the glaze toward sharp-and-sweet, which makes great slider filling — similar to flavor profiles in honey-mustard chicken sliders recipes.
Frequently Asked Questions About Crispy Honey Garlic Chicken
Q: Can I make Crispy Honey Garlic Chicken gluten-free?
A: Yes — use tamari or a certified gluten-free soy sauce and check that your cornstarch and other seasonings are gluten-free. The method stays the same, and the cornstarch will still thicken the glaze into a glossy finish.
Q: How do I keep the chicken crispy when making ahead?
A: Cook the chicken and store the sauce separately. Keep the chicken in the fridge without the sauce on a paper-towel-lined plate to absorb moisture. Re-crisp in a hot oven (425°F / 220°C) for 5–8 minutes, then toss with warmed sauce right before serving.
Q: Is there a substitute for cornstarch in the sauce?
A: Arrowroot powder is the best 1:1 substitute for cornstarch and yields a clear glossy finish. All-purpose flour can thicken the sauce but will need longer cooking and may dull the gloss and flavor.
Q: Can I bake the chicken instead of pan-frying?
A: Yes — coat and arrange chicken on a parchment-lined baking sheet and roast at 425°F (220°C) for 12–15 minutes until edges brown. Finish in a hot pan with the sauce to develop the glaze, or brush the sauce on and broil briefly to caramelize.
Q: How can I adjust sweetness and saltiness?
A: Taste the sauce before adding to the pan. For less sweetness, cut the honey by 1–2 tablespoons and add a splash of rice vinegar or lime juice to balance. For more salt or umami, increase soy sauce in 1 teaspoon increments, tasting as you go.
Final Thoughts on Crispy Honey Garlic Chicken
This Crispy Honey Garlic Chicken is fast, adaptable, and deeply satisfying with its sticky glaze and crisp edges. If you make it, please leave a star rating in the recipe card below and pin it to Pinterest for later.
For a slightly different take and extra technique notes, check out this external recipe guide: Honey Garlic Chicken – Nicky’s Kitchen Sanctuary.
If you’d like a visual, step-by-step video version that emphasizes crisping, this handy recipe is a great reference: Crispy Honey Garlic Chicken in 20 Minutes!(VIDEO) – CJ Eats Recipes.
For another crispy-fried perspective on honey garlic chicken, compare techniques here: Honey Garlic Crispy Fried Chicken Recipe – Couple Eats Food.
Crispy Honey Garlic Chicken
Ingredients
Method
- Make the sauce by mixing honey, soy sauce, minced garlic, and cornstarch in a bowl.
- Season the chicken pieces with salt and pepper.
- Heat vegetable oil in a pan over medium heat until shimmering.
- Add chicken pieces to the pan in a single layer and cook until browned and cooked through, about 5–7 minutes.
- Pour the prepared honey garlic sauce over the chicken and toss to coat evenly.
- Let the sauce simmer for a few minutes until it thickens and clings to the chicken.
- Serve the chicken over cooked rice with mixed vegetables on the side.
- Garnish with sesame seeds and lime wedges if desired.