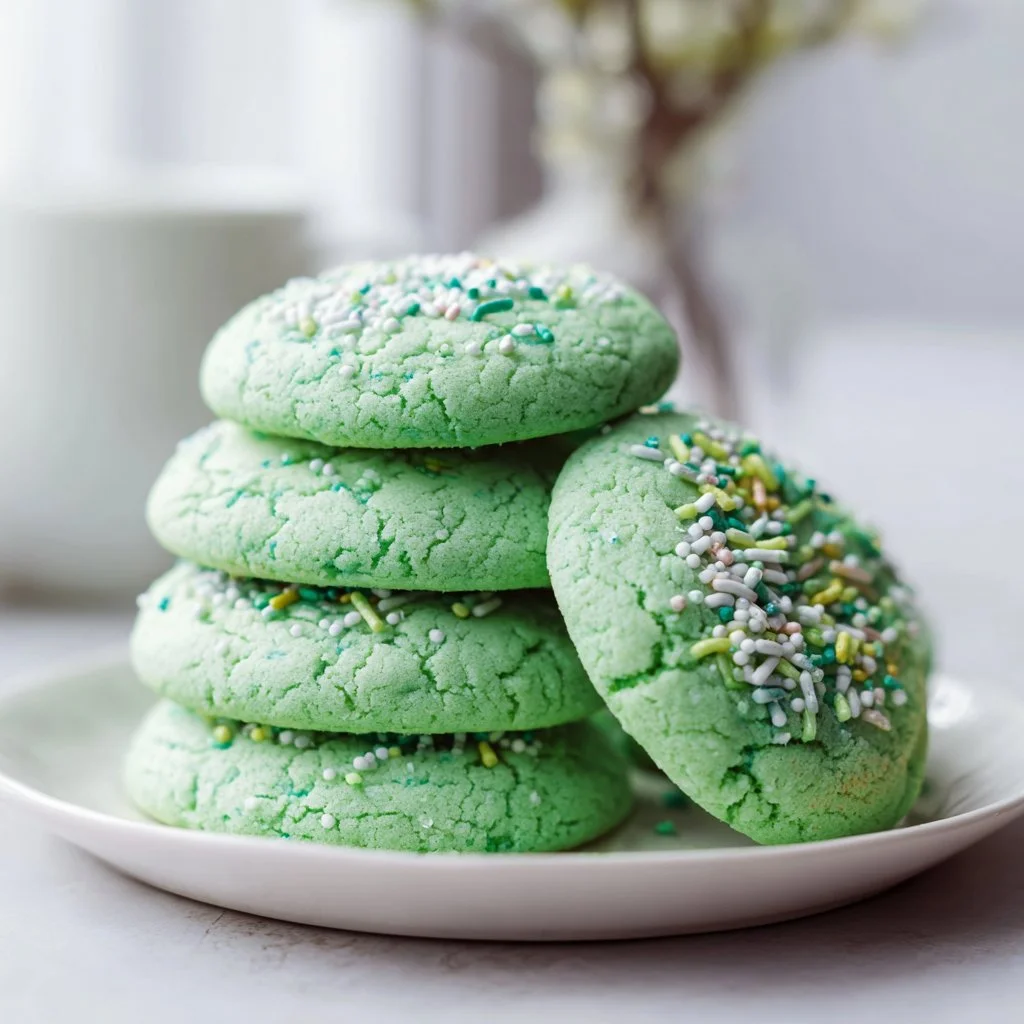
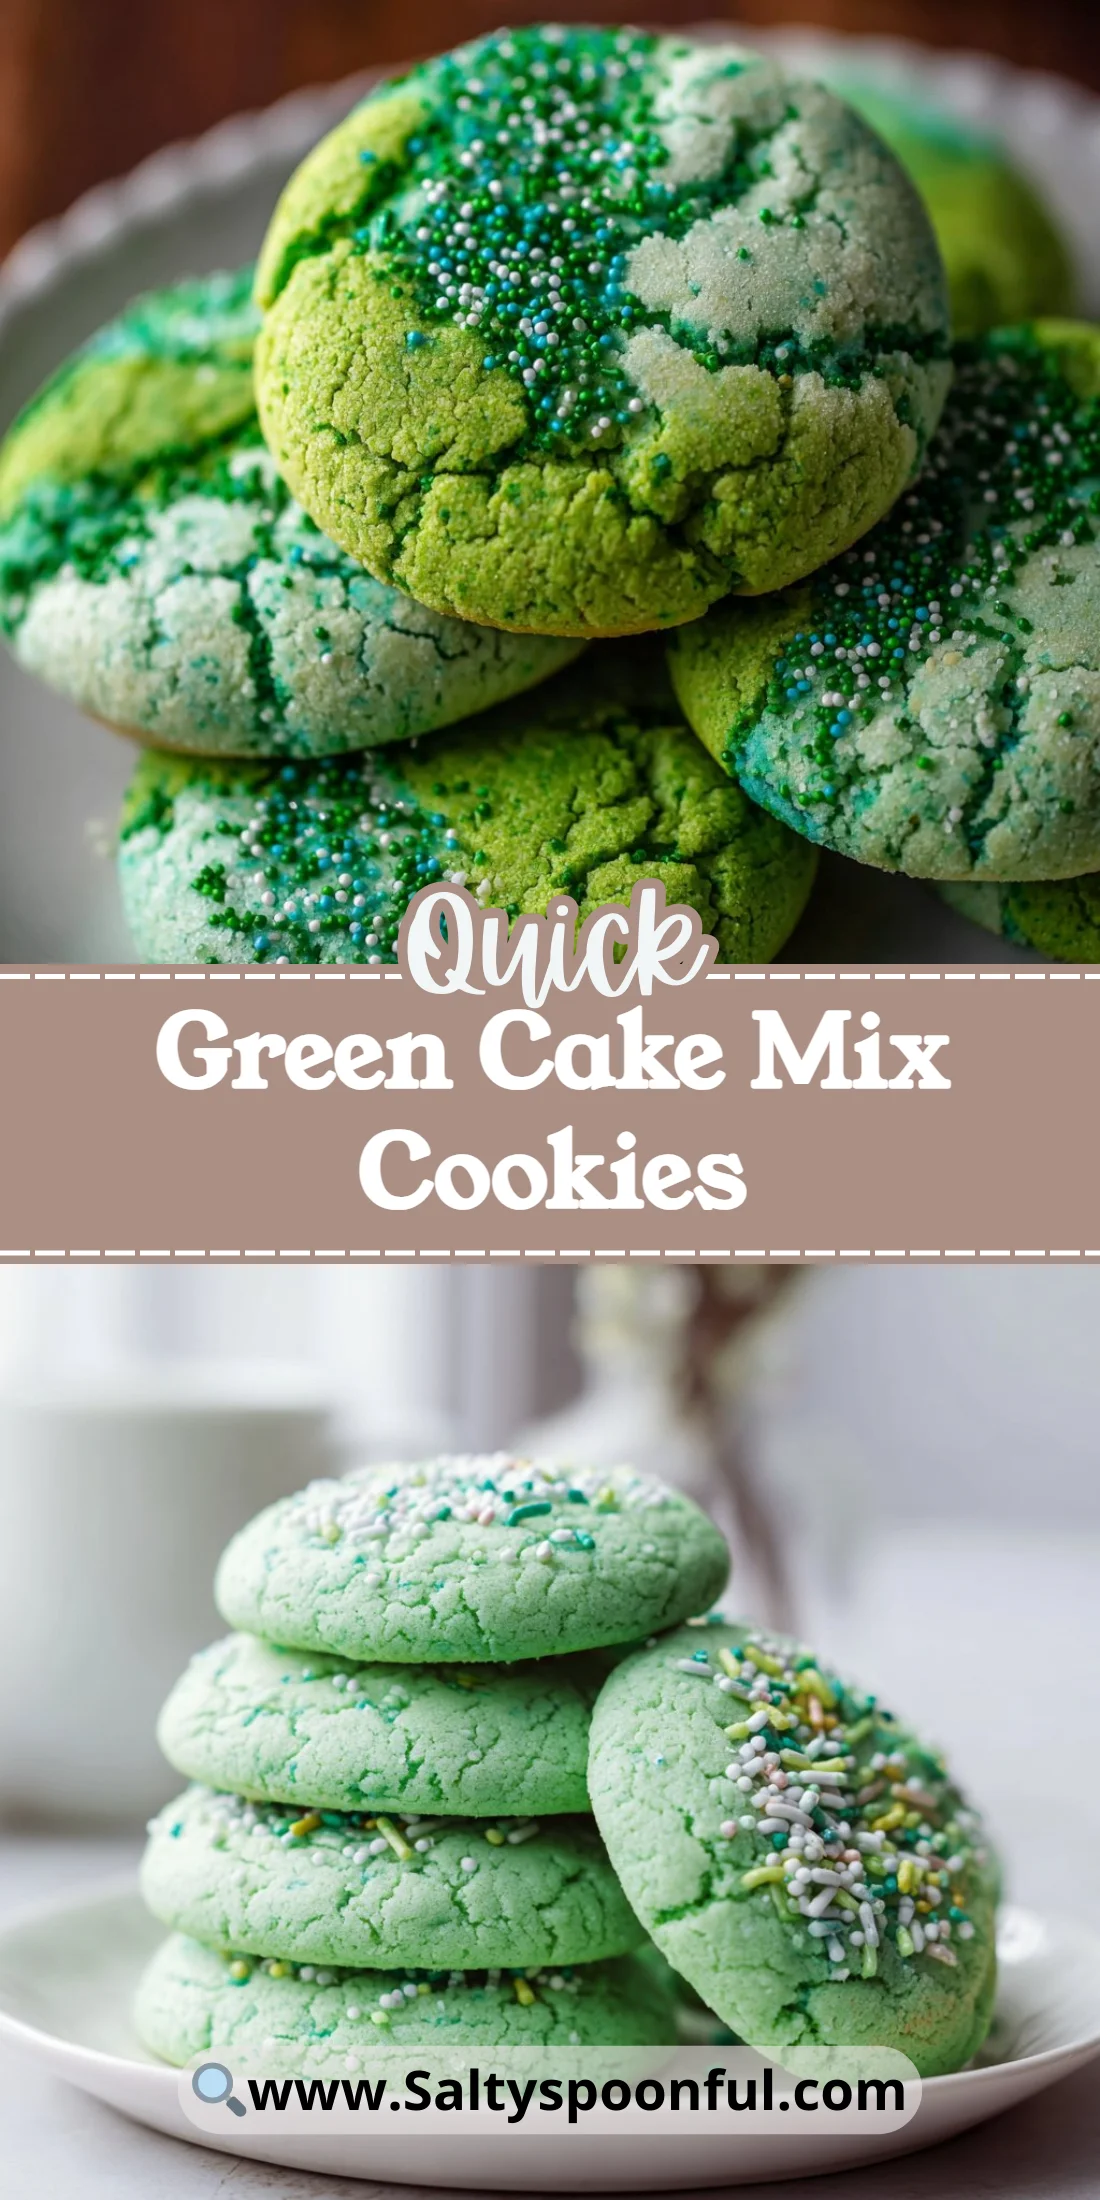
Bright, minty, and impossibly easy — these Green Cake Mix Cookies are a quick way to put a festive twist on a boxed cake mix. They bake up soft, cakey, and tender, then get a glossy white-chocolate dip and sprinkle finish that makes them party-ready.
No fussy creaming, no chilling dough overnight, and almost everyone already has the main ingredient in their pantry. They’re a fun shortcut when you want big cookie flavor with minimal fuss.
If you like mixing shortcuts with show-stopping results, you’ll want to bookmark this one and try it alongside other mash-up treats like my stuffed carrot cake cookies recipe for more inventive cookie ideas.
Why You’ll Love This Green Cake Mix Cookies
– Super fast: one bowl and a boxed mix make prep under 10 minutes.
– Cakey yet tender: the cookie texture feels like a mini cake with a crisp edge.
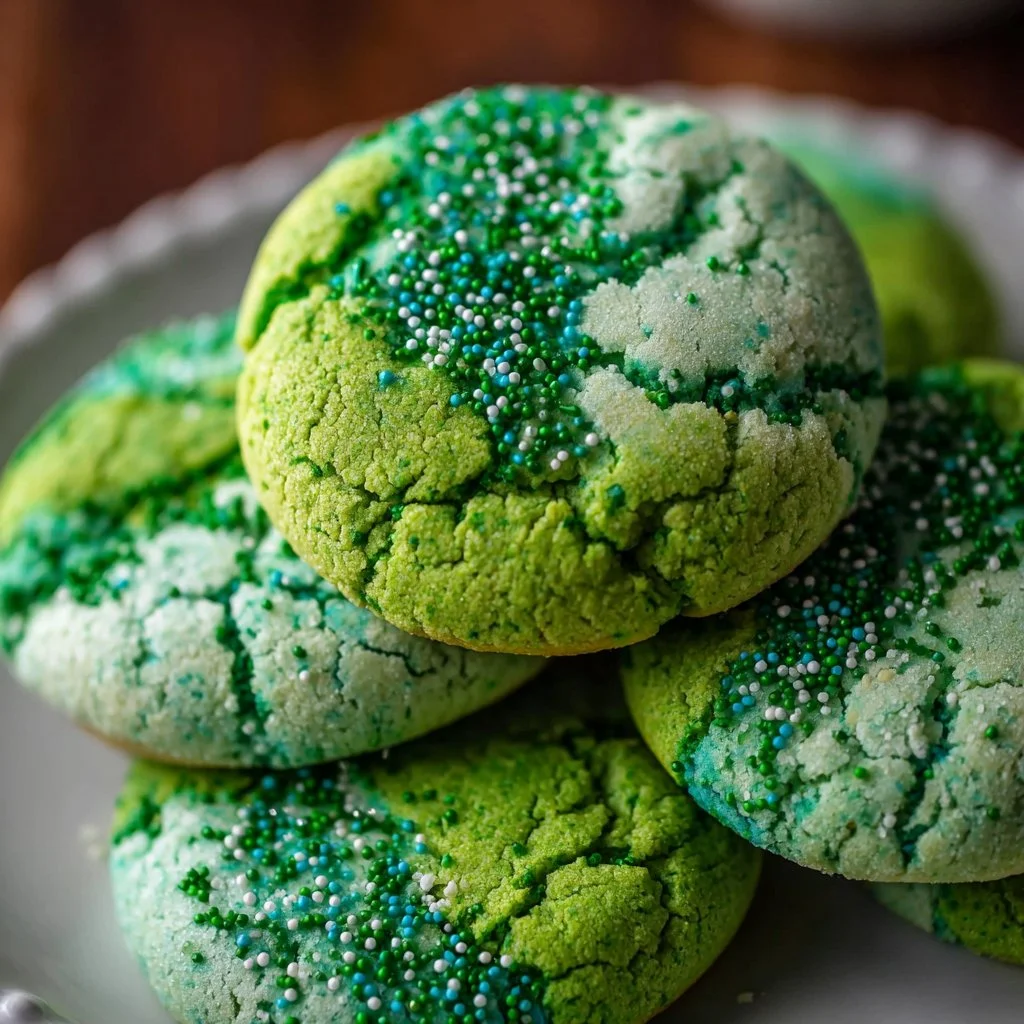
– Customizable color: gel coloring gives vivid green without thinning the dough.
– No-proof trick: boxed mix balances leavening so you get reliable rise.
– Crowd-pleasing finish: white chocolate dip + sprinkles makes them party-ready.
– Kid-friendly: easy to color and decorate with hands-on help.
These cookies taste like a soft vanilla cake with a hint of buttery vanilla in the background. The crumb is tender and moist, with slightly crisp edges and a pillowy center that yields when you bite. The white chocolate adds a creamy, sweet contrast while sprinkles give a crunchy pop.
"Absolutely delicious — the texture was spot on and my guests couldn’t believe these started with a box. I made them green for St. Patrick’s Day and they were gone in minutes!" — 5★ reader review
Key Ingredients for Green Cake Mix Cookies
Choose your ingredients carefully for the best results.
White cake mix (13.25 oz)
White cake mix provides the structure, sweetness, and leavening all in one. Buy a brand with simple ingredients and a concentrated vanilla flavor for the best base. If you swap for yellow or chocolate cake mix, expect a different flavor and slightly different crumb; chocolate will darken the color and change the green tone.
Vegetable oil (1/2 cup)
Vegetable oil keeps the cookies moist and tender without adding flavor that competes with the white chocolate. Use neutral oils like canola or sunflower for consistent results. Substituting melted butter will add richness and a browned edge but can make the dough firmer and change baking time.
Eggs (2 large)
Eggs provide structure, moisture, and emulsification. Large eggs are the standard; smaller eggs can make the batter drier and very large eggs can make it wetter. For an egg-free version, try a commercial egg replacer or 1/4 cup applesauce per egg, but expect a slightly softer, cake-like texture.
Vanilla extract (1 teaspoon)
Vanilla brightens the cake mix base and rounds out the sweetness. Use pure vanilla extract for depth, or vanilla paste for flecks and richer aroma. Artificial vanilla works in a pinch but lacks the complexity that pairs best with the white chocolate dip.
Full Ingredient List for Green Cake Mix Cookies
– 13.25 oz white cake mix
– 1/2 cup vegetable oil
– 2 large eggs
– 1 teaspoon vanilla extract
– Green gel food coloring, as needed
– 12 oz white chocolate melting wafers
– 2 tablespoons sprinkles
Step-by-Step Instructions for Green Cake Mix Cookies
Step 1: Prep your baking surface
Line a large cookie sheet with parchment paper or a silicone baking mat to prevent sticking and promote even browning. Heat transfer is gentler on silicone mats, while parchment gives slightly crisper bottoms.
Pro Tip: The sheet should look clean and the parchment flat with no wrinkles.
Step 2: Combine the base ingredients
In a large mixing bowl, combine the white cake mix, vegetable oil, eggs, and vanilla. Stir by hand or with a mixer until the ingredients come together into a cohesive mass.
Pro Tip: The dough should look uniform with no streaks of dry mix.
Step 3: Color the dough
Add green gel food coloring, a drop at a time, until you reach the desired shade. Gel colors are concentrated, so they won’t affect the dough’s consistency the way liquid dyes can.
Pro Tip: The color will deepen slightly after chilling; aim one shade lighter than you want.
Step 4: Mix and chill the dough
Mix with a hand mixer or spatula until a thick dough forms, then cover the bowl and chill for 30 minutes. Chilling firms the dough so scoops hold their shape and cookies spread less.
Pro Tip: The dough should feel cool and firm to the touch, not sticky or soupy.
Step 5: Preheat the oven
Preheat your oven to 350°F (175°C) so it reaches temperature by the time the chilled dough is ready. Accurate oven temperature ensures the cookies set correctly.
Pro Tip: The oven should be fully preheated and the rack in the middle position.
Step 6: Scoop the dough
Scoop 1-inch balls of dough and place them 2 inches apart on the prepared sheet. Use a small cookie scoop for even sizes so baking is uniform.
Pro Tip: The balls should be smooth and well-rounded, with no wet sheen.
Step 7: Bake the cookies
Bake for 8 to 10 minutes. The cookies should look set but still be soft; avoid overbaking to preserve that tender, cake-like center.
Pro Tip: Look for edges that are slightly firmer and centers that still look soft and slightly domed.
Step 8: Cool briefly on the pan
Allow cookies to cool on the pan for 5 minutes before transferring to a wire rack to cool completely. This lets them finish setting without becoming dry.
Pro Tip: The cookie bottoms should release cleanly from the parchment after 5 minutes.
Step 9: Melt the white chocolate
Melt the white chocolate melting wafers in 30-second intervals in the microwave, stirring until smooth and glossy. Avoid overheating which can cause white chocolate to seize.
Pro Tip: The melted chocolate should be pourable and shiny, not grainy.
Step 10: Dip, decorate, and set
Dip half of each cooled cookie into the chocolate, then immediately top with sprinkles. Let the cookies sit at room temperature or in the fridge for 5 minutes until the chocolate is firm.
Pro Tip: The chocolate should harden with a glossy finish and sprinkles should be set into the surface.
Expert Tips for Green Cake Mix Cookies
– Use gel food coloring to avoid thinning the dough; liquid dyes can soften the batter and increase spread.
– If cookies spread too much, chill scooped dough on the sheet for 10–15 minutes before baking to firm up.
– For uniform cookies, use a small 1-inch scoop and level the tops with a spatula before baking.
– Rotate your baking sheet halfway through baking if your oven has hot spots to ensure even color.
– If white chocolate seizes, add a teaspoon of neutral oil or a small piece of vegetable shortening and stir until smooth.
– Prefer a chewier center? Underbake by 1 minute and let residual heat finish them on the hot sheet.
– For crisp edges, use a metal baking sheet; for softer bottoms, use a dark or insulated sheet.
– Avoid overmixing once eggs are added; mix until just combined to keep the crumb tender.
Storage & Freezing for Green Cake Mix Cookies
Fridge storage: Place cookies in an airtight container with parchment between layers. Store up to 5 days for best texture.
Freezer storage: Freeze fully cooled, undecorated cookies in a single layer on a tray until firm, then transfer to a freezer-safe container or zip bag for up to 3 months. For decorated cookies, freeze in a single layer with parchment and wrap tightly.
Thawing: Thaw frozen cookies at room temperature for 20–30 minutes. If cookies were frozen undecorated, dip and decorate after they have thawed.
Reheating: Warm a cookie for 8–10 seconds in the microwave to revive softness; avoid heating decorated chocolate for too long or it may melt.
Best containers: Use rigid airtight containers for decorated cookies and heavy-duty freezer bags for long-term storage.
Variations & Substitutions for Green Cake Mix Cookies
St. Patrick’s Day Mint: Add 1/4 teaspoon mint extract to the dough and use green gel coloring. The cookies will have a fresh mint note that pairs beautifully with white chocolate.
Grinch Party Cookies: Use red and green sprinkles and a touch of red jam in the center before baking for a gooey surprise. The jam adds a tart contrast to the sweet cake base.
Chocolate swirl: Fold in 1/2 cup mini dark chocolate chips before chilling the dough. Expect added richness and crunchy chocolate bites in each soft cookie.
Citrus twist: Stir in 1 teaspoon finely grated lime zest and reduce gel color for a pastel hue. The zest brightens the flavor and balances the sweet white chocolate.
Frequently Asked Questions About Green Cake Mix Cookies
Q: Can I make these cookies without the white chocolate dip?
A: Yes — the cookies are delicious plain or with a dusting of powdered sugar. The dip is optional if you prefer a simpler finish or need to skip melts for freezer-friendly storage.
Q: How do I fix cookies that are too cakey or too dense?
A: If too dense, check your eggs and oil ratios; measure properly. Overmixing can also tighten the crumb. If overly cakey, bake slightly longer to set the structure or reduce eggs by half an egg next time for a slightly firmer texture.
Q: Why did my color look dull after baking?
A: Gel color can fade slightly in the oven, and very light shades may not appear vibrant. Use concentrated gel and aim one shade lighter before baking; decorations can restore vibrancy after baking.
Q: Can I use regular chocolate instead of melting wafers?
A: You can, but regular white chocolate may need added shortening to get a dip-friendly consistency. Melting wafers are formulated to melt smoothly and set well at room temperature.
Q: Are these cookies safe to make ahead for a party?
A: Yes — make the cookies and freeze undecorated for up to 3 months. Thaw, then dip and decorate the day of the event for a fresh finish.
Final Thoughts on Green Cake Mix Cookies
These Green Cake Mix Cookies are a fast, festive treat that delivers soft, cake-like texture and an eye-catching finish with almost no fuss. Leave a star rating in the recipe card below and pin this recipe to Pinterest to save for your next celebration.
For more green cookie inspiration try a festive green crinkle cookie variation, or see a fun spin on the idea with The Grinch Cookies (Cake Mix Recipe). If you want a super-simple approach, check out this Easy Grinch Cake Mix Cookies tutorial for another four-ingredient option.
Green Cake Mix Cookies
Ingredients
Method
- Preheat your oven to 350°F (175°C).
- Line a large cookie sheet with parchment paper or a silicone baking mat.
- In a large mixing bowl, combine the white cake mix, vegetable oil, eggs, and vanilla until uniform.
- Add green gel food coloring until the desired shade is reached.
- Cover and chill the dough for 30 minutes to firm.
- Scoop 1-inch balls of dough and place them 2 inches apart on the prepared sheet.
- Bake for 8 to 10 minutes until set and soft.
- Cool on the pan for 5 minutes before transferring to a wire rack.
- Melt the white chocolate in 30-second intervals until smooth.
- Dip half of each cooled cookie in melted chocolate and sprinkle immediately.
- Let cookies set for 5 minutes.