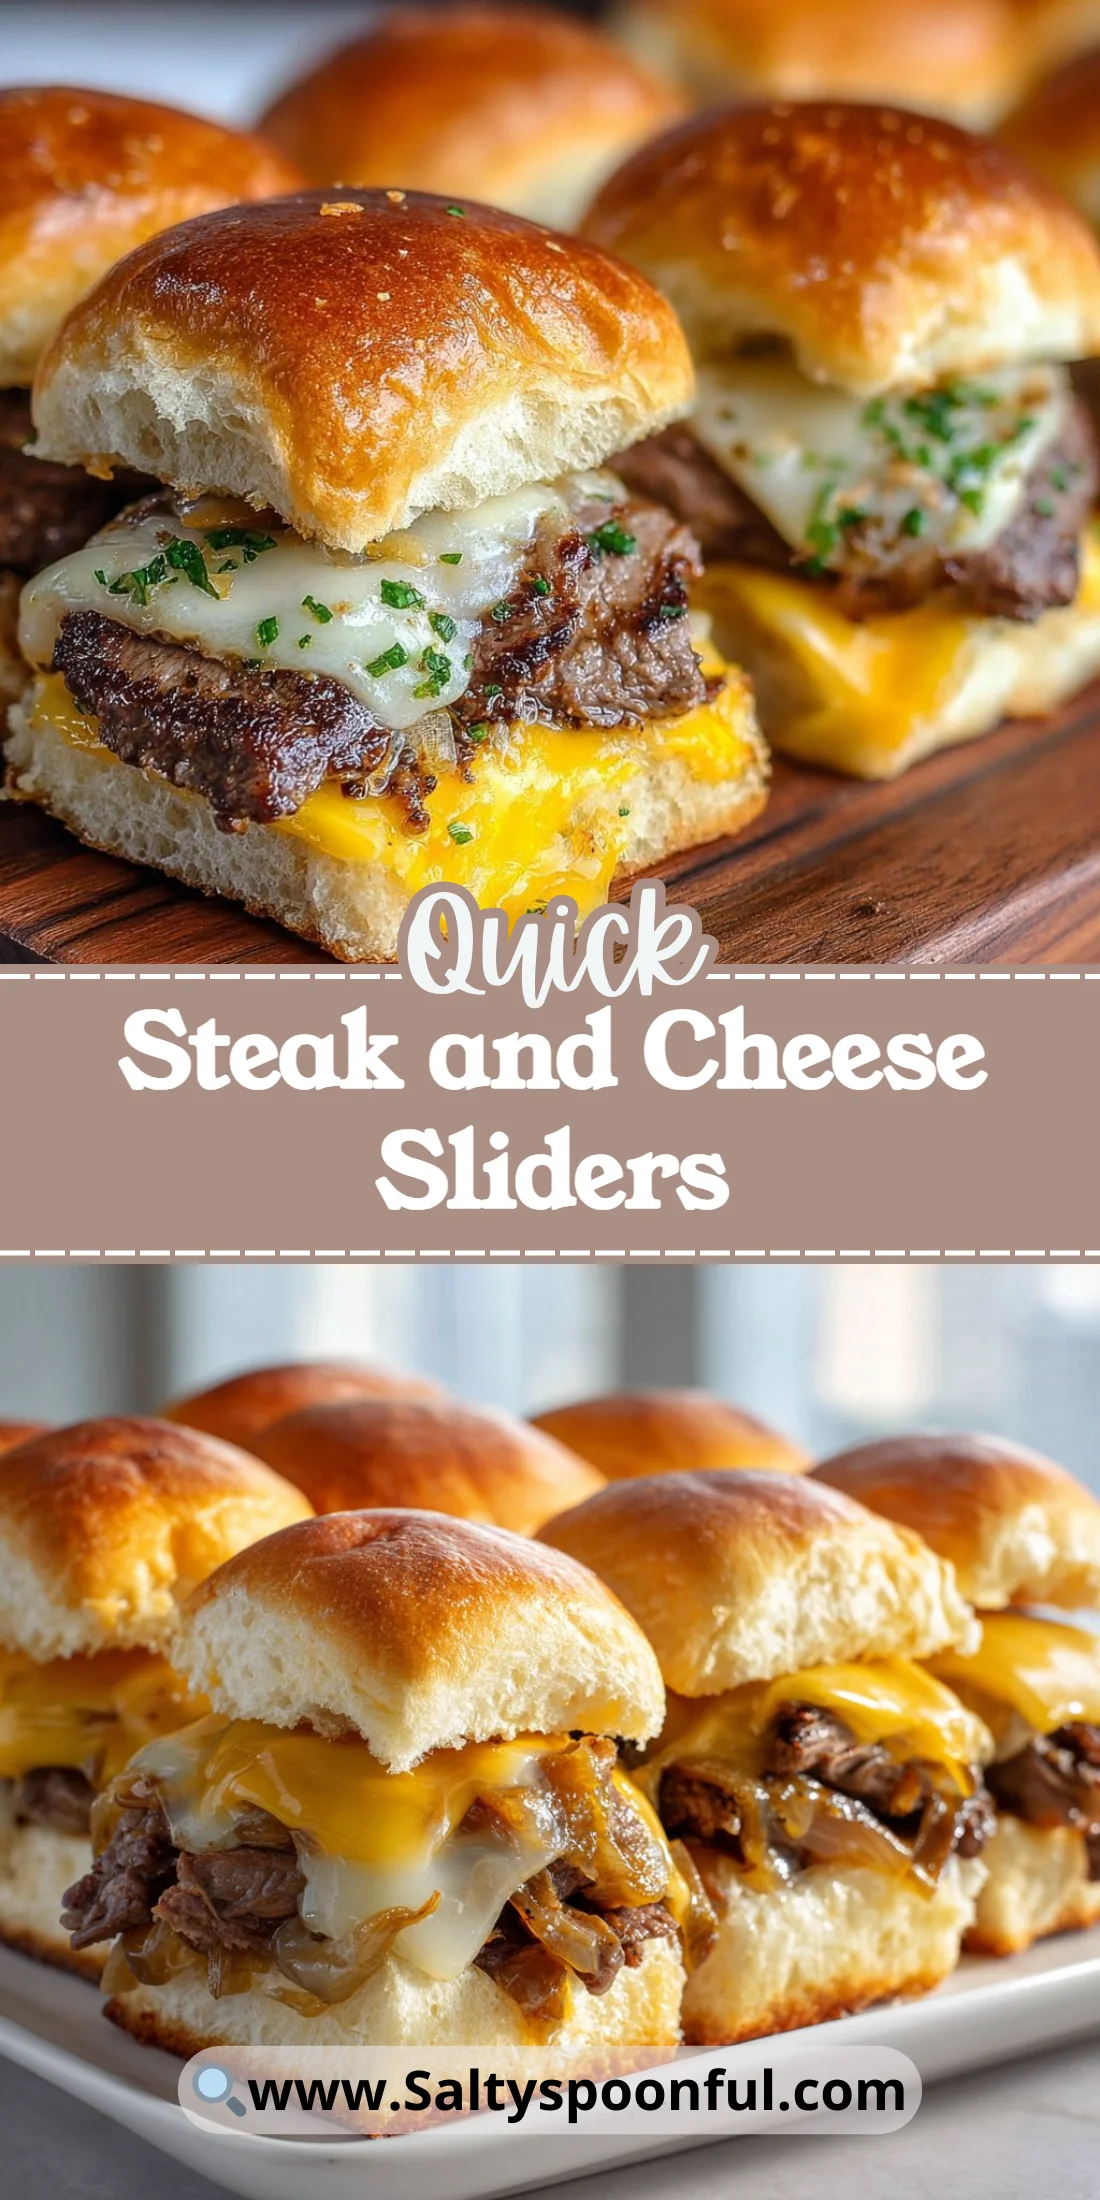
Craving something cheesy, meaty, and perfectly snackable? These Steak and Cheese Sliders hit all the right notes.
They’re quick enough for weeknight dinners and party-ready for game day. The mix of seared steak, melty cheese, and buttery buns is pure comfort.
This post breaks down why each ingredient matters, how to get perfect texture, variations, and storage tips. Read on for pro-level fixes and visual cues to guide you.
Why You’ll Love This Steak and Cheese Sliders
– Bite-sized comfort food that’s great for parties and family meals.
– Fast to assemble and easy to scale up for a crowd.
– Rich, savory steak flavor with gooey, melty cheese every bite.
– Soft, buttery buns that brown beautifully in the oven.
– Flexible toppings let you customize heat and sweetness.
– Uses simple pantry ingredients you likely already have.
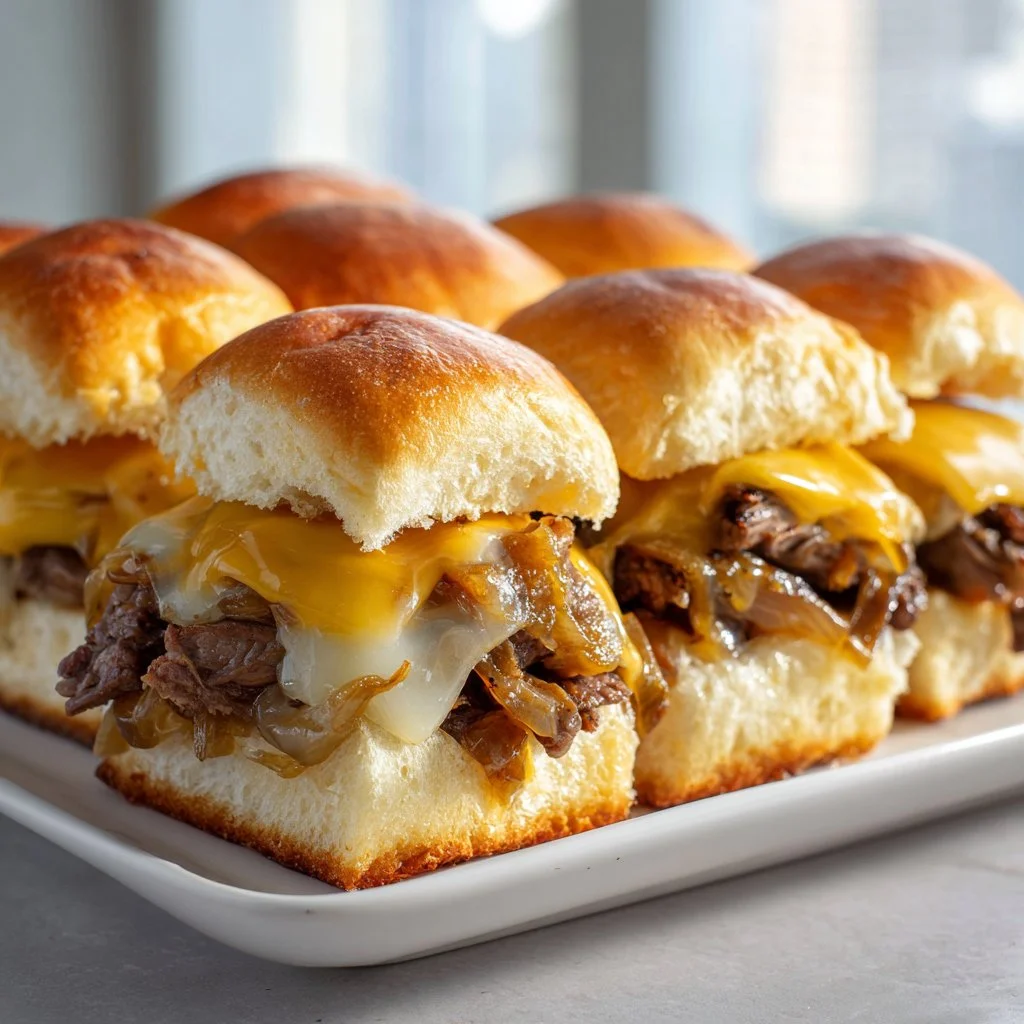
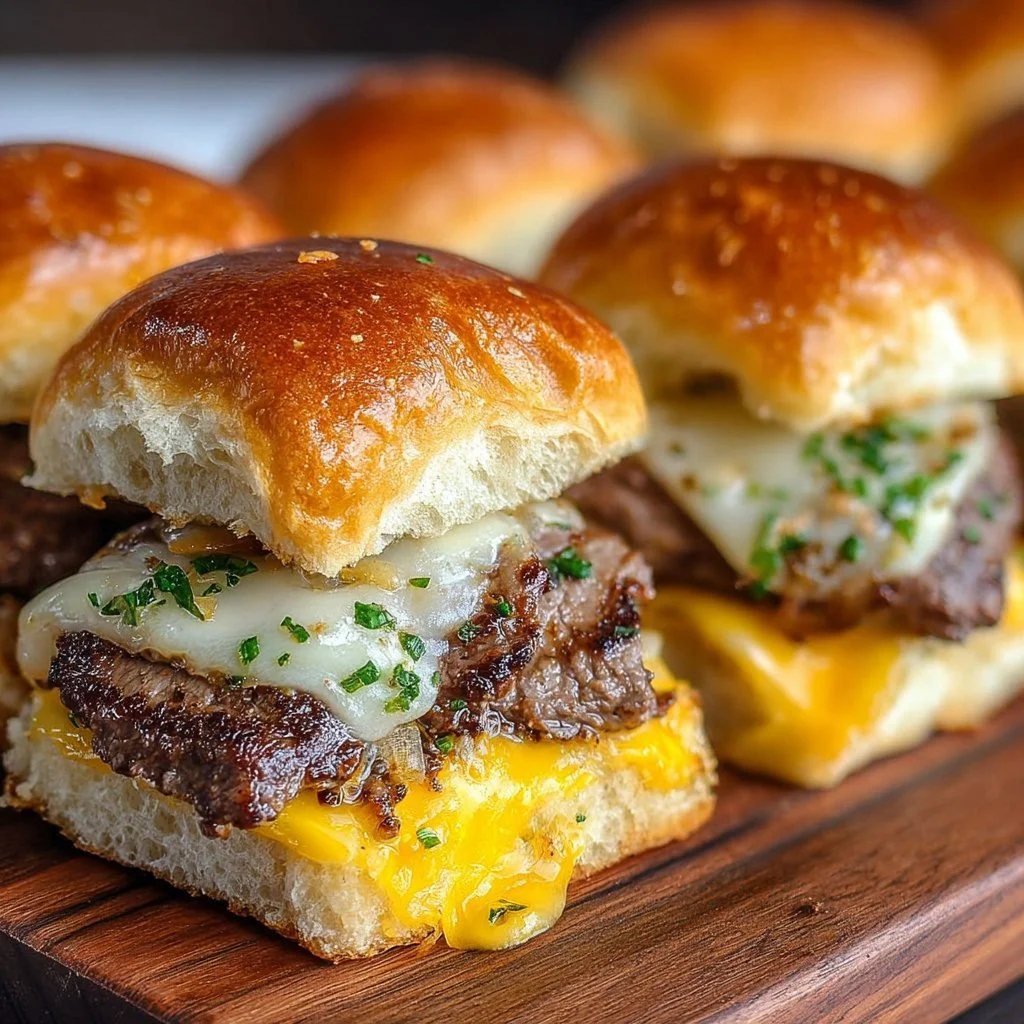
These sliders deliver a contrast of textures: tender, well-seared steak strips with a lightly crisp exterior, layered under slices of cheddar or provolone that melt into silky pockets. The buns become buttery and golden on the outside while staying pillowy inside, making each mini sandwich both satisfying and effortless.
"Hands down the best mini sandwich—juicy steak, oozy cheese, and those buttery buns. I made them for a backyard party and they disappeared in minutes. 5/5!" — A happy reader
Key Ingredients for Steak and Cheese Sliders
Seasoned steak, cut into strips
Steak is the flavor engine here. Choose a tender cut like sirloin or flank; they sear quickly and slice into strips easily. If you swap to a fattier cut, you’ll get more flavor but may need to trim or drain excess grease.
4 slices cheese (cheddar or provolone)
Cheddar gives sharp, tangy notes and a bit of bite, while provolone melts into a silkier, milder blanket. Buy block cheese and slice it yourself for cleaner melt and fresher flavor. Processed slices will melt differently and can taste overly uniform.
12 slider buns
Small soft buns are critical for the signature slider experience—look for brioche or potato rolls for extra tenderness. Using regular sandwich rolls will make larger servings and change bake time and butter absorption.
2 tbsp butter, melted
Butter adds both flavor and a golden finish; brush it on inside and outside so the buns toast evenly. If you substitute oil, you’ll lose nuanced dairy richness and browning will be less pronounced.
Full Ingredient List for Steak and Cheese Sliders
– 1 lb seasoned steak, cut into strips
– 4 slices cheese (cheddar or provolone)
– 12 slider buns
– 2 tbsp butter, melted
– Salt and pepper, to taste
– Optional toppings: sautéed onions, peppers, or garlic
Step-by-Step Instructions for Steak and Cheese Sliders
Step 1: Preheat and prep the buns
Preheat your oven to 350°F (175°C). Line a baking sheet with foil for easy cleanup and split the slider buns horizontally so you have top and bottom halves ready.
Pro Tip: The buns should look evenly split with no large crumbs; brushing should soak into the surface but not make them soggy.
Step 2: Sear the steak strips
Heat a skillet over medium-high heat. Add a touch of oil if your steak is lean, then add the seasoned strips and sear until cooked through, about 5–7 minutes depending on thickness.
Pro Tip: Visual cue — the steak should have a deep brown crust on the outside and feel springy but not hard when pressed.
Step 3: Butter the buns while the steak cooks
While the steak is sizzling, brush melted butter on both the inside and outside of each slider bun half. This adds flavor and ensures a golden exterior once baked.
Pro Tip: The butter should soak in slightly and create a glossy sheen without pooling.
Step 4: Assemble the sliders on the baking sheet
Place the bottom halves of the buns on the lined baking sheet. Layer the seared steak strips across the bottoms, add the cheese slices, and scatter any optional sautéed onions, peppers, or garlic. Cap with the top halves of the buns.
Pro Tip: The assembled sliders should sit level on the sheet with cheese visibly peeking around the steak.
Step 5: Bake until melty and golden
Brush the tops with any remaining butter. Bake in the preheated oven for 10–15 minutes, until the cheese is melted and the buns are a warm golden brown. Slice into individual sliders and serve warm.
Pro Tip: The final visual cue is golden-brown tops and cheese melted into soft pools at the edges of the buns.
Expert Tips for Steak and Cheese Sliders
– Temperature tip: Let the steak rest briefly after searing so juices redistribute; hot steak straight from the pan can over-moisten the buns during baking.
– Texture troubleshooting: If your sliders turn out soggy, reduce moisture from toppings (pat sautéed peppers dry) and avoid stacking hot, wet ingredients directly on the buns—toast the bottoms first.
– Equipment tip: Use a heavy skillet (cast iron preferred) to get a reliable sear and consistent color on the steak strips.
– Cheese melting tip: Thinly sliced block cheese melts more evenly than pre-sliced processed cheese; tear or thin-slice for faster, uniform melt.
– Common mistake: Overcrowding the pan while searing causes steaming instead of browning; cook in batches for a better crust.
– Baking tip: If the bottoms brown too quickly, tent the sliders loosely with foil and finish under the broiler for a minute if needed to crisp tops.
– Serving tip: For neat, party-friendly slices, chill the assembled sliders 5 minutes after baking before cutting so cheese and juices set slightly.
– Flavor boost: Finish with a light sprinkle of flaky sea salt and freshly cracked pepper right after baking to enhance contrast.
Storage & Freezing for Steak and Cheese Sliders
Fridge storage: Store fully cooled sliders in an airtight container for up to 3 days. Separate layers with parchment to prevent sticking. Reheat in a 350°F oven for 8–10 minutes covered to retain moisture.
Freezer storage: Wrap individual sliders tightly in plastic wrap and then foil, or place in a freezer bag with air removed. Freeze for up to 2 months for best quality. Label with date.
Thawing and reheating: Thaw overnight in the fridge. Reheat in a 350°F oven for 10–15 minutes, covered with foil, then uncover for 2–3 minutes to re-crisp the tops. Avoid microwaving from frozen, as buns will turn soggy and steak texture can become rubbery.
Best containers: Use airtight meal containers for short-term fridge storage and heavy-duty freezer bags or foil-wrapped pans for long-term freezing. Glass containers with tight lids work well for reheating directly in the oven.
Variations & Substitutions for Steak and Cheese Sliders
Spicy Pepper Jack Steak and Cheese Sliders
Swap cheddar or provolone for pepper jack and add pickled jalapeños or a smear of chipotle mayo. The sliders will gain a smoky heat and creamy finish that pairs well with caramelized onions.
Mushroom and Swiss Steak and Cheese Sliders
Sauté sliced mushrooms with garlic and thyme and use Swiss cheese in place of cheddar or provolone. This yields an earthier, more elegant flavor profile with a silky melt.
BBQ Steak and Cheese Sliders
Toss the cooked steak strips with a spoonful of your favorite barbecue sauce and add sliced red onion; use cheddar for a tangy counterpoint. The BBQ glaze adds sweet-smoky notes and a sticky, crowd-pleasing finish.
Italian-style Steak and Cheese Sliders
Top steak with sautéed peppers, onions, and provolone, and finish with a sprinkle of Italian seasoning or fresh basil. Expect a bright, herb-forward variation reminiscent of hot sandwiches from an Italian deli.
Frequently Asked Questions About Steak and Cheese Sliders
What cut of steak is best for Steak and Cheese Sliders?
Choose tender, quick-cooking cuts like sirloin, skirt, or flank steak. These cuts sear well and slice thinly against the grain for tenderness. Tougher cuts can be used but benefit from marinating or thin slicing and slightly longer cooking to break down fibers.
How long do Steak and Cheese Sliders take to prepare from start to finish?
Active cooking time is about 15–20 minutes (searing and assembly), plus 10–15 minutes baking. Total hands-on time is around 25–30 minutes, making them a fast option for weeknights or last-minute entertaining.
Can I make Steak and Cheese Sliders ahead of time for a party?
Yes—cook and assemble the sliders and refrigerate them unbaked for up to a day. Before guests arrive, brush with butter and bake for 12–15 minutes until the cheese melts and the tops brown. This keeps the assembly quick and stress-free.
Are these sliders freezer-friendly?
Yes. After baking and cooling, wrap individually and freeze up to 2 months. Reheat from thawed in a 350°F oven for 10–15 minutes covered, then uncover to crisp the top briefly. Avoid microwaving from frozen to prevent soggy buns.
What are good side dishes to serve with Steak and Cheese Sliders?
Crisp sides balance the richness—think crunchy slaw, a bright green salad with vinaigrette, oven-roasted potatoes, or simple kettle-cooked chips. Pickles or marinated vegetables add acidity to cut through the cheese and butter.
Final Thoughts on Steak and Cheese Sliders
These Steak and Cheese Sliders are an easy, crowd-pleasing shortcut to meaty, cheesy satisfaction—perfect for casual dinners or party platters. If you want more inspiration, see this take from Garlic & Zest, a twist at Kroll’s Korner, and another great variation from The Latina Homemaker. Please leave a star rating in the recipe card below and pin this to Pinterest if you made them!
Steak and Cheese Sliders
Ingredients
Method
- Preheat your oven to 350°F (175°C). Line a baking sheet with foil and split the slider buns horizontally.
- While the steak cooks, brush melted butter on the inside and outside of each half of the slider buns.
- Heat a skillet over medium-high heat. Sear the seasoned strips of steak until cooked through, about 5–7 minutes.
- Place the bottom halves of the buns on the lined baking sheet. Layer with seared steak, cheese, and optional toppings, then cap with the top halves.
- Brush the assembled sliders with remaining butter and bake for 10–15 minutes until the cheese melts and the buns are golden.
- Slice into individual sliders and serve warm.