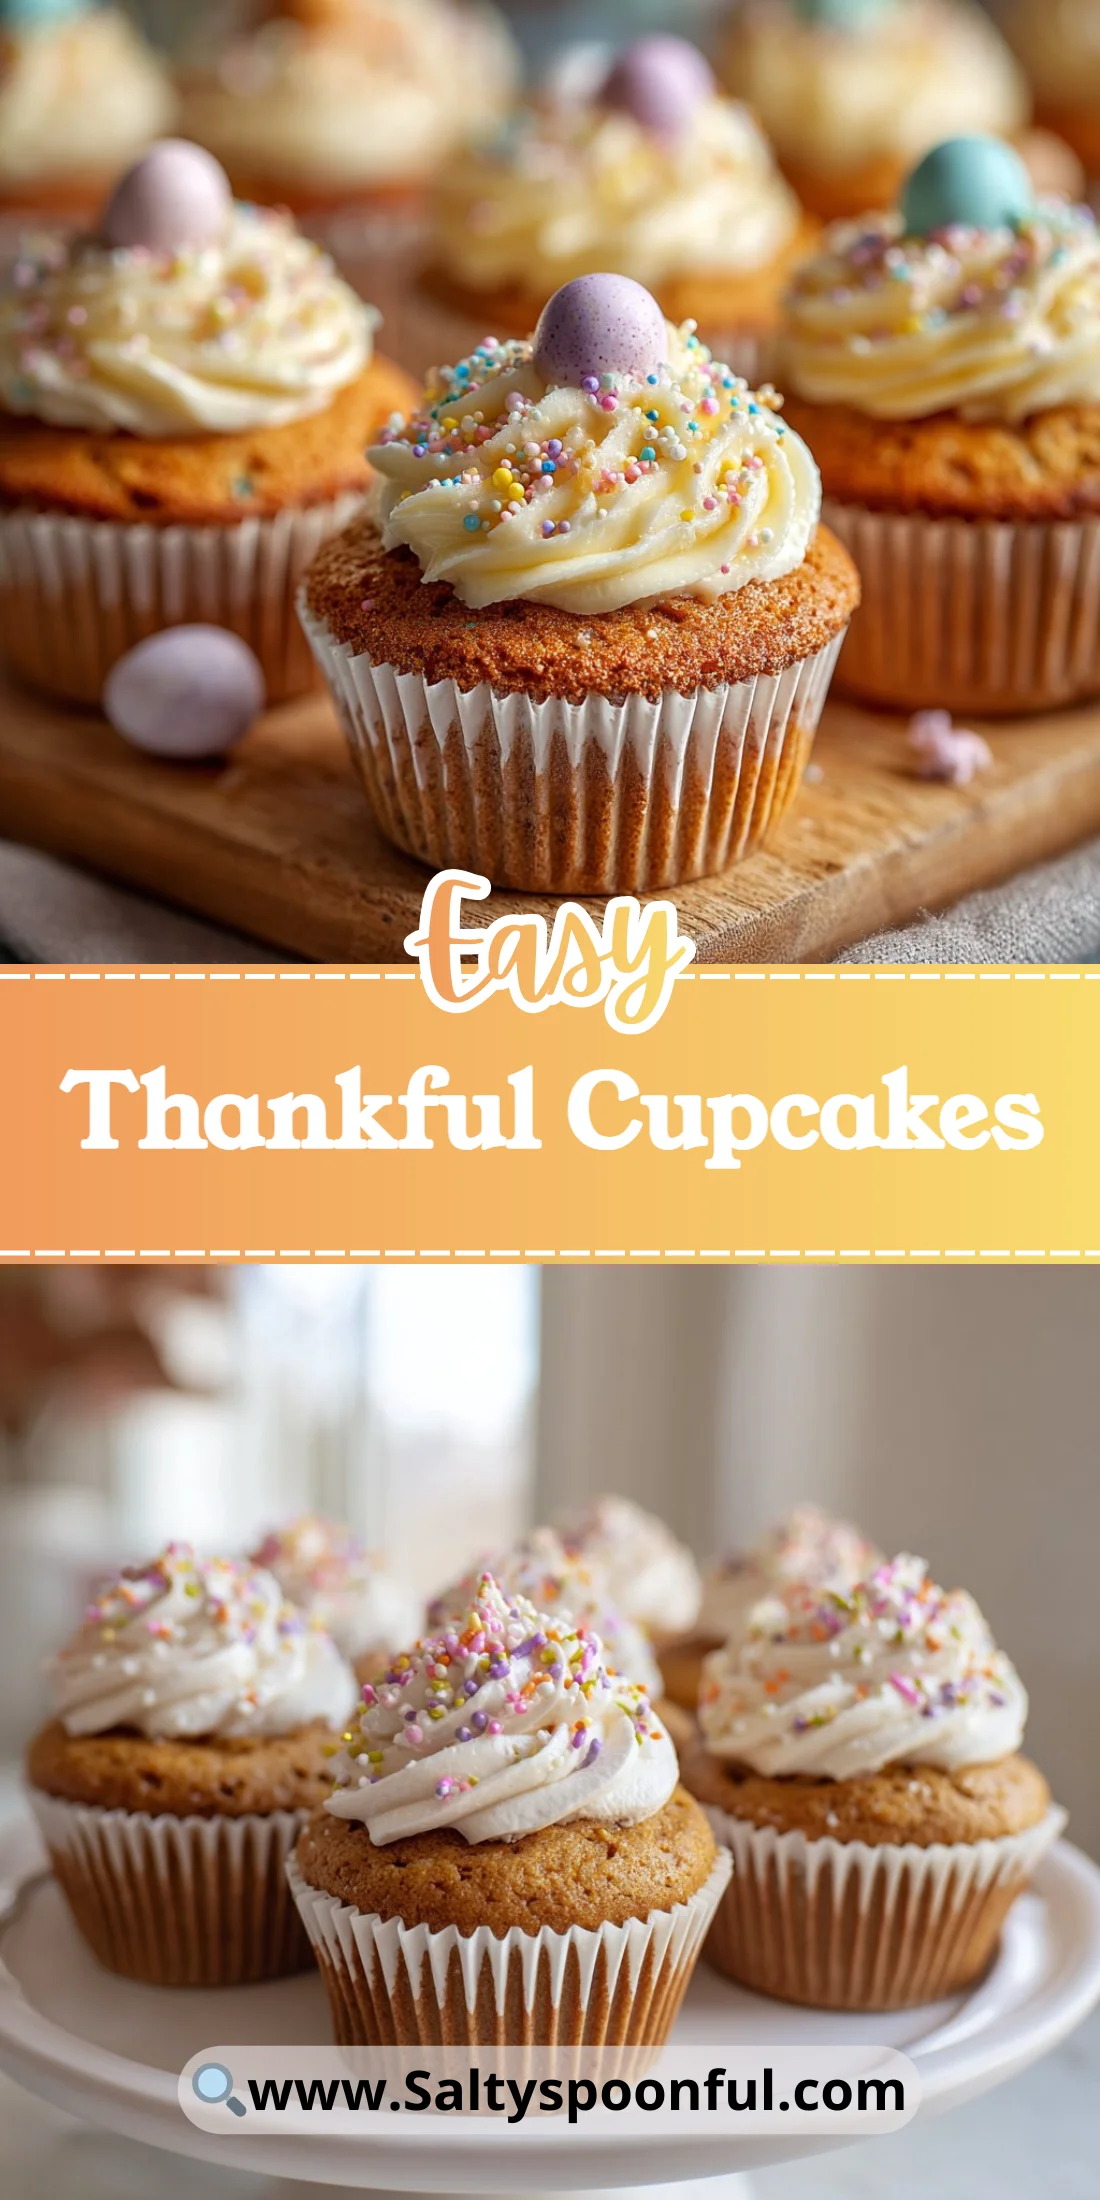
Bright, buttery cupcakes that come together in under an hour are the kind of recipe you reach for again and again. These Thankful Cupcakes are simple, reliable, and perfect for holidays or everyday treats.
They are beginner-friendly but satisfying for confident bakers too. Little tweaks make them versatile for frostings, fillings, or seasonal flavors.
Read on for ingredient science, step visuals, troubleshooting tips, and creative twists to make this your go-to cupcake recipe.
Why You’ll Love This Thankful Cupcakes
– Simple pantry ingredients you likely already have.
– Reliable texture: tender crumb with a fine, even crumb structure.
– Quick to mix and bake — perfect for last-minute celebrations.
– Versatile base for frostings, colors, and decorations.
– Kid-friendly and easy to scale up for a crowd.
– Balanced sweetness that pairs with both light and rich frostings.
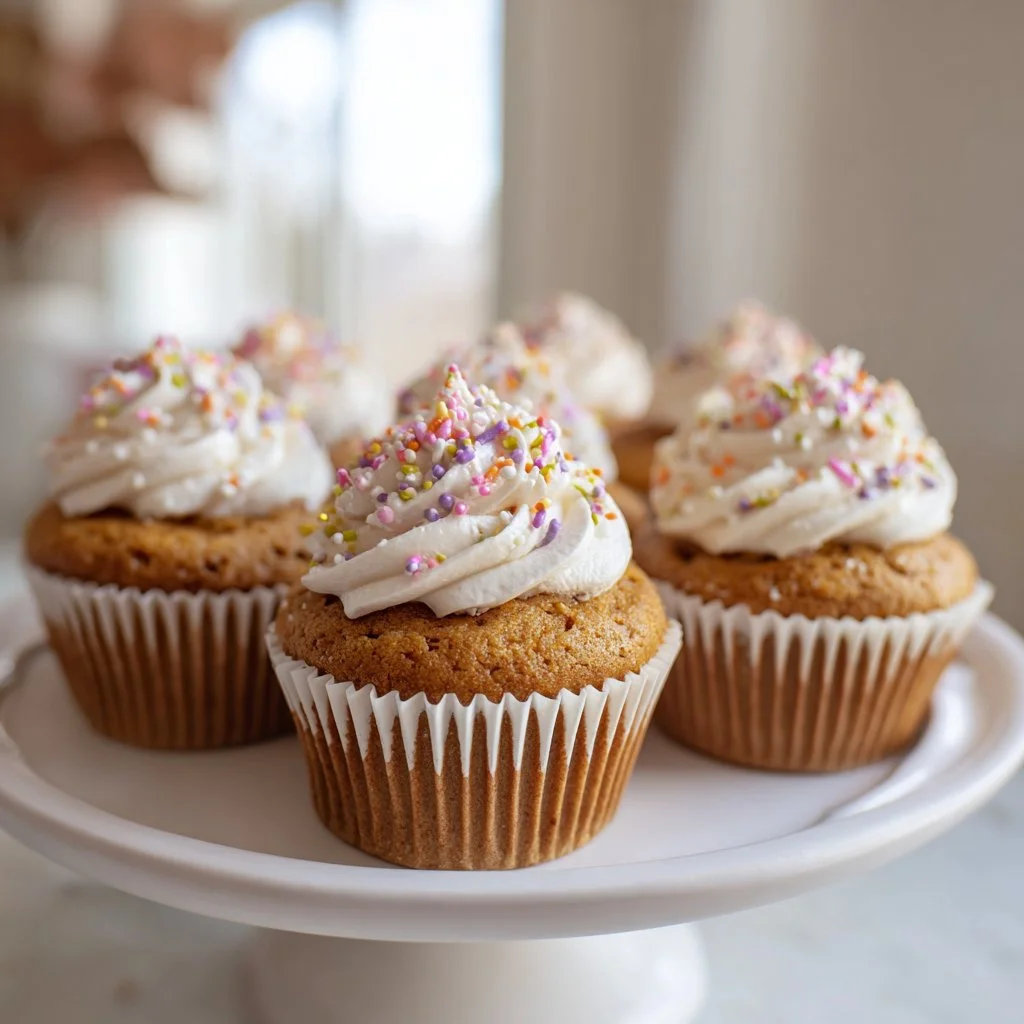
These Thankful Cupcakes deliver a tender, buttery crumb with a delicate top crust. The inside is moist but not dense, and the surface is perfectly domed for frosting or decor.
“Five stars! These cupcakes were moist, not too sweet, and my guests couldn’t stop asking for the recipe. Perfect every time.” — Emily R., home baker
Key Ingredients for Thankful Cupcakes
Unsalted butter
Unsalted butter controls fat content and flavor without added salt unpredictability. Buy real butter (not spreads) with at least 80% butterfat for the best texture. If you substitute margarine or salted butter, expect slight changes in flavor and potentially a looser crumb; reduce added salt if using salted butter.
All-purpose flour
All-purpose flour provides the right balance of protein for structure without becoming cakey or chewy. Choose bleached or unbleached from a reputable brand for consistent results. Substituting cake flour will give a softer, more fragile crumb; using bread flour will make cupcakes tougher and chewier.
Large eggs
Eggs bind, leaven slightly, and add richness and stability to the batter. Use large eggs at room temperature to ensure even emulsification and better volume. If you swap with egg whites only or egg replacer, the cupcakes will be less rich and slightly drier.
Baking powder
Baking powder is the primary leavening agent here and creates the cupcake’s rise and soft crumb. Ensure your baking powder is fresh — older powder gives weak rise and dense results. If you accidentally use baking soda instead, you’ll need an acidic ingredient to balance it; otherwise expect off-flavors and poor rise.
Full Ingredient List for Thankful Cupcakes
– 1 cup all-purpose flour
– 1 cup granulated sugar
– 1/2 cup unsalted butter, softened
– 2 large eggs
– 1/2 cup milk
– 1 tsp vanilla extract
– 1 1/2 tsp baking powder
– 1/4 tsp salt
– Optional: frosting and decorations
Step-by-Step Instructions for Thankful Cupcakes
Step 1: Preheat the oven to 350°F (175°C).
Set your oven to 350°F and position a rack in the center for even heat. Preheating ensures the baking powder activates properly and the cupcakes rise evenly.
Pro Tip: The oven should feel evenly warm when you open the door and the dial reads steady 350°F.
Step 2: Cream the butter and sugar until light and fluffy.
Beat the softened butter with granulated sugar using a stand mixer or handheld mixer. Cream for about 2–4 minutes until the mixture is visibly paler and holds airy ribbons when the beater is lifted.
Pro Tip: The mixture should look pale, smooth, and slightly aerated — not greasy or separated.
Step 3: Beat in the eggs one at a time, then stir in the vanilla extract.
Add eggs one at a time, mixing briefly between additions so each is fully incorporated. Stir in vanilla, scraping the bowl to keep the batter uniform and smooth.
Pro Tip: The batter should look glossy and combined, without streaks of egg white or curdled bits.
Step 4: Whisk together flour, baking powder, and salt in another bowl.
Sift or whisk the dry ingredients to distribute the baking powder and salt evenly. This step avoids lumps and ensures consistent rise and seasoning.
Pro Tip: The dry mix should be light and uniform with no clumps.
Step 5: Gradually add the dry ingredients to the wet mixture, alternating with the milk.
Fold or mix in the dry ingredients in three additions, alternating with the milk (start and end with dry). Mix just until combined to avoid overdeveloping gluten and creating a dense cupcake.
Pro Tip: The batter should be smooth and pourable but not runny — think thick ribbon that dribbles slowly from a spoon.
Step 6: Line a cupcake pan with liners and fill each about 2/3 full with batter.
Use liners or grease the pan, then portion batter with a scoop for uniform cupcakes. Filling to two-thirds allows room for a nice dome without overflow.
Pro Tip: Each well should look evenly filled with a rounded batter top that’s not touching the edges.
Step 7: Bake for 15–20 minutes or until a toothpick inserted into the center comes out clean.
Bake on the center rack and check at 15 minutes; pull out when a toothpick returns clean or with a few moist crumbs. Avoid overbaking to keep the interior tender.
Pro Tip: The tops should be lightly golden and spring back gently when pressed.
Step 8: Allow to cool before frosting and decorating.
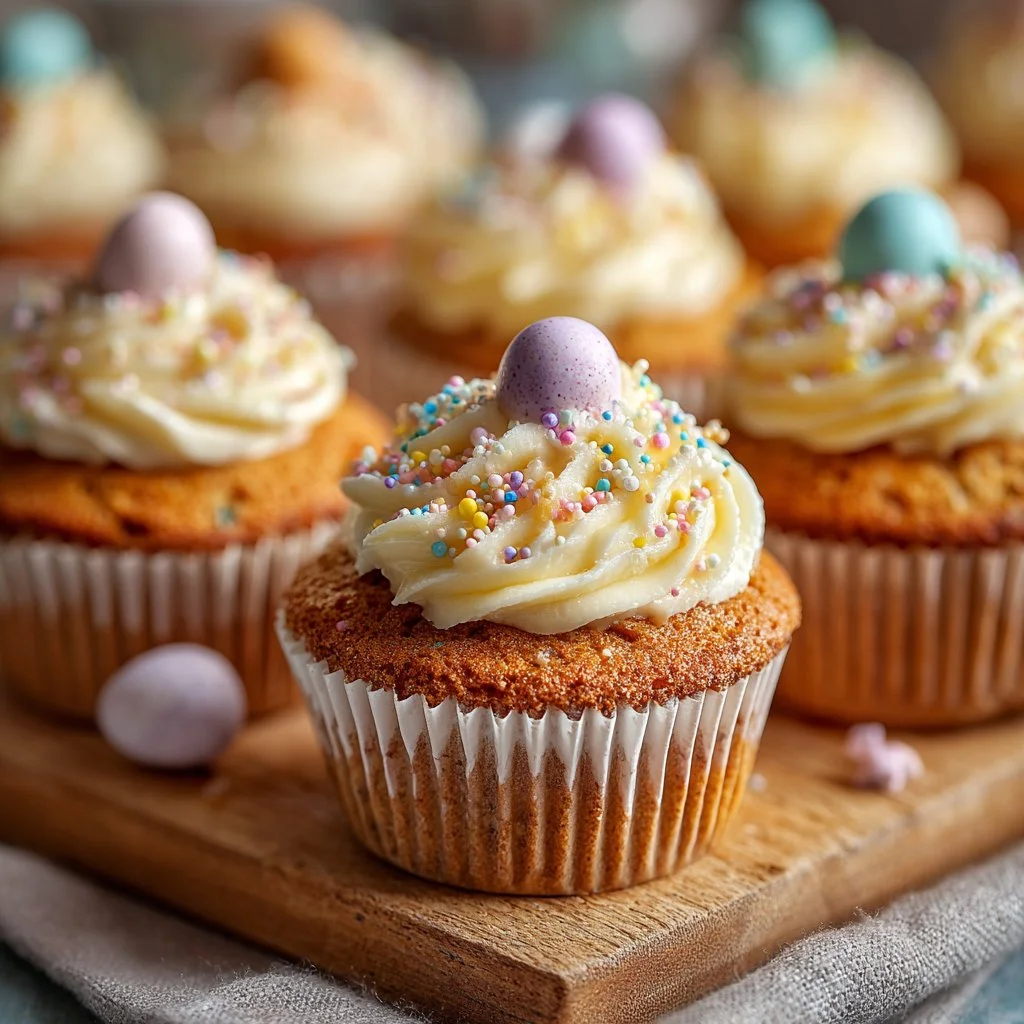
Transfer cupcakes to a wire rack and cool completely before applying frosting to prevent melting or sliding. Once cool, frost as desired and add decorations.
Pro Tip: Cool cupcakes feel steady and not warm to the touch in the center; frosting will set better on completely cooled cakes.
Expert Tips for Thankful Cupcakes
– Chill the batter briefly if your kitchen is warm to slow over-fermentation and improve rise.
– Use room-temperature eggs and milk for better emulsification and smoother batter.
– Measure flour by spooning into the cup and leveling; scooping directly causes dense cupcakes.
– Fresh baking powder is essential — test by mixing a pinch with warm water to see fizzing.
– Avoid overmixing after adding flour; stop when no streaks remain to prevent toughness.
– Use an ice cream scoop for consistent portioning and even bake times.
– Swap half the milk for buttermilk to add tenderness and a subtle tang.
– Let cupcakes cool fully on a rack before frosting; warm cakes cause melted frosting.
Storage & Freezing for Thankful Cupcakes
Store unfrosted cupcakes at room temperature in an airtight container for up to 2 days. For frosted cupcakes, refrigerate in a single layer inside a sealed container for up to 4 days.
For longer storage, freeze unfrosted cupcakes on a tray until firm, then transfer to an airtight freezer bag or container for up to 3 months. To freeze frosted cupcakes, flash-freeze on a tray, then wrap individually in plastic wrap and place in a container.
Thaw frozen cupcakes in the refrigerator overnight or on the counter for 1–2 hours before serving. Reheat gently in a 300°F oven for 5–7 minutes if you want them warm; avoid microwaving as it can make them rubbery.
Best containers: airtight plastic or glass containers for fridge, heavy-duty freezer bags or rigid plastic containers for the freezer. Label with date and contents for easy rotation.
Variations & Substitutions for Thankful Cupcakes
– Lemon Vanilla Thankful Cupcakes: Add 1 tablespoon lemon zest and 1–2 tablespoons lemon juice to the batter, and swap half the milk for buttermilk. The result is a brighter, slightly tangy cupcake that pairs beautifully with cream cheese frosting.
-
Chocolate Swirl Thankful Cupcakes: Remove 2 tablespoons flour and mix with 2 tablespoons cocoa powder, then swirl a chocolate batter into the vanilla batter before baking. Expect a marbled effect and a richer, slightly denser crumb where chocolate is present.
-
Pumpkin Spice Thankful Cupcakes: Fold 1/2 cup canned pumpkin and 1 teaspoon pumpkin pie spice into the batter, and reduce milk by 2 tablespoons. The cupcakes become moister with warm autumn spices, ideal for seasonal decorating.
-
Gluten-Reduced Thankful Cupcakes: Replace up to half the all-purpose flour with a cup-for-cup gluten-free flour blend that contains xanthan gum. Texture will be slightly different — often a bit crumblier — but still flavorful and satisfying.
Frequently Asked Questions About Thankful Cupcakes
Q: Can I make the batter ahead of time?
A: Yes. You can mix the batter and refrigerate it covered for up to 24 hours. Bring it to room temperature and give it a gentle stir before portioning into liners. Note that refrigerated baking powder activity may slightly reduce rise, so expect a very modest change in dome height.
Q: Why did my cupcakes sink in the middle?
A: Sinking usually results from underbaking, opening the oven door too early, or too much leavening. Use an oven thermometer to verify temperature and resist checking until near the end of the bake time. Also ensure the batter wasn’t overmixed, which can create large air pockets that collapse.
Q: How do I make the tops perfectly domed?
A: Use the correct oven temperature (350°F), fill liners about 2/3 full, and avoid overbeating the batter after flour is added. Slightly warmer ovens and higher batter density encourage domes; an oven thermometer helps dial in accuracy.
Q: Can I make these dairy-free?
A: Substitute dairy milk with a non-dairy option like oat or almond milk, and use a dairy-free butter alternative. Texture will be similar, though a slight change in mouthfeel may occur depending on the fat content of the substitute.
Q: What frosting pairs best with these cupcakes?
A: Classic buttercream, cream cheese frosting, or a lightly whipped mascarpone work beautifully. For a lighter option, try a stabilized whipped cream or a simple glaze; sweeter frostings balance the cupcakes’ moderate sweetness without overpowering their buttery flavor.
Final Thoughts on Thankful Cupcakes
These Thankful Cupcakes are a dependable, adaptable base that rewards small upgrades and creative decorations. Leave a star rating in the recipe card below and pin this recipe to your Pinterest boards for easy retrieval.
For seasonal inspiration, check out the Thanksgiving cupcakes collection at Baked by Melissa for playful decoration ideas. If you want themed tutorial ideas, this Gobble Them Up Cupcakes tutorial at Palatable Pastime shows clever turkey designs. For an alternative novelty take, try the devil dog cupcakes recipe from In Jennie’s Kitchen for a nostalgic twist on filled cupcakes.
Thankful Cupcakes
Ingredients
Method
- Preheat the oven to 350°F (175°C) and position a rack in the center.
- Cream the butter and sugar until light and fluffy, about 2–4 minutes.
- Beat in the eggs one at a time, then stir in the vanilla extract.
- Whisk together flour, baking powder, and salt in another bowl.
- Gradually add the dry ingredients to the wet mixture, alternating with the milk.
- Line a cupcake pan with liners and fill each about 2/3 full with batter.
- Bake for 15–20 minutes or until a toothpick inserted into the center comes out clean.
- Allow to cool before frosting and decorating.