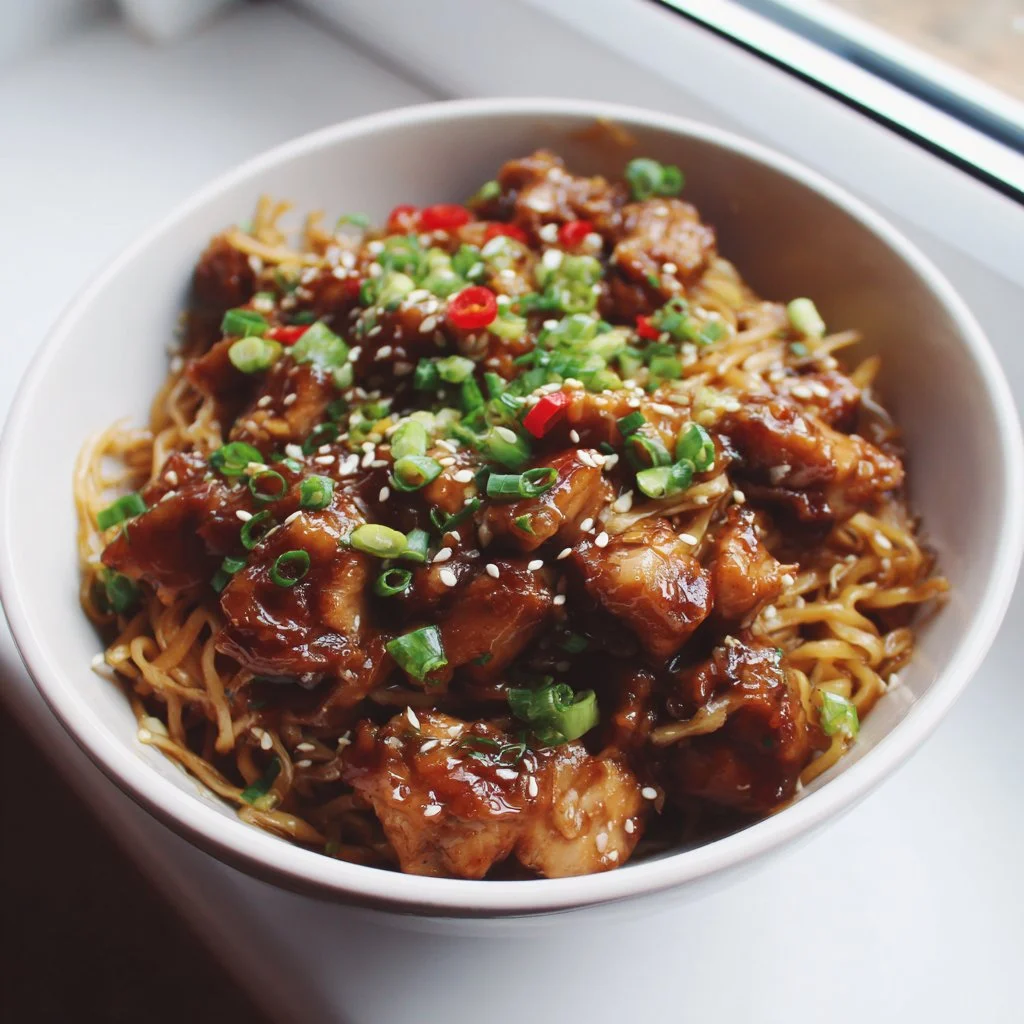
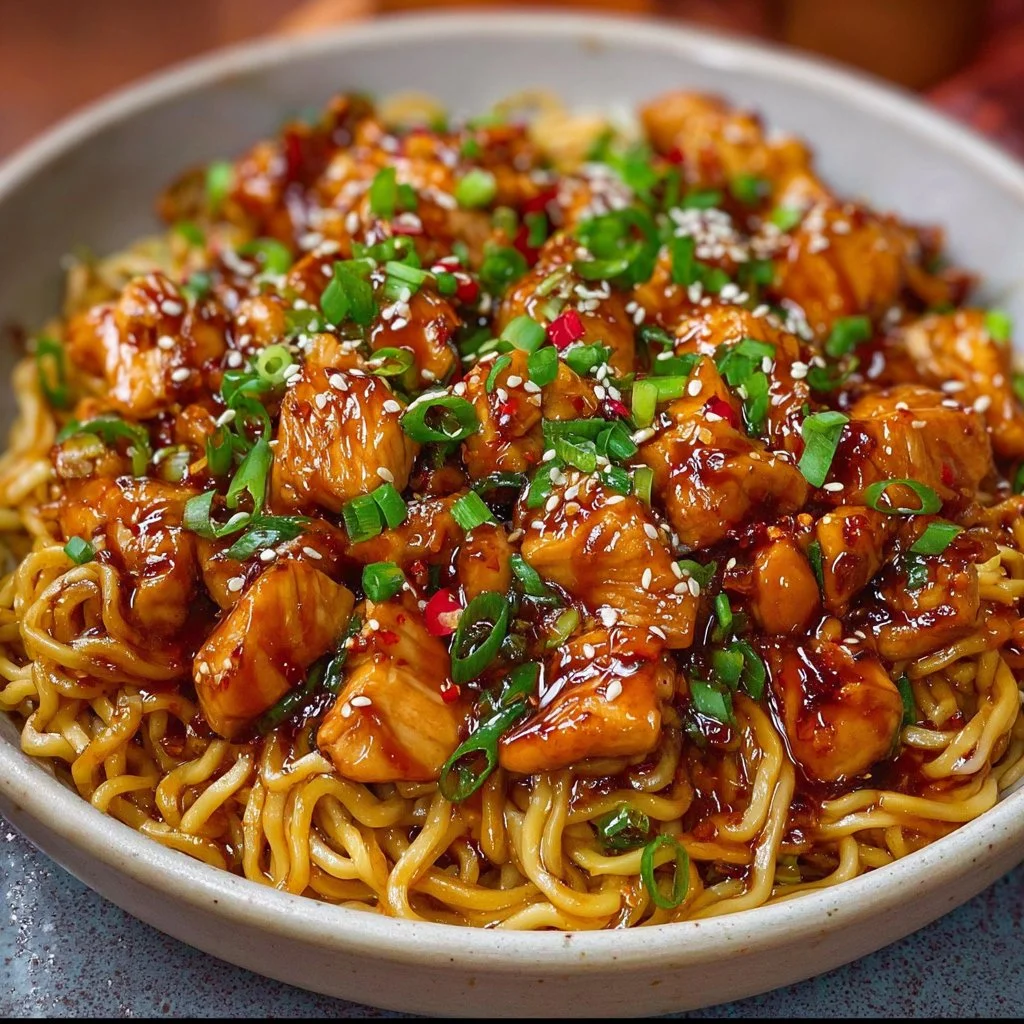
Bright, sticky, and almost impossibly quick, this garlic chicken noodle dish brightens any weeknight.
It clings to the chicken and noodles with a glossy honey-soy glaze that tastes sweet, savory, and garlicky all at once.
Ready in under 30 minutes, it’s pantry-friendly and easy to scale up for guests.
This recipe is built for speed without sacrificing depth of flavor.
If you enjoy simple dinners with big payoff, this will be a new staple in your rotation.
For another satisfying weeknight chicken bowl idea, try this cottage cheese chicken parmesan bowl for variety.
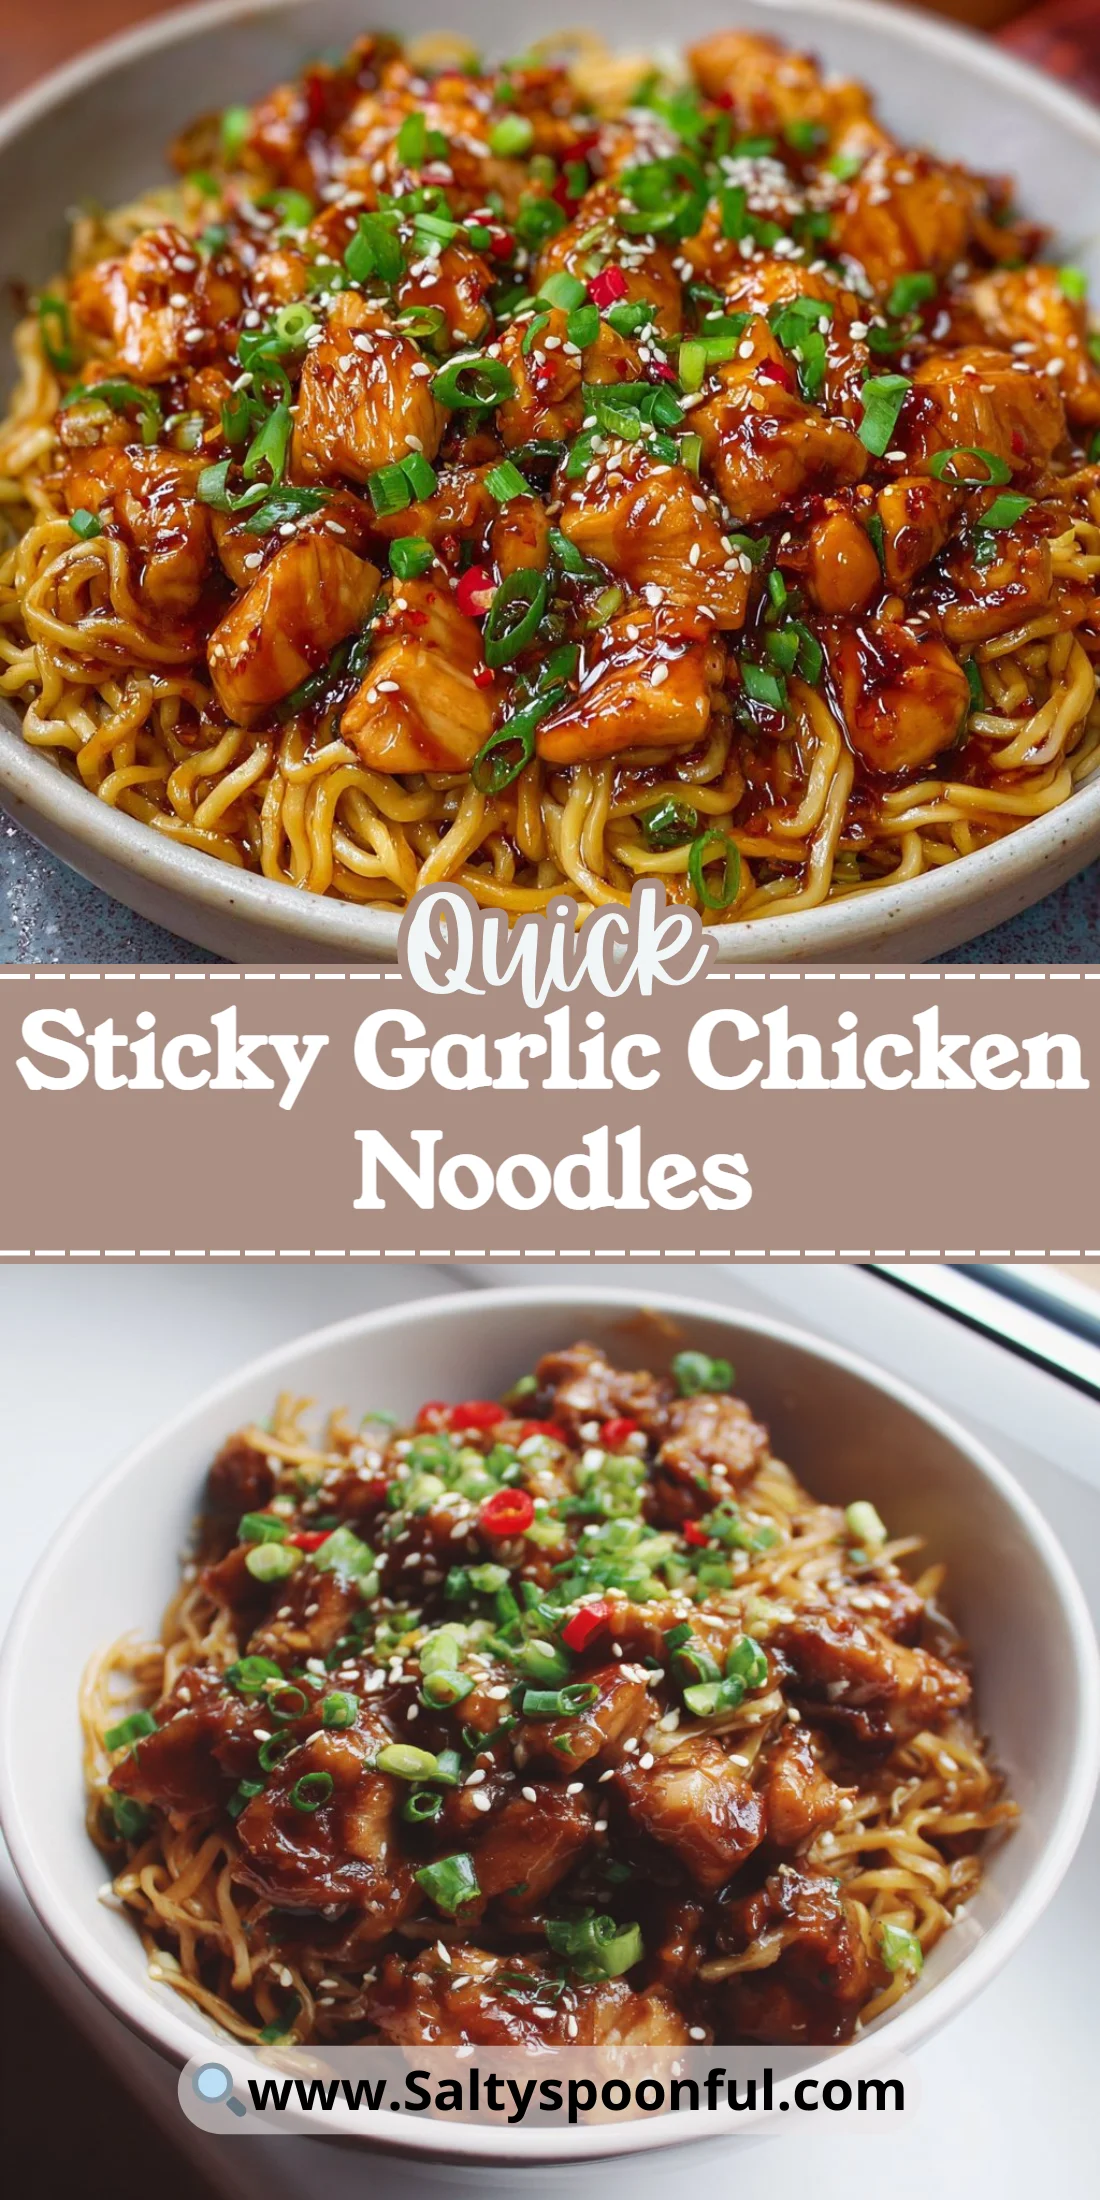
Why You’ll Love This Sticky Garlic Chicken Noodles
- Fast to make: ready in about 20–30 minutes.
- Minimal ingredients: mostly pantry staples.
- Kid-friendly: sweet-savory profile with optional heat.
- Great texture: crispy-tender chicken with glossy sauce.
- Flexible: works with rice or egg noodles and breast or thighs.
- Easy cleanup: one skillet plus a pot for noodles.
The flavor is a balanced mix of honey sweetness and salty soy, brightened by fresh garlic and ginger. The texture combines slightly crisped, cornstarch-coated chicken with slippery noodles that pick up every bit of the sticky sauce.
"Five stars — so simple and so good. The sauce clings to the noodles and the whole family asked for seconds." — Real reader
Key Ingredients for Sticky Garlic Chicken Noodles
Chicken (breast or thighs) — Use 1 lb cut into bite-sized pieces. Chicken thighs bring more juiciness and forgiving texture when cooking quickly. Breast is leaner and cooks faster; slice thinner to avoid drying out. If you substitute tofu, press it well and pan-fry until golden to mimic the texture.
Soy sauce (1/4 cup) — This is the savory backbone of the sauce and supplies umami and salt. Use regular soy sauce for deeper flavor; low-sodium works if you prefer to control salt and plan to reduce the sauce. Tamari can be swapped for gluten-free cooks, but expect a slightly richer, less salty note.
Honey (3 tbsp) — Honey creates the sticky, glossy finish and balances the salt. Use mild-flavored honey so it doesn’t dominate; maple syrup can substitute but the flavor will be different and less floral. If you need a vegan option, use agave syrup—texture stays similar but sweetness intensity differs slightly.
Cornstarch (2 tbsp) — This is crucial for the chicken’s crispy coating and to thicken the sauce. Tossing the chicken in cornstarch before searing creates a golden crust and helps the sauce cling. Arrowroot can replace cornstarch at a 1:1 ratio but gives a clearer, slightly less glossy finish.
Full Ingredient List for Sticky Garlic Chicken Noodles
- 1 lb chicken breast or thighs, cut into bite-sized pieces
- 1/4 cup soy sauce
- 3 tbsp honey
- 4 garlic cloves, minced
- 1 tsp grated ginger
- 1/2 tsp red chili flakes (optional)
- 2 tbsp cornstarch
- 2 tbsp vegetable oil
- 8 oz noodles (rice noodles or egg noodles)
- 2 green onions, chopped
- 1 tsp sesame seeds (optional)
Step-by-Step Instructions for Sticky Garlic Chicken Noodles
Step 1: Make the sauce
In a small bowl combine the soy sauce, honey, minced garlic, grated ginger, and red chili flakes if using. Whisk until the honey is well incorporated and the sauce looks uniform.
Pro Tip: The sauce should look smooth and slightly viscous; the honey will thin after whisking.
Step 2: Coat the chicken
Place the bite-sized chicken pieces in a bowl and toss with the cornstarch until every piece is lightly and evenly coated. Shake off excess cornstarch so it’s a thin, dry dusting.
Pro Tip: The chicken should look dry-matted, not clumpy; this creates a crisply seared surface.
Step 3: Heat your skillet
Warm a large skillet or wok over medium-high heat and add the vegetable oil. Wait until the oil shimmers and just begins to ripple across the pan before adding the chicken.
Pro Tip: The oil should shimmy and spread quickly across the pan — that’s the sign it’s hot enough for a good sear.
Step 4: Sear the chicken
Add the coated chicken pieces in a single layer and cook, turning occasionally, until they are golden and cooked through, about 6–8 minutes depending on size. Work in batches if needed to avoid overcrowding.
Pro Tip: You want a golden-brown crust; if the pan steams the chicken instead, the heat is too low.
Step 5: Add the sauce and thicken
Pour the prepared sauce over the cooked chicken, stirring to coat. Let the skillet come back to a simmer and cook 1–2 minutes until the sauce thickens and becomes glossy, stirring so the sauce reduces slightly and clings to the chicken.
Pro Tip: The sauce should cling and look shiny — if it pools watery, simmer a little longer to reduce.
Step 6: Cook the noodles
Prepare the noodles according to package directions. Drain well and toss with a teaspoon of oil if desired to prevent sticking.
Pro Tip: Noodles should be tender but not mushy; taste a strand before draining.
Step 7: Combine noodles and chicken
Add the drained noodles to the skillet and toss thoroughly so every strand is coated in the sticky sauce and mixed with the chicken.
Pro Tip: The finished dish should be glossy with sauce clinging to both noodles and chicken; use tongs to lift and check coverage.
Step 8: Garnish and serve
Finish with chopped green onions and a sprinkle of sesame seeds if you like. Serve immediately for best texture.
Pro Tip: The green onions should look vibrant and add a fresh pop; sesame seeds add a faint crunch and visual contrast.
Expert Tips for Sticky Garlic Chicken Noodles
- Control heat: Cook chicken over medium-high to get a golden crust without overcooking the interior.
- Use corn-starch correctly: Lightly dust the chicken; too much creates a gummy coating.
- Manage moisture: If your chicken is wet, pat it dry first; moisture prevents crisping.
- Noodle timing: Cook noodles just to al dente since they’ll finish in the sauce.
- Sauce texture fix: If sauce is too thin, simmer a bit longer; if too thick, splash in hot water or stock.
- Equipment tip: A roomy wok or large skillet prevents crowding and helps proper browning.
- Common mistake: Overcrowding the pan lowers temperature and causes steaming instead of searing.
- Flavor boost: Bloom garlic and ginger briefly in oil before adding chicken if you want extra fragrance — don’t burn them.
Storage & Freezing for Sticky Garlic Chicken Noodles
Refrigerator storage: Cool to room temperature, then store in an airtight container for up to 3–4 days. Glass or BPA-free plastic containers with tight lids work best to preserve flavor.
Freezer storage: Place portions in freezer-safe containers or heavy-duty freezer bags and freeze for up to 2 months. Remove as much air as possible to avoid freezer burn.
Thawing: Thaw overnight in the refrigerator for best texture. If short on time, use the defrost setting on your microwave, then reheat gently.
Reheating: Reheat in a skillet over medium heat with a splash of water or broth to refresh the sauce and loosen noodles. Avoid microwaving straight from frozen; it cooks unevenly and can dry out chicken.
Variations & Substitutions for Sticky Garlic Chicken Noodles
Spicy Peanut Twist — Add 2 tbsp peanut butter and 1 tbsp rice vinegar to the sauce, plus an extra pinch of chili flakes. The result is a creamy, nutty coating that clings to the noodles with a richer mouthfeel.
Vegetable-packed Version — Stir-fry bell peppers, snap peas, and carrots before adding chicken and sauce. This adds color, crunch, and nutrition while keeping the sticky sauce as the glue.
Ginger-Soy Tofu Noodles — Replace chicken with firm tofu pressed and coated in cornstarch, then pan-seared until golden. You’ll get the same glossy finish with a plant-based protein that soaks up the sauce.
Honey-Lime Variation — Swap 1 tbsp honey for 1 tbsp lime juice and add lime zest to brighten the dish. The finish will be tangier and brighter, cutting some sweetness for a fresher profile.
Frequently Asked Questions About Sticky Garlic Chicken Noodles
What noodles work best for Sticky Garlic Chicken Noodles?
Rice noodles or egg noodles are both excellent. Egg noodles give a chewier, wheat-forward bite while rice noodles feel lighter and slightly more delicate. Choose based on texture preference and cook them to al dente.
Can I make this gluten-free?
Yes. Use tamari or a gluten-free soy sauce substitute and swap the noodles for certified gluten-free rice noodles. Ensure your cornstarch and other condiments are labeled gluten-free to avoid cross-contamination.
How do I stop the noodles from getting soggy when reheating?
Store noodles and chicken together in an airtight container but reheat gently in a skillet with a splash of hot water or stock to re-loosen the sauce. Avoid high microwave heat which can make noodles mushy.
Is it okay to use frozen chicken?
Use thawed chicken for even cooking and to allow the cornstarch to adhere properly. If using frozen, fully thaw and pat dry before cornstarch coating; semi-thawed chicken will release more water and steam.
Can I double the recipe for meal prep or entertaining?
Yes. Double the ingredients and cook chicken in batches to avoid overcrowding. For large batches, keep sauce ratios the same and toss just before serving so noodles don’t absorb all the sauce.
Final Thoughts on Sticky Garlic Chicken Noodles
If you enjoyed this quick sticky garlic noodle skillet, you might like this version from Half Baked Harvest for a crispy take.
For a pressure-cooker shortcut, check out an Instant Pot adaptation with peanut notes at this Instant Pot sticky garlic recipe.
If you prefer slow-cooker convenience, compare methods with a slow-cooker honey garlic noodle recipe over at Allrecipes.
Please leave a star rating in the recipe card below and pin this recipe to Pinterest if you loved it.
Sticky Garlic Chicken Noodles
Ingredients
Method
- In a small bowl, combine soy sauce, honey, minced garlic, grated ginger, and red chili flakes (if using). Whisk until smooth and well incorporated.
- Toss chicken pieces with cornstarch in a separate bowl until evenly coated.
- Heat vegetable oil in a large skillet or wok over medium-high heat until shimmery.
- Add coated chicken in a single layer to the skillet and cook, turning occasionally until golden and cooked through, about 6-8 minutes.
- Pour the prepared sauce over the chicken, stirring to coat, and simmer for about 1-2 minutes until the sauce thickens.
- Cook the noodles according to the package directions, drain, and mix quickly with a teaspoon of oil to prevent sticking.
- Combine the drained noodles with the chicken and sauce in the skillet, tossing thoroughly to ensure even coating.
- Garnish with chopped green onions and sesame seeds if you like. Serve immediately.