The easiest cheesecake trick you’ll make this month is here: tangy yogurt, silky cream cheese, and a chocolate “magic shell” that cracks like candy.
It’s fast to assemble, bakes reliably, and finishes with a glossy chocolate shell that snaps with each slice.
Perfect for weeknights or celebrations when you want a show-stopping dessert without fuss.
Read on for ingredient science, step-by-step visuals, troubleshooting, and clever variations to make this Magic Shell Yogurt Cheesecake your new go-to.
Why You’ll Love This Magic Shell Yogurt Cheesecake
– Creamy cheesecake texture with lighter tang from yogurt.
– A crisp graham crust that balances the silky filling.
– Fast, foolproof magic shell topping that hardens beautifully.
– Lower-fat feel thanks to yogurt without losing richness.
– Simple pantry ingredients; no special equipment beyond a springform pan.
– Great make-ahead dessert that improves after chilling.
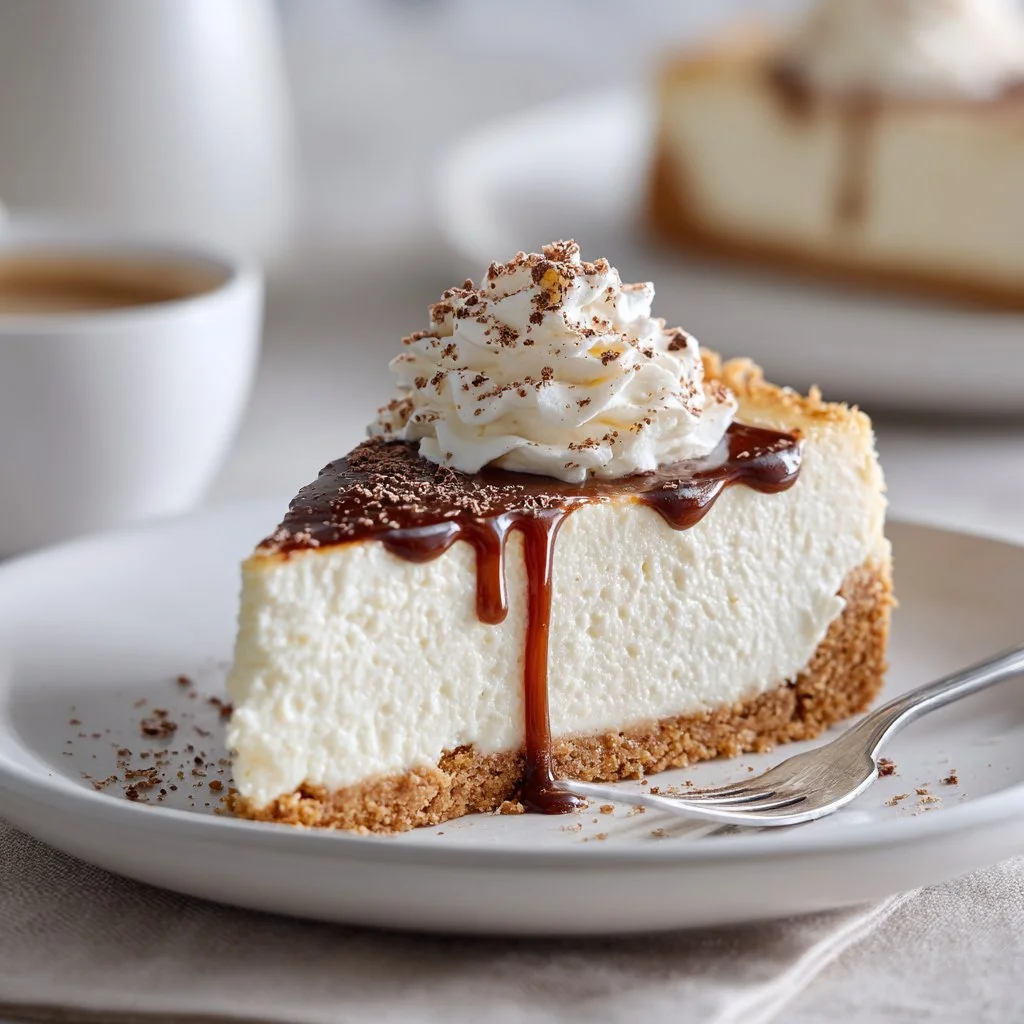
The taste is bright and slightly tangy from the yogurt, while the cream cheese provides dense, lush richness. The magic shell adds a dramatic snap and intense chocolate flavor that contrasts the mellow filling perfectly. Texture-wise you get a sturdy slice that still jiggles slightly in the center — exactly what a baked cheesecake should be.
“5 stars — light and decadent at the same time. The chocolate shell made it feel gourmet. My guests couldn’t stop taking photos before they ate it!” — Ellie, home baker
Key Ingredients for Magic Shell Yogurt Cheesecake
Cream cheese (16 oz), softened.
Cream cheese is the backbone of the cheesecake’s structure and mouthfeel. Buy full-fat brick cream cheese for the smoothest texture; low-fat versions can introduce wateriness and a grainy finish. If you must substitute, use a 1:1 ratio of mascarpone for even silkier results, but expect a richer flavor and softer set.
Plain yogurt (1 cup).
Yogurt lightens the filling and adds a bright, tangy note that balances the sweetness. Choose thick plain Greek yogurt for the least extra water; standard yogurt can be used but may require longer baking and chilling to set. If swapping with sour cream, expect a slightly creamier but less tangy profile.
Chocolate chips (1 cup) and coconut oil (2 tablespoons).
These two create the magic shell: the coconut oil thins melted chocolate so it pours into a glossy coating that snaps when chilled. Use semisweet or bittersweet chips for a balanced chocolate flavor; milk chocolate will be sweeter and softer. If you replace coconut oil with vegetable oil, the shell may not harden as crisply because coconut oil solidifies at cooler temps.
Graham cracker crumbs (1 cup), sugar (1/4 cup), and unsalted butter (1/3 cup), melted.
The crust binds with melted butter and sugar to give a toasty base that cuts cleanly. Use finely ground crumbs for an even press-in crust; if you substitute with digestive biscuits or Oreos, omit the sugar for already-sweet cookies.
Full Ingredient List for Magic Shell Yogurt Cheesecake
– 1 cup graham cracker crumbs
– 1/4 cup sugar
– 1/3 cup unsalted butter, melted
– 16 oz cream cheese, softened
– 1 cup plain yogurt
– 1/2 cup powdered sugar
– 1 teaspoon vanilla extract
– 1 cup chocolate chips
– 2 tablespoons coconut oil
Step-by-Step Instructions for Magic Shell Yogurt Cheesecake
Step 1: Preheat the oven to 325°F (160°C).
Set a rack in the center of the oven and preheat fully so the cheesecake bakes evenly from the start.
Pro Tip: The oven should feel steadily warm; if you see hot spots, rotate the pan mid-bake. A fully preheated oven gives a pale, even top.
Step 2: Make and press the crust.
In a bowl, mix graham cracker crumbs, sugar, and melted butter until the crumbs look evenly moistened. Press the mixture firmly into the bottom of a 9-inch springform pan, packing it to an even thickness. Chill briefly while you make the filling.
Pro Tip: The crust should hold together when squeezed—no loose, powdery bits.
Step 3: Beat the cream cheese until smooth, then add yogurt, powdered sugar, and vanilla.
Use a paddle attachment or a hand mixer on low speed to avoid overbeating. Scrape the bowl and mix until the filling is glossy and homogenous with no lumps.
Pro Tip: The mixture should be silky and ribbon-like when lifted; no curds or grainy bits visible.
Step 4: Pour the filling over the crust and smooth the top.
Tap the pan gently on the counter to release trapped air bubbles that create holes while baking. Smooth the surface with an offset spatula for a clean top.
Pro Tip: The surface should look even and free of big bubbles; small pinholes are fine.
Step 5: Bake until the center is slightly wobbly, about 45 minutes.
Bake until the edges are set and the center has a gentle wobble — not liquid but not firm either. Let the cheesecake cool on the counter, then refrigerate for at least 4 hours to finish setting.
Pro Tip: The center should jiggle like jello when nudged; a firm center means it’s overbaked and may crack.
Step 6: Make the magic shell by combining chocolate chips and coconut oil.
Place the chocolate chips and coconut oil in a microwave-safe bowl. Heat in 30-second intervals, stirring between each, until the mixture is smooth and pourable. Keep warm but don’t overheat.
Pro Tip: The sauce should be glossy and free of graininess; if it looks dull, stir until shiny or gently rewarm.
Step 7: Pour the warm magic shell over the chilled cheesecake and let it set.
Pour in a steady stream from the center so the chocolate spreads and drips naturally over the edges. Refrigerate briefly until the shell hardens.
Pro Tip: The shell should set to a glossy, glass-like finish that cracks when tapped.
Step 8: Slice and serve.
Run a warm, dry knife between slices for clean edges; wipe after each cut. Serve chilled and enjoy the contrast of creamy filling and crisp shell.
Pro Tip: Slices should hold shape with a clean chocolate snap on top and a velvety interior.
Expert Tips for Magic Shell Yogurt Cheesecake
– Chill time matters: refrigerate at least 4 hours, preferably overnight, for the cleanest slices.
– Use room-temperature cream cheese to avoid lumps; beat slowly to prevent air bubbles.
– If your top cracks, it’s usually from overmixing or rapid temperature change; cool slowly at room temp before chilling.
– For a glossy shell, stir the chocolate until completely smooth and pour while slightly warm — not hot.
– Equipment tip: a 9-inch springform pan gives neat sides; line the bottom with parchment for easier release.
– Temperature tips: bake at a low 325°F and avoid opening the oven during the first 30 minutes to prevent sinking.
– Texture troubleshooting: a soupy center means underbaked; return to oven in 5–10 minute intervals until the outer edges are set.
– Common mistakes: using thin yogurt releases water; strain yogurt if it seems watery or use Greek yogurt instead.
Storage & Freezing for Magic Shell Yogurt Cheesecake
Fridge storage: Keep in an airtight container or cover the springform pan tightly with plastic wrap. Store for up to 4 days.
Freezer storage: For longer storage, freeze slices individually on a sheet until firm, then wrap each slice in plastic and foil or place in a freezer-safe container. Freeze up to 3 months.
Thawing: Thaw overnight in the refrigerator for best texture. Avoid quick-thawing at room temperature; condensation can soften the magic shell.
Reheating: Serve chilled; do not warm the whole cheesecake. If you need slightly softer texture, rest a slice at room temperature for 10–15 minutes before serving.
Variations & Substitutions for Magic Shell Yogurt Cheesecake
Chocolate-hazelnut swirl: Fold 2–3 tablespoons of chocolate-hazelnut spread into a portion of the filling and swirl before baking. You’ll get pockets of rich, nutty chocolate that contrast with the tangy yogurt.
Lemon yogurt cheesecake: Replace vanilla with 2 teaspoons lemon zest and swap plain yogurt for lemon-flavored Greek yogurt. Expect a brighter, citrus-forward profile that lightens the dessert further.
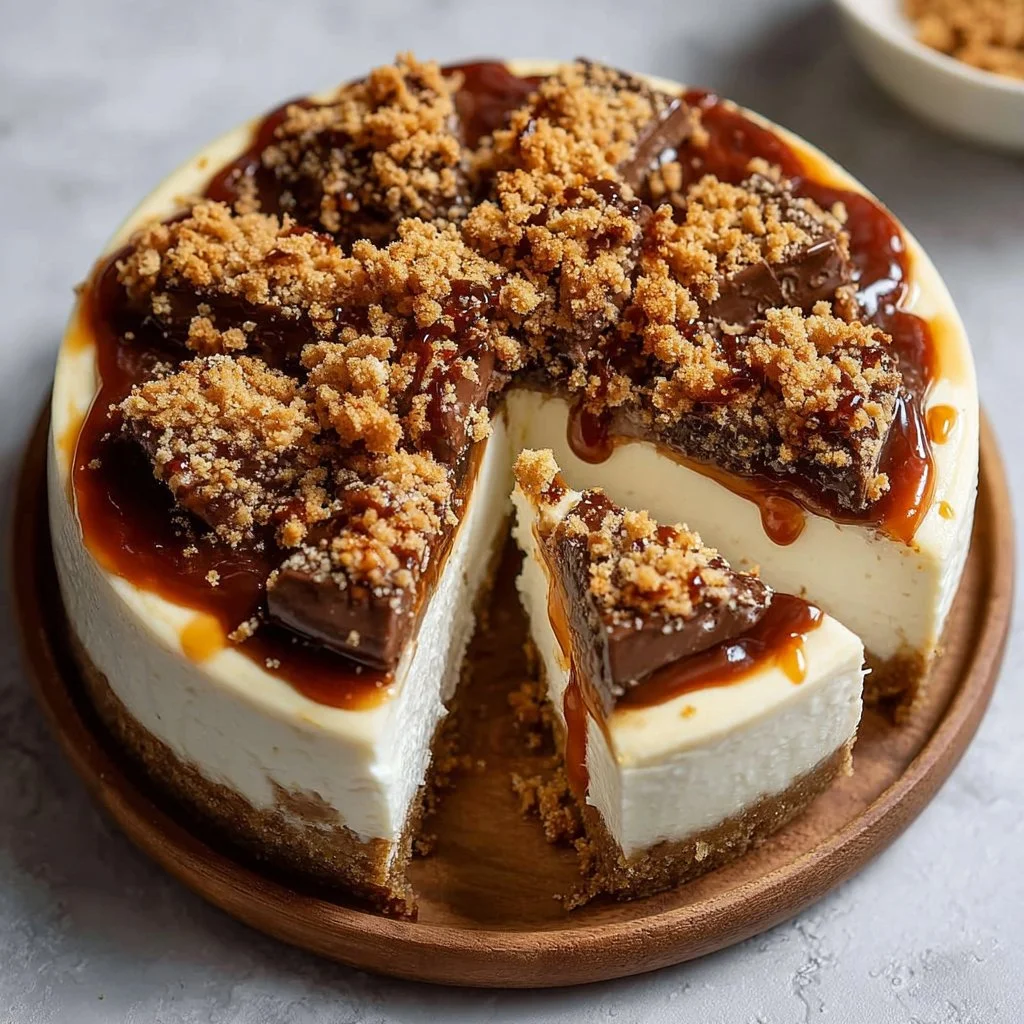
Salted caramel shell: Replace the magic shell with a cooled salted caramel poured over the chilled cheesecake. The result is softer glass-like caramel instead of a brittle shell with a deep buttery note.
Gluten-free crust: Use almond flour (about 1 cup) mixed with 2 tablespoons sugar and 3 tablespoons melted butter pressed into the pan. The crust will be nuttier and slightly softer but pairs beautifully with the tangy filling.
Frequently Asked Questions About Magic Shell Yogurt Cheesecake
Q: Can I use low-fat cream cheese or nonfat yogurt?
A: You can, but expect a looser set and potentially grainier texture. Low-fat cream cheese contains more water and less fat, which weakens the structure. If using low-fat ingredients, extend chilling time and consider a gentler whip to avoid air incorporation.
Q: Why did my cheesecake crack on top and how do I prevent it?
A: Cracks often come from overbaking, rapid cooling, or too much air in the batter. To prevent them, avoid high speeds when mixing, bake at 325°F, and allow the cheesecake to cool gradually on the counter before refrigerating. A water bath can also help regulate temperature for larger cheesecakes.
Q: How do I get a perfectly glossy magic shell without streaks?
A: Ensure the chocolate is fully melted and smooth before pouring. Use coconut oil to thin and add shine. Pour while lukewarm and work quickly; small streaks usually come from recrystallized chocolate—reheat gently and stir until glossy.
Q: Can I make this as no-bake cheesecake?
A: You can adapt the filling to a no-bake version by folding whipped cream into sweetened cream cheese and yogurt, then chilling until firm. The texture will be lighter and less dense, and the setting time will be longer, but the magic shell technique remains the same.
Q: Is the magic shell shelf-stable on the cheesecake?
A: The shell stays crisp in the refrigerator for several days, but it can slightly soften at room temperature or if moisture condenses on it after thawing. Store covered in the fridge and avoid leaving slices at room temperature for extended periods.

Final Thoughts on Magic Shell Yogurt Cheesecake
This Magic Shell Yogurt Cheesecake blends creamy tang, a crunchy crust, and a dramatic chocolate shell into an effortless, elegant dessert. Please leave a star rating in the recipe card below and pin this to Pinterest so others can find it.
For inspiration and similar recipes, check out a fluffy Greek Yogurt Peanut Butter Cups recipe, a playful Magic Shell Yogurt Bites recipe, a protein-packed take in the High Protein Magic Shell Yogurt Cup, a seasonal idea with the Pumpkin Magic Shell Yogurt Cup, and a step-by-step guide on How to Make a Magic Shell Yogurt Bowl.
Magic Shell Yogurt Cheesecake
Ingredients
Method
- Preheat the oven to 325°F (160°C).
- In a bowl, mix graham cracker crumbs, sugar, and melted butter until evenly moistened. Press mixture firmly into the bottom of a 9-inch springform pan.
- In a separate bowl, beat cream cheese until smooth. Add yogurt, powdered sugar, and vanilla. Mix until glossy and homogenous.
- Pour the cheesecake filling over the crust, smoothing the top. Bake for about 45 minutes until the center is slightly wobbly.
- Let the cheesecake cool on the counter, then refrigerate for at least 4 hours.
- Combine chocolate chips and coconut oil in a microwave-safe bowl. Heat in 30-second intervals until smooth.
- Pour the warm magic shell over the chilled cheesecake and let it set in the refrigerator.
- Slice and serve the cheesecake, running a warm knife between slices for clean edges.