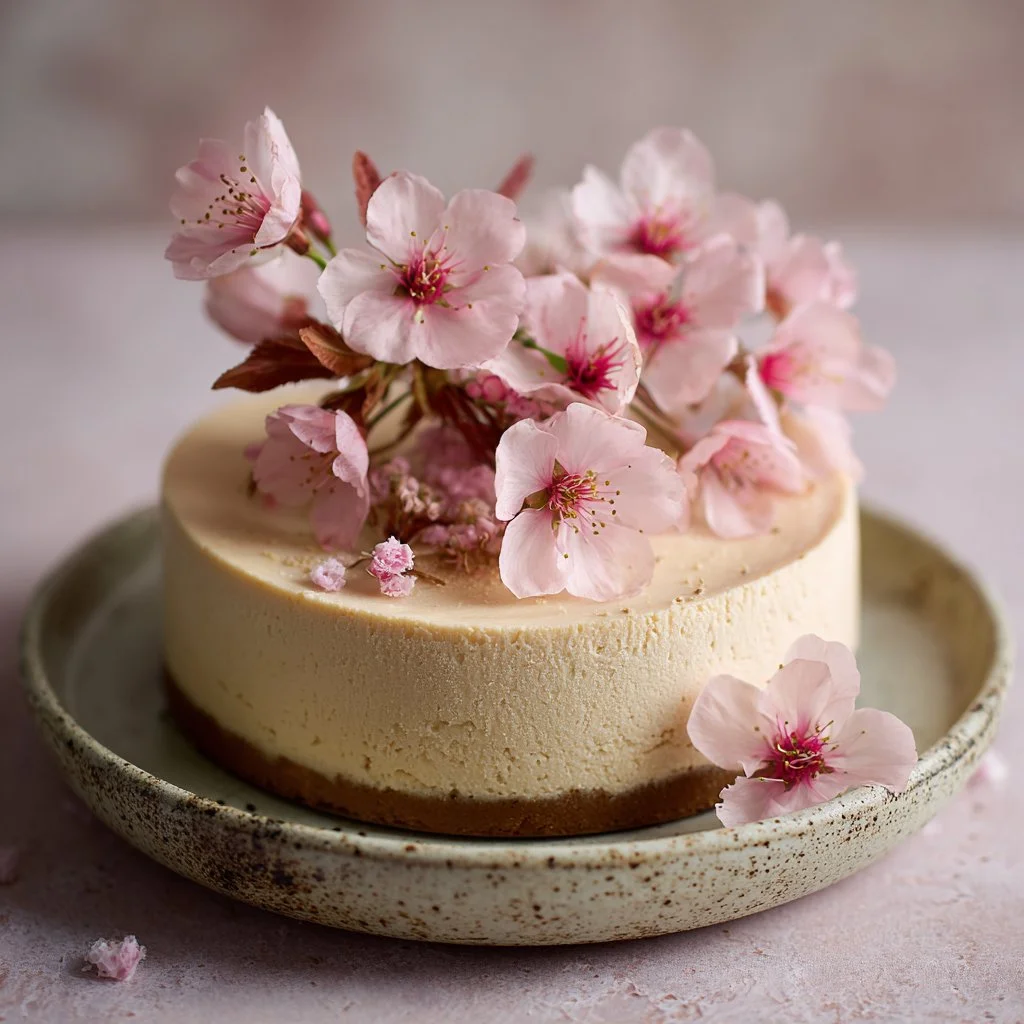
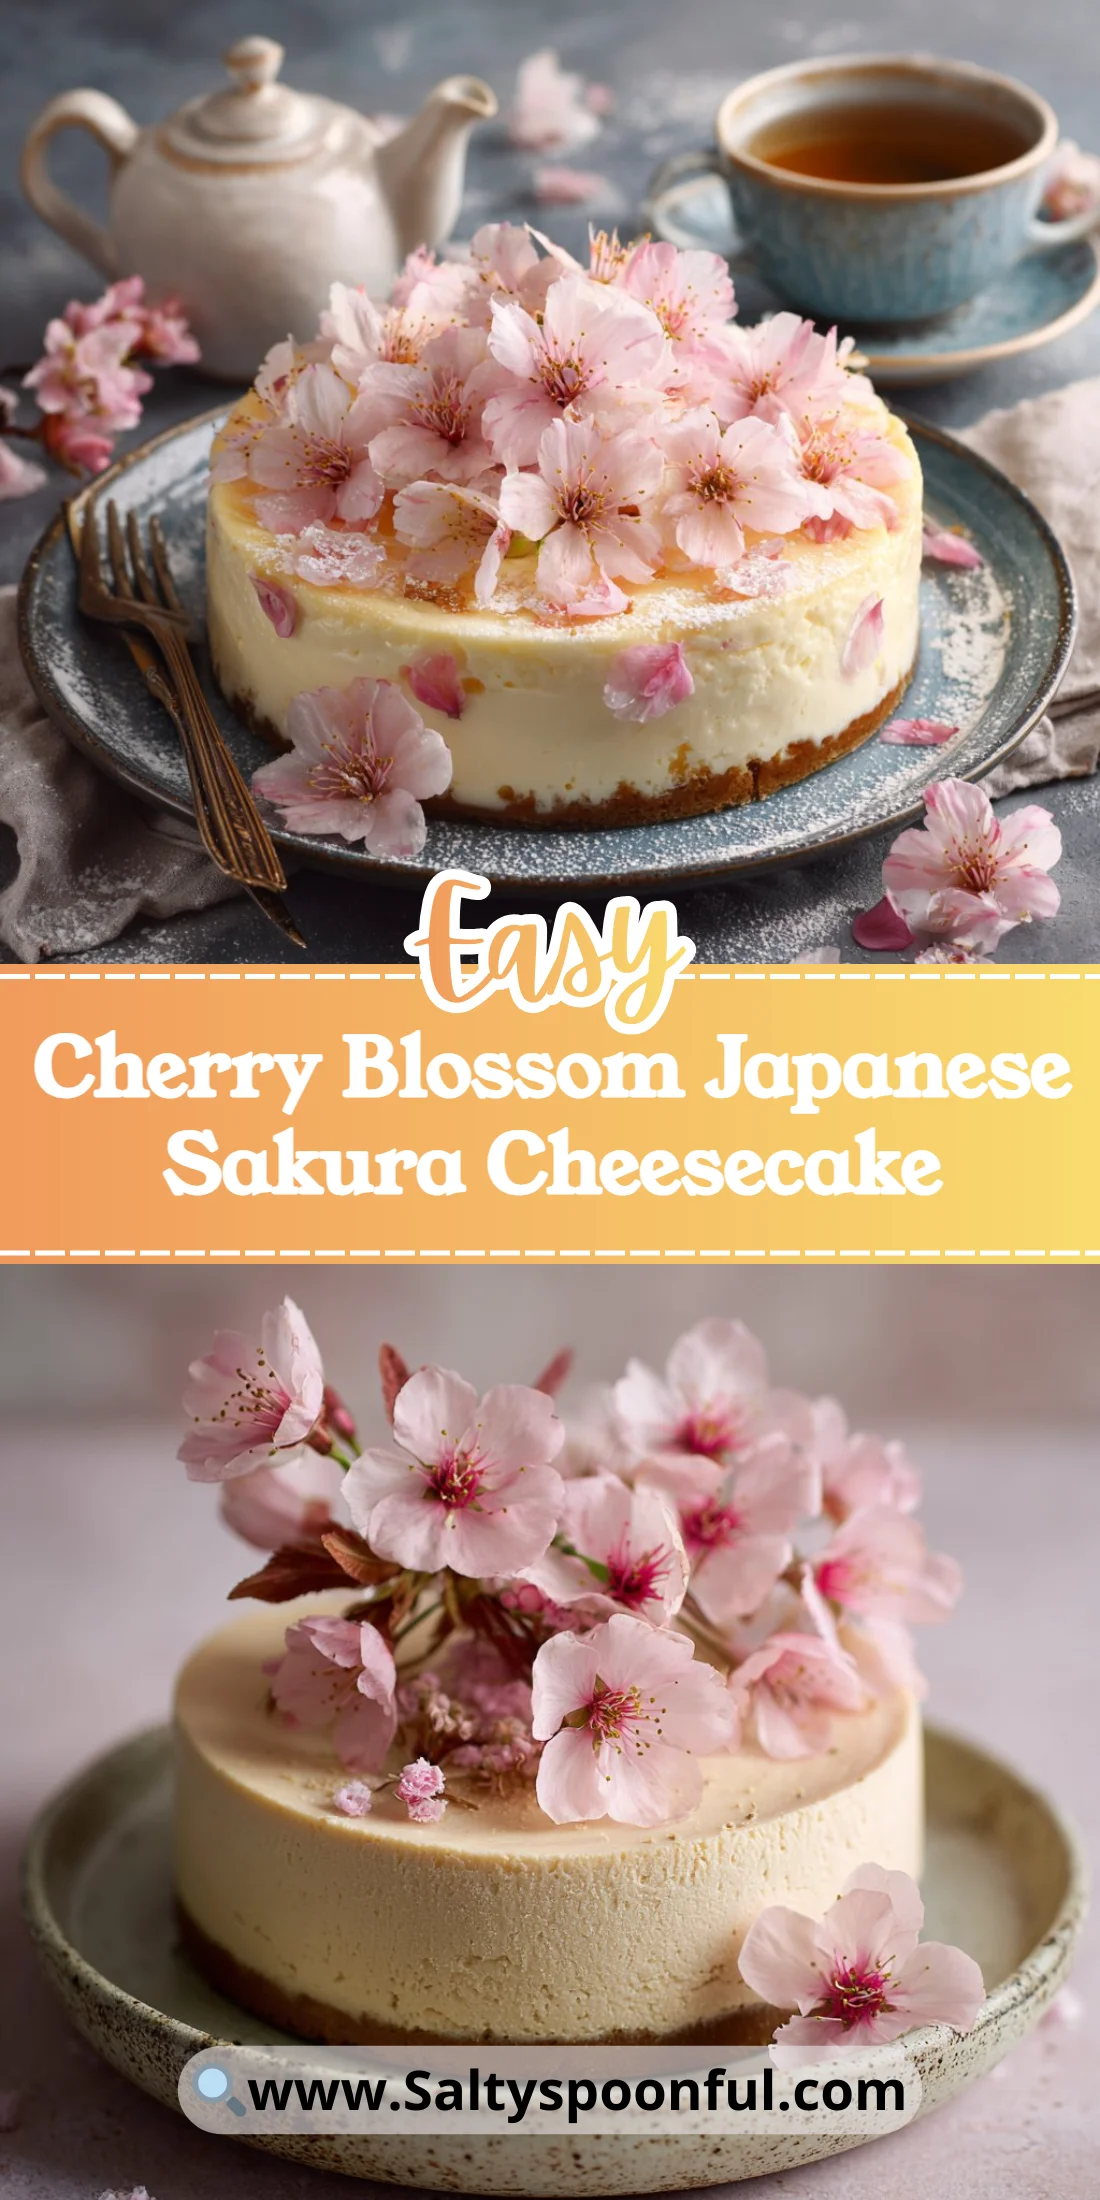
Spring in a slice: this Cherry Blossom Japanese Sakura Cheesecake is feather-light, floral, and impossibly silky. It folds salted sakura blooms into a souffle-like cheesecake for a delicate nod to hanami season.
The method is straightforward but precise. Small steps—temperature control, gentle folding, and a water bath—pay big dividends.
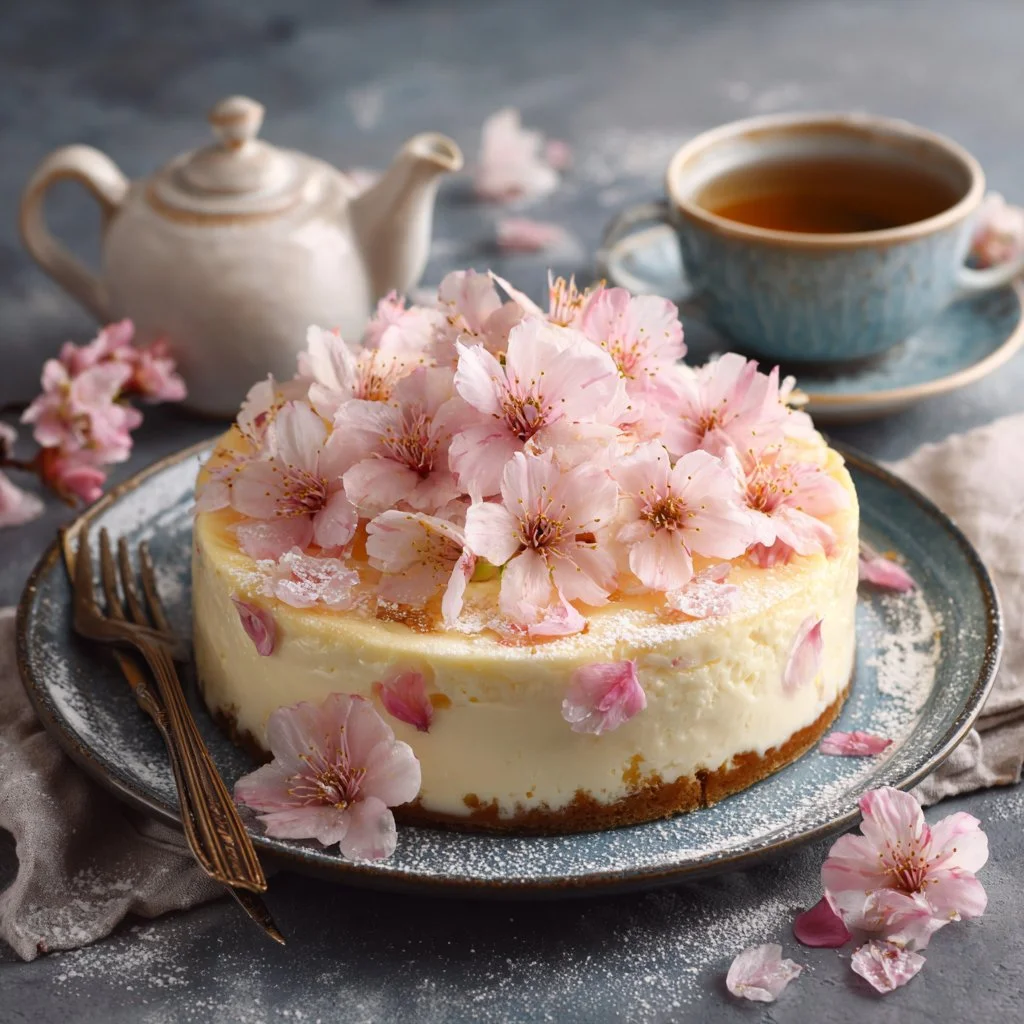
If you love Japanese cheesecakes or want an elegant showstopper for tea, this recipe delivers. Try it after a no-bake treat for variety like the playful Lucky Charms cheesecake I often pair it with: no-bake Lucky Charms cheesecake.
Why You’ll Love This Cherry Blossom Japanese Sakura Cheesecake
– Silky, cloud-like texture that melts on the tongue.
– Subtle floral sakura aroma without being overpowering.
– Light sweetness balanced with a hint of lemon brightness.
– Elegant presentation with preserved blossoms at the base.
– Gentle bake and water bath make it forgiving for home bakers.
– Makes a striking small cake perfect for intimate gatherings.
The taste is delicate: a whisper of saline floral from the sakura balanced by tangy cream cheese and a whisper of lemon. The texture is more soufflé than dense Western cheesecake—airy, close-crumb, and almost mousse-like.
"Five stars — the sakura scent was subtle and heavenly, and the texture was like biting into a cloud. Perfect for our spring tea." — A delighted reader
Key Ingredients for Cherry Blossom Japanese Sakura Cheesecake
Cream cheese — Use full-fat, high-quality block cream cheese for structure and flavor. It softens smoothly and creates the rich base that contrasts the airy egg whites. Avoid whipped or spreadable containers; those include stabilizers and water that thin the batter.
Salted sakura blossoms — These impart the signature floral note and a faint saline complexity. Buy commercially salted preserved sakura from a trusted supplier so they’re food-safe. If you substitute with candied flowers or dried cherries, expect less floral perfume and a sweeter profile.
Eggs (separated) — Eggs create lift and structure: yolks enrich the cream mixture while whipped whites provide the souffle texture. Use large eggs at room temperature for maximum volume. Substituting with egg replacers will lose the billowy texture and likely cause a dense result.
Cake flour and cornstarch — Cake flour gives a tender crumb while cornstarch stabilizes the delicate foam and prevents collapse. If you swap with all-purpose flour, the cake will be slightly firmer; reduce to a slightly smaller measure and sift well to mimic cake flour’s lower protein.
Full Ingredient List for Cherry Blossom Japanese Sakura Cheesecake
– 10 salted sakura blossoms
– 1 cup water
– 8 oz cream cheese, softened
– 4 tablespoons unsalted butter, softened
– 1/3 cup milk
– 3 large eggs, separated
– 1/4 cup granulated sugar
– 1/4 cup cake flour, sifted
– 2 tablespoons cornstarch, sifted
– 1/2 teaspoon lemon juice
– 1/4 teaspoon cream of tartar
Step-by-Step Instructions for Cherry Blossom Japanese Sakura Cheesecake
Step 1: Soak the salted sakura blossoms in 1 cup of water for 30 minutes to draw out excess salt and mellow the flavor. Drain and pat dry.
Pro Tip: Visually the blossoms should look plumped and slightly translucent, not shriveled. Smell them—salt should be muted and floral notes apparent.
Step 2: Preheat the oven to 320°F (160°C), line a 6-inch round cake pan with parchment, and arrange the drained sakura blossoms in the bottom.
Pro Tip: The pan should be snug to the oven rack; blossoms will sit flat and create a pretty mosaic at the base. Use parchment that extends beyond the edges for easy removal.
Step 3: In a double boiler, combine cream cheese, butter, and milk until smooth; cool slightly.
Pro Tip: The mixture should be silky and lump-free, about warm to the touch. If you see curdling or graininess, whisk over gentle heat until smooth—don’t overheat.
Step 4: Whisk in egg yolks one at a time, then add lemon juice, cake flour, and cornstarch until just combined.
Pro Tip: The batter will thicken slightly and look glossy. No streaks of flour should remain; stop mixing once combined to avoid gluten development.
Step 5: Whip egg whites with cream of tartar until soft peaks form, gradually adding sugar.
Pro Tip: Whites should be glossy and hold soft peaks that bend slightly at the tip. If the whites look dry or grainy, you overbeat—start again for maximum lift.
Step 6: Fold the whipped whites into the cream cheese mixture gently.
Pro Tip: Fold in thirds with a wide spatula, scraping the bowl and cutting through the center. The batter should look airy and hold some volume; avoid deflating into a liquid.
Step 7: Pour batter over blossoms, smoothing the top and removing air bubbles.
Pro Tip: Tap the pan gently on the counter to release big bubbles; a toothpick dragged across the surface will reveal a smooth finish. The top should be even and free of large pockets.
Step 8: Place the cheesecake in a water bath and bake for 60 minutes until set.
Pro Tip: The cake should be set around the edges with a slight jiggle in the center—like a soft custard. The top will be a pale golden rather than dark brown.
Step 9: Allow to cool gradually in the oven with the door cracked before cooling on a wire rack.
Pro Tip: Cooling slowly prevents cracks; the center will firm and the surface will settle. After an hour in the oven with the door ajar, it should look evenly set and slightly domed.
Step 10: Chill in the refrigerator for several hours or overnight before serving.
Pro Tip: After chilling, the cake will slice cleanly and the sakura base will retain color. The texture will be silkier after at least 4 hours—overnight is ideal.
Expert Tips for Cherry Blossom Japanese Sakura Cheesecake
– Temperature tips: Use room-temperature eggs and softened cream cheese to ensure smooth emulsification and even rise. Cold ingredients resist blending and can cause lumps.
– Bake temperature: 320°F (160°C) with a water bath gives gentle, even heat; higher temps brown the top and risk a dry edge.
– Texture troubleshooting: If the cake collapses, likely causes are over-folding whites, underbaking, or sudden cooling. Revisit folding technique and oven environment.
– Equipment tips: Use a springform or 6-inch round with high sides and a heavy baking pan for the water bath. A stand mixer yields more stable whites than a handheld.
– Common mistakes: Skipping the water bath or overbeating the meringue are the top reasons for cracks and dense texture. Also, don’t rush cooling.
– Visual cues: Watch for a glossy meringue and a batter that holds light peaks after folding—that signals readiness to bake.
– Flavor balancing: If sakura flavor is too faint, steep the blossoms in warm (not boiling) milk for 15 minutes and strain into the cream mixture next time.
– Make-ahead tip: Bake one day ahead and chill overnight for clean slices and developed flavor.
Storage & Freezing for Cherry Blossom Japanese Sakura Cheesecake
Fridge storage: Keep in an airtight container or wrap the cake gently in plastic wrap. Store up to 4 days in the refrigerator; the texture is best within 48 hours.
Freezer storage: For longer storage, wrap tightly in plastic wrap and then foil, or place slices in a freezer-safe container. Freeze up to 2 months.
Thawing: Thaw overnight in the fridge; avoid a warm countertop thaw which can make the cake weep and lose structure.
Reheating: This cheesecake is best served cold or at cool room temperature. If desired, warm a slice for 10–15 seconds in the microwave on low to lift aromas, but this can soften structure.
Variations & Substitutions for Cherry Blossom Japanese Sakura Cheesecake
Sakura-infused milk variation — Steep the drained blossoms in warm milk for 10–15 minutes, strain, and use the milk in the cream mixture. The cake will have a more pronounced floral aroma and softer sakura flavor throughout.
Matcha swirl version — Add 1–2 teaspoons high-quality matcha to a portion of the batter, swirl gently before baking. This creates a green, earthy counterpoint to the floral sakura and a visually striking marbled top.
Lighter non-dairy variation — Substitute cream cheese with a high-quality coconut or cashew-based cream cheese and full-fat coconut milk for richness. Expect a slightly different mouthfeel and a hint of coconut flavor that complements sakura.
No-bake cherry blossom jelly cheesecake — Use a no-bake cream cheese base and top with a sakura-infused gelatin layer for a chilled, set dessert. This removes the souffle element and yields a firmer, jelly-topped presentation similar to other spring cheesecakes like the jelly cheesecake style found online.
Frequently Asked Questions About Cherry Blossom Japanese Sakura Cheesecake
Q: Can I use fresh cherry blossoms instead of salted sakura?
A: Fresh blossoms may not be food-safe unless specifically prepared for culinary use; salted sakura are preserved and safe. Fresh flowers vary in bitterness and may require blanching and salting control. If using fresh, source edible-grade blossoms and perform a brief soak to remove impurities.
Q: Why did my cheesecake crack on top?
A: Cracks often result from overbaking, rapid temperature changes, or a crust forming too quickly on top. Use the water bath, bake at a moderate temperature, and cool slowly with the oven door cracked to reduce cracking.
Q: How can I make the cake fluffier and taller?
A: Ensure egg whites are whipped to medium-stiff peaks and fold gently in thirds to retain air. Use room-temperature eggs and don’t overmix after combining. Also check your oven temperature with a thermometer—if it runs hot, the batter may set before maximum rise.
Q: Is it safe to use salted sakura if I’m sensitive to salt?
A: The 30-minute soak step reduces surface salt substantially, producing a subtle savory edge rather than overt saltiness. Taste one blossom after soaking; if still too salty, extend soaking with a water change or use fewer blossoms.
Q: Can I scale this recipe up to a larger pan?
A: You can, but larger pans change bake time and texture. Doubling ingredients for a 8–9 inch pan may work, yet expect longer bake times and slightly denser texture; consider adding an extra egg white to maintain lift. For best results, stick with a 6-inch pan or test with incremental scaling.
Final Thoughts on Cherry Blossom Japanese Sakura Cheesecake
This Cherry Blossom Japanese Sakura Cheesecake is a delicate, impressive dessert that rewards attention to detail. If you try it, please leave a star rating in the recipe card below and pin it to your favorite boards.
For inspiration and variations from other bakers, see the sakura dream cheesecake tutorial at Sakura Dream Cheesecake – Bake-Street, a visual Japanese cherry blossom cheesecake guide at Japanese Cherry Blossom Cheesecake | Tastemade, and a no-bake jelly take on the theme at No-Bake Cherry Blossom Jelly Cheesecake – Constellation Inspiration.
Additional internal reading: try a bright no-bake orange creamsicle cheesecake for contrast: no-bake orange creamsicle cheesecake. For playful no-bake ideas, revisit no-bake shamrock shake cheesecake bars. If you enjoyed the light texture, compare techniques with another whimsical no-bake option: no-bake Lucky Charms cheesecake.
Cherry Blossom Japanese Sakura Cheesecake
Ingredients
Method
- Soak the salted sakura blossoms in 1 cup of water for 30 minutes to draw out excess salt and mellow the flavor. Drain and pat dry.
- Preheat the oven to 320°F (160°C), line a 6-inch round cake pan with parchment, and arrange the drained sakura blossoms in the bottom.
- In a double boiler, combine cream cheese, butter, and milk until smooth; cool slightly.
- Whisk in egg yolks one at a time, then add lemon juice, cake flour, and cornstarch until just combined.
- Whip egg whites with cream of tartar until soft peaks form, gradually adding sugar.
- Fold the whipped whites into the cream cheese mixture gently.
- Pour batter over blossoms, smoothing the top and removing air bubbles.
- Place the cheesecake in a water bath and bake for 60 minutes until set.
- Allow to cool gradually in the oven with the door cracked before cooling on a wire rack.
- Chill in the refrigerator for several hours or overnight before serving.