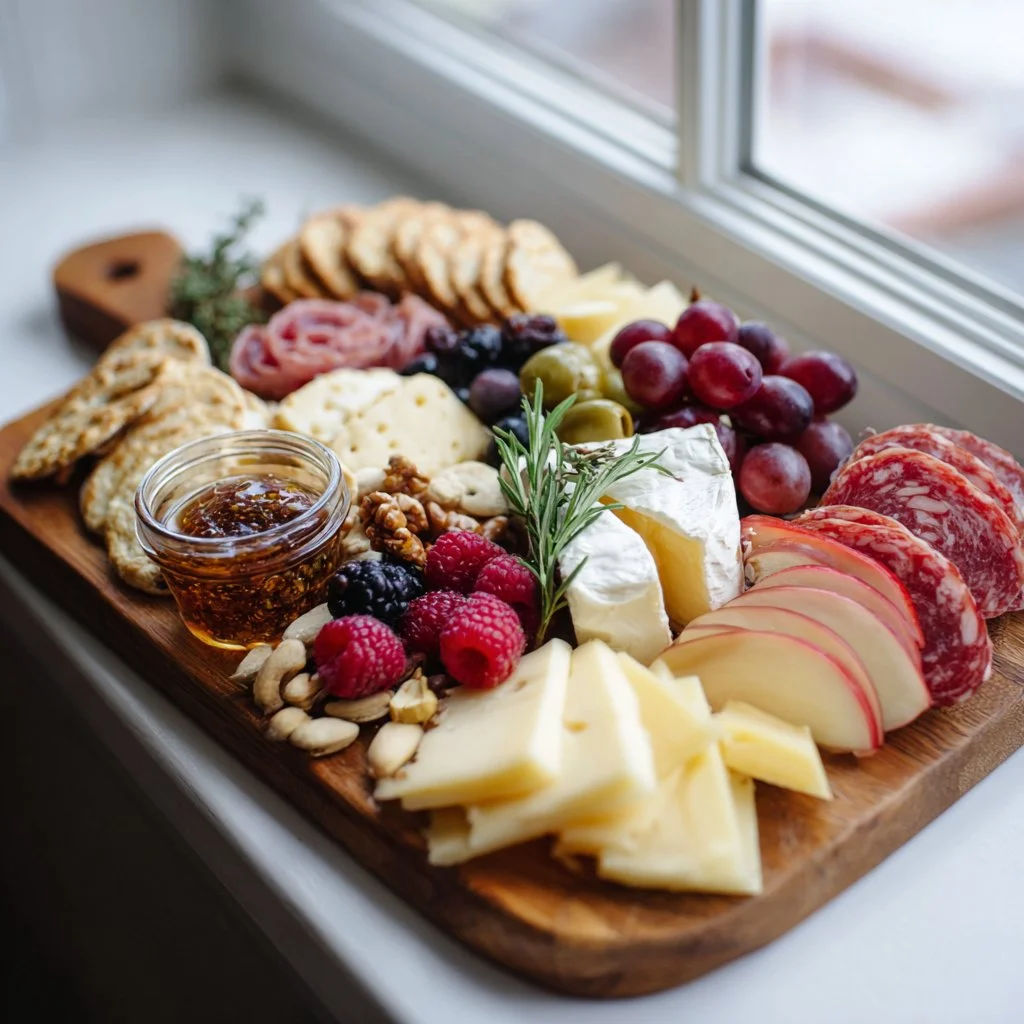
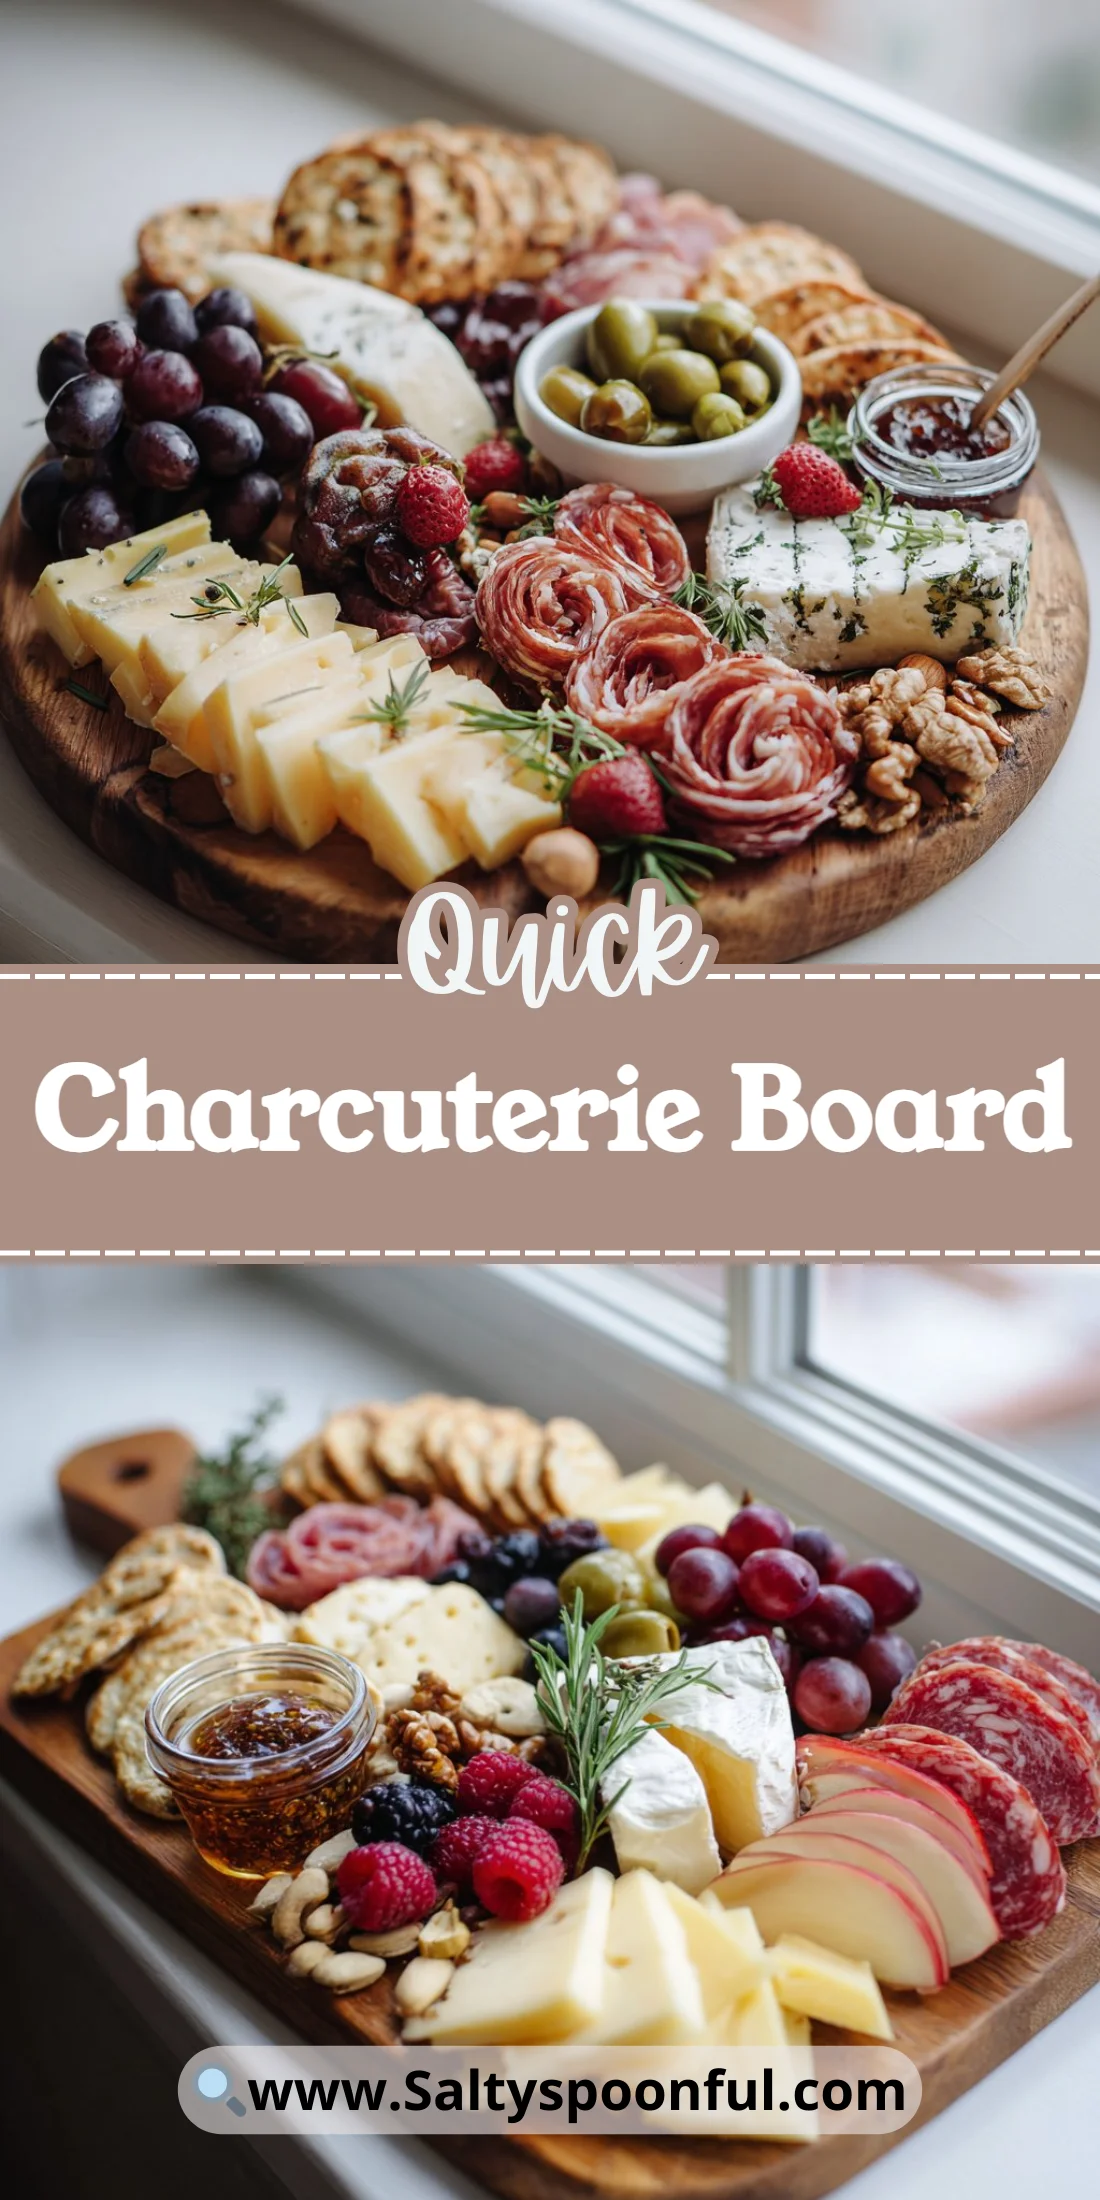
Bright, walk-in-the-room friendly, and endlessly adaptable, a Charcuterie Board turns simple ingredients into a centerpiece. It’s the easiest way to impress without cooking for hours.
Think textures — creamy, crunchy, salty, sweet — all on one surface. Guests graze, sip, and linger. That’s the point.
This guide breaks down the why and how so you can build a board with confidence, beautiful visuals, and predictable flavor balance.
Try pairing these ideas with festive boards like the one I referenced for seasonal inspiration: festive snack board inspiration.
Why You’ll Love This Charcuterie Board
- Fast to assemble and scales easily for any crowd.
- Requires no hot stove time; great for last-minute entertaining.
- Highly customizable for diets and seasons.
- Offers a balance of flavors and textures that keeps people returning for more.
- Works as an appetizer, grazing meal, or cocktail party centerpiece.
- Low waste: leftovers are shareable and store well.
A Charcuterie Board hits salty, sweet, creamy, and crunchy in one sitting. The contrast between aged cheeses and fresh fruit, with sticky honey and crunchy nuts, creates layers of flavor that keep the palate engaged. It’s tactile and social — guests sample a bit of this and that and discover complementary pairings.
"5 stars — I built this exact board for a dinner party and everyone raved. Simple steps, gorgeous result, and zero stress. Will make again!" — A realistic reader review
Key Ingredients for Charcuterie Board
Assorted cheeses
Assorted cheeses are the backbone of any Charcuterie Board. Choose a variety of textures — a soft cheese, a semi-soft, and a hard aged cheese — to provide contrast. Buy from a trusted cheesemonger when possible; if you substitute with supermarket blocks, pick cheeses with clear labels and avoid pre-sliced options for better mouthfeel.
For more ideas on arranging cheeses and small bites, see this helpful pairing ideas.
Cured meats
Cured meats add savory, fatty richness and are where visual drama often lives. Look for a mix of textures: thinly sliced prosciutto, folded salami, and a firmer soppressata or chorizo. If you swap for plant-based alternatives, choose ones with a smoky or umami profile to replace the fatty mouthfeel.
Fresh fruits (grapes, berries, apple slices)
Fresh fruit brings acidity and brightness to cut through richness. Firm fruits like apples and pears hold up well; berries add bursts of sweetness. If you must substitute, opt for pickled fruits or citrus segments to maintain acidity and visual color.
Full Ingredient List for Charcuterie Board
- Assorted cheeses (soft, semi-soft, hard)
- Cured meats (prosciutto, salami, soppressata)
- Fresh fruits (grapes, berries, apple slices)
- Olives
- Nuts (almonds, walnuts, or marcona almonds)
- Crackers or bread (assorted shapes and textures)
- Honey or jam (for drizzling or small bowls)
- Herbs for garnish (rosemary, thyme, or basil)
Step-by-Step Instructions for Charcuterie Board
Step 1: Choose a large wooden or marble board as your base.
Select a board that fits your guest count; leave room to layer items without crowding. Larger boards create drama, while smaller boards feel intimate.
Pro Tip: It should look balanced with negative space around clusters; the grain or veining should be visible and clean.
Step 2: Arrange the assorted cheeses around the board, leaving space between each type.
Place cheeses first so you can plan clusters and plate space. Cut wedges for hard cheeses and leave knives at each cheese to encourage serving.
Pro Tip: Cheese should look inviting — cut a few slices or wedges out so people see the interior texture.
Step 3: Layer the cured meats in folds or rosettes beside the cheeses.
Fold thin slices into loose rosettes or pleats to create height and movement. Group meats near cheeses that pair well — creamy cheeses with fattier meats work beautifully.
Pro Tip: Rosettes should stand slightly off the board surface for depth and subtle shadows.
Step 4: Fill the gaps with fresh fruits, placing larger items like grapes and bigger fruits on the board first.
Create visual anchors with clusters of grapes or halved apples, then tuck in berries and citrus. Layer fruit so colors pop next to cheeses.
Pro Tip: Fruit should look fresh and hydrated, not wilted; a small sheen on berries is appealing.
Step 5: Add olives and nuts for variety and texture.
Place olives in small bowls or scatter them in groups to prevent brine from touching dry elements. Add nuts in small piles to introduce crunch.
Pro Tip: Nuts should look toasted and whole; broken bits give a rustic feel.
Step 6: Include crackers or slices of bread around the edges.
Position crackers and bread along the perimeter for easy grabbing. Offer at least two types: a sturdy cracker and a flaky bread.
Pro Tip: Stack some crackers and fan others; stacks convey abundance while fans invite immediate picking.
Step 7: Drizzle honey or spoon jam into small bowls and place them on the board.
Use small dishes for sticky components to keep them from spreading. Honey pairs with aged cheeses; sweeter jams match milder cheeses.
Pro Tip: The honey should glisten under light and sit slightly pooled in the bowl for shine.
Step 8: Garnish with fresh herbs for color and aroma.
Add sprigs of rosemary or thyme to provide fragrance and visual contrast. Place herbs strategically to frame color transitions.
Pro Tip: Herbs should look freshly clipped and vibrant, not dry or limp.
Step 9: Serve and enjoy!
Place serving utensils, napkins, and small plates nearby and invite guests to graze. Replenish items as needed to maintain the visual appeal.
Pro Tip: The board should smell aromatic and look abundant, with all textures represented.
Expert Tips for Charcuterie Board
- Let cheeses come to room temperature before serving; 30–60 minutes brings out aroma and flavor.
- If a cheese is too soft and ends up runny, pair it immediately with acidic fruit or crisp crackers to balance the texture.
- Use small bowls for wet items (olives, jams, honey) to protect crackers and cheeses.
- Invest in a few quality cheese knives and a spreading knife for soft cheeses; cheap utensils tear textures.
- Avoid overcrowding; leave pathways on the board so colors and textures read clearly.
- Temperature tip: keep cured meats chilled until the last 10–15 minutes to preserve texture and prevent sweating.
- Texture troubleshooting: if crackers are soggy, replace them frequently and keep spreads in separate bowls.
- Common mistakes: relying on only one cheese style, placing wet items directly on wood, or ignoring knife placement for hygiene.
For a quick reference to layout templates, consider this layout templates guide.
Storage & Freezing for Charcuterie Board
Fridge storage: Wrap leftover cheeses tightly in parchment then a loose layer of plastic to breathe; store cured meats in airtight containers or vacuum bags. Most cheeses keep 5–7 days refrigerated; cured meats last 1–2 weeks if unopened and 3–5 days once sliced. For safe handling, use shallow airtight containers for fruits to avoid crushing.
Freezer storage: Freezing changes texture. Hard cheeses like aged cheddar can be frozen up to 2 months but will be crumblier after thawing. Soft cheeses and many cured meats do not freeze well — they lose silky texture and can separate. For nuts and crackers, seal in freezer-safe bags for up to 6 months to preserve crunch.
Thawing: Thaw frozen cheeses slowly in the refrigerator overnight. Avoid microwaving or rapid thawing which creates moisture. Once thawed, use within 48 hours for best texture.
Reheating: Most charcuterie items are served cold; reheating is not recommended. If you want warm elements, heat breads or crostini separately and add to the board just before serving.
For practical storage hacks and safe timelines, review suggestions like this storing cured meats safely.
Variations & Substitutions for Charcuterie Board
Vegetarian Mezze Style
Swap cured meats for marinated vegetables, grilled halloumi, and hummus scoops. The result is a bright, herb-forward board with lots of dip options and Mediterranean flavors.
Vegan Charcuterie Board
Replace cheeses with nut-based or store-bought vegan cheeses, use smoked tofu or seitan slices for savory notes, and add fruit preserves for sweetness. This delivers comparable texture contrast with plant-based richness.
Seafood-Forward Board
Include smoked salmon, shrimp cocktail, and quick-pickled vegetables instead of cured meats. The board becomes lighter and briny, pairing well with crisp crackers and dill garnishes.
Sweet Dessert Board
Use soft mascarpone, honey, sliced pears, chocolate pieces, and sweet biscuits in place of savory meats and olives. The final result is dessert-first: indulgent and easy to spoon.
Frequently Asked Questions About Charcuterie Board
Q: How much food should I prepare per person for a Charcuterie Board?
A: Plan about 3–4 ounces (85–115 g) of total charcuterie items per person for an appetizer, and 6–8 ounces per person if the board is the primary grazing meal. Include a mix of cheeses, meats, and accompaniments so guests can assemble varied bites.
Q: What is the best way to transport a Charcuterie Board to a party?
A: Assemble fragile items on-site when possible. Transport sturdy components in airtight containers and the board separately. Use small bowls for wet items to prevent spills and pack herbs and delicate fruits in shallow containers.
Q: Can I prepare a Charcuterie Board in advance?
A: Yes, do most cutting and group items in containers the day before. Store wet items and crackers separately, then arrange 30–60 minutes before serving so cheeses and herbs are at their best.
Q: What should I pair with a Charcuterie Board to drink?
A: Versatile pairings include light-bodied reds like Pinot Noir, crisp whites like Sauvignon Blanc, dry rosé, and sparkling wines. For non-alcoholic options, fizzy mineral water or apple cider complement fatty and salty flavors.
Q: How do I make a Charcuterie Board kid-friendly?
A: Offer milder cheeses, sliced cold cuts with less spice, sweet fruit, and plain crackers. Create small labeled sections so children can build mini plates with familiar flavors.
Final Thoughts on Charcuterie Board
A Charcuterie Board is a low-effort, high-impact way to feed and delight guests. Build with intention: balance textures, colors, and temperatures for the most memorable result.
If this guide helped, please leave a star rating in the recipe card below and pin this board to your Pinterest for later. For deeper inspiration and variations, check these curated resources: classic assembly guide, vegan charcuterie ideas, and creative layout ideas.
Charcuterie Board
Ingredients
Method
- Choose a large wooden or marble board as your base.
- Arrange the assorted cheeses around the board, leaving space between each type.
- Layer the cured meats in folds or rosettes beside the cheeses.
- Fill the gaps with fresh fruits, placing larger items like grapes and bigger fruits on the board first.
- Add olives and nuts for variety and texture.
- Include crackers or slices of bread around the edges.
- Drizzle honey or spoon jam into small bowls and place them on the board.
- Garnish with fresh herbs for color and aroma.
- Serve and enjoy!