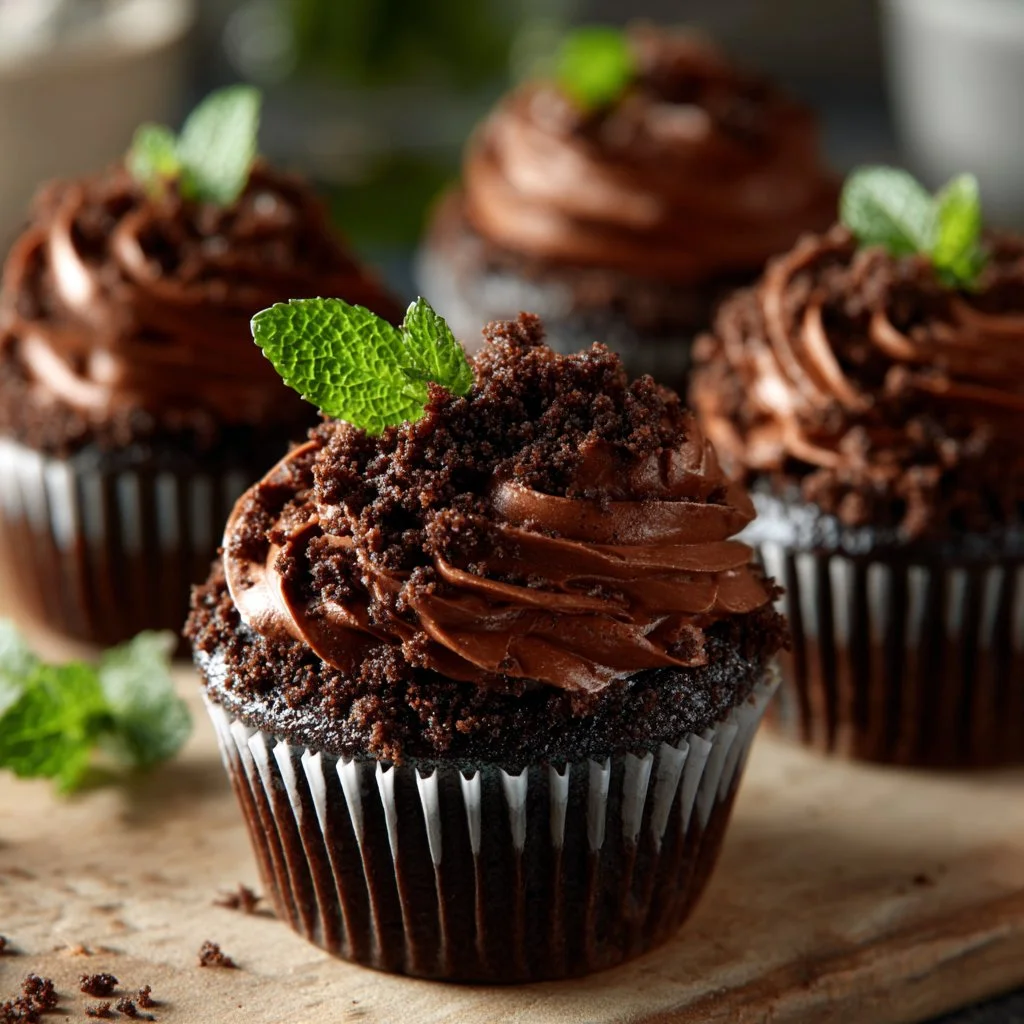
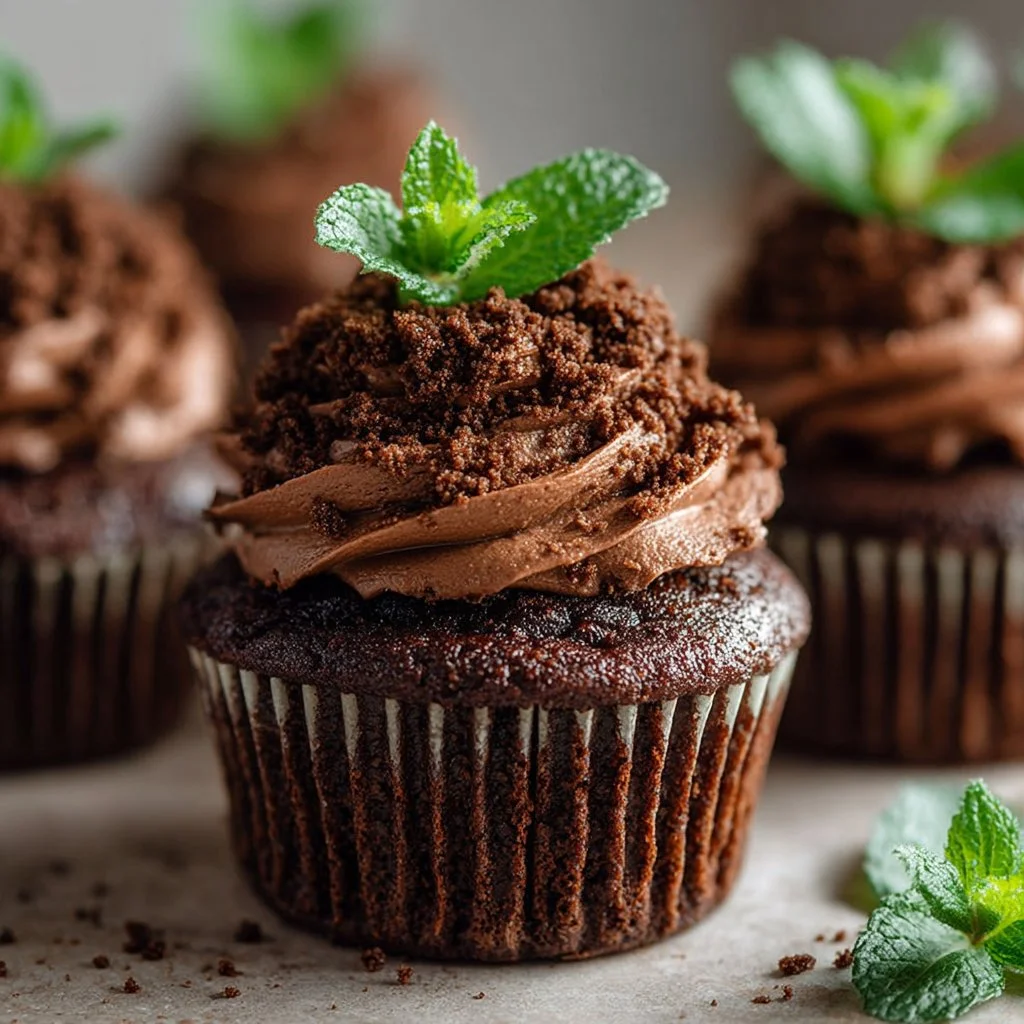
A playful dessert that looks like a tiny garden can transform any party into a springtime moment. These Garden Plant Cupcakes are an easy, show-stopping treat made from simple supplies and a few fresh mint stems.
They take store-bought convenience or your favorite chocolate cupcake base and turn it into a whimsical scene. Kids and adults love the contrast of rich chocolate "soil" and bright green mint.
The technique is straightforward, and the results are delightful even for novice bakers. Expect moist cake, creamy frosting, and a fragrant mint sprig that looks like a miniature plant.
Why You’ll Love This Garden Plant Cupcakes
- Fun, visual dessert that doubles as a centerpiece.
- Uses a simple box mix or your favorite recipe.
- Quick to assemble but impressive to present.
- Kid-friendly decorating that’s low-mess.
- Fresh mint adds aroma and a natural pop of color.
- Optional crumbled cake creates realistic ‘soil’ texture.
Chocolate cupcakes are rich and fudgy, with a moist crumb that contrasts beautifully with a smooth chocolate frosting. The crumbled cake on top gives a believable dirt-like texture, while the mint stem adds height, herbal fragrance, and a fresh bright bite.
"Absolutely adorable and so simple — my guests thought they were edible potted plants! Moist cupcakes, creamy frosting, and the mint made them look professional. Five stars!" — A delighted reader
Key Ingredients for Garden Plant Cupcakes
Chocolate cake mix (or your favorite chocolate cupcake recipe).
This is the flavor backbone. A box mix gives consistent rise and texture with minimal effort, while a homemade batter allows you to tweak cocoa intensity. If you substitute with a different flavor, like vanilla, the visual effect still works but the ‘soil’ contrast will taste lighter.
Eggs (use amount specified on box or recipe).
Eggs provide structure, moisture, and good crumb development in cupcakes. Using too few eggs yields a denser cake; too many can make the crumb cakier and drier. For best results, bring eggs to room temperature to blend evenly into the batter.
Chocolate frosting (canned or homemade).
Frosting creates the adhesive layer for the crumbs and contributes to the chocolatey profile. Homemade buttercream gives a richer mouthfeel and smoother pipeability, while canned frosting is convenient and stable. If you substitute with whipped cream, the ‘soil’ may not stick as well and the mint stem may droop.
Fresh mint leaves on stems (one stem per cupcake).
Mint stems are the decorative ‘plant’ and the aromatic finishing touch. Choose firm, unblemished stems with several leaves for height and realism. Substituting with herb sprigs like rosemary will change the scent profile and firmness — rosemary is sturdier but less garden-like.
Full Ingredient List for Garden Plant Cupcakes
- 1 box chocolate cake mix (or your favorite chocolate cupcake recipe)
- Eggs (amount specified on box or recipe)
- Oil and water (if using box mix; follow package directions)
- Chocolate frosting (canned or homemade)
- Fresh mint leaves on stems (one stem per cupcake)
- Optional: extra cupcakes reserved for crumbling into ‘soil’
Step-by-Step Instructions for Garden Plant Cupcakes
Step 1: Mix the cake batter according to the box or recipe.
Combine mix, eggs, oil, and water as your recipe directs. Beat until smooth and free of lumps, scraping the bowl once or twice.
Pro Tip: The batter should be glossy and pourable, not thick and pasty; it should fall from the spoon in a ribbon.
Step 2: Fill liners and bake cupcakes as directed until a toothpick comes out clean.
Spoon batter into liners about two-thirds full for even domes. Bake on the center rack and start checking at the lower end of the time range.
Pro Tip: Tops should spring back slightly and a toothpick inserted in the center comes out with a few moist crumbs, not raw batter.
Step 3: Cool completely on a wire rack.
Allow cupcakes to cool for at least 30 minutes on a wire rack. Cooling prevents frosting from melting and helps crumbs adhere evenly.
Pro Tip: The tops should feel room temperature and not steam when pressed gently.
Step 4: Pipe frosting on each cupcake.
Fit a piping bag with a round or star tip and apply a generous swirl of chocolate frosting. Build a small mound to hold the crumbled ‘soil’.
Pro Tip: The frosting should hold shape without sliding — glossy, slightly firm, and thick enough to support crumbs.
Step 5: Crumble extra cupcakes into crumbs and sprinkle on top of frosted cupcakes.
Use reserved cupcakes or a third cupcake to crush into fine to medium crumbs. Press crumbs gently onto the frosting so they cling like soil.
Pro Tip: The ‘soil’ should look textured with varying crumb sizes and sit on the frosting without sinking.
Step 6: Insert a fresh mint stem into the center of each cupcake for decoration.
Trim stems to the desired height, then push them gently into the frosted center until stable. Angle stems slightly for a natural look.
Pro Tip: The mint should stand upright and feel firm; if it leans or slides, add a bit more frosting underneath to secure it.
Expert Tips for Garden Plant Cupcakes
- Control oven temperature precisely; even a 10°F difference changes dome shape and crumb. Use an oven thermometer for accuracy.
- For moist, tender texture, avoid overmixing once flour is added; stop when just combined. Overmixing develops gluten and can lead to crumb toughness.
- If cupcakes sink, they may be underbaked or removed from the oven too soon; test earlier but avoid opening the oven during initial rise.
- Pipe frosting with a chilled bowl for buttercream to maintain stability in warm kitchens. Cool frosting holds crumbs and stems better.
- Use a fine and a coarse crumb mix for realistic soil; finer crumbs stick well, coarse crumbs add depth.
- For taller ‘plants’, use sturdier herb stems (rosemary or thyme) but test flavor pairing—rosemary is more aromatic and pairs differently with chocolate.
- Invest in a good offset spatula and a small piping tip; they give control for neater frosting and easier crumb pressing.
- Common mistake: inserting cold or wet mint. Pat stems dry and use room-temperature herbs to prevent wilting and slippage.
Storage & Freezing for Garden Plant Cupcakes
Refrigerator storage: Store frosted cupcakes in an airtight container for up to 3 days. Place a single layer in the container to avoid squashing the mint stems and keep humidity low.
Freezer storage: To freeze unfrosted cupcakes, cool completely, then wrap individually in plastic wrap and place in a freezer-safe bag for up to 3 months. For frosted cupcakes, flash-freeze on a tray until firm, then transfer to a container to preserve frosting shape.
Thawing: Thaw frozen unfrosted cupcakes at room temperature for 60–90 minutes. For frosted cupcakes, thaw in the refrigerator for 1–2 hours to prevent condensation on the frosting.
Reheating: Warm unfrosted cupcakes for 6–8 seconds in the microwave to refresh crumb before frosting. Avoid microwaving frosted cupcakes; instead let them reach room temperature to avoid softening the frosting too much.
Best containers: Use rigid, shallow bakery boxes or airtight containers with height to protect mint stems. Avoid stacking more than one layer.
Variations & Substitutions for Garden Plant Cupcakes
Mint Garden Cupcakes: Swap chocolate frosting for a mint buttercream and garnish with crushed Andes mints. This emphasizes the herbal note and creates a brighter, slightly peppermint-forward profile.
Flower Bed Cupcakes: Replace mint stems with edible fondant flowers or piped buttercream blooms. The result is a decorative, child-friendly version without fresh herbs, ideal for allergy-sensitive guests.
Vanilla ‘Soil’ Contrast: Use a chocolate cupcake but white vanilla frosting under the crumbs for a classic contrast. This highlights the soil texture visually and softens the overall sweetness.
Gluten-Free Garden Cupcakes: Use a gluten-free chocolate cake mix and GF breadcrumbs for the ‘soil’. Texture will be slightly different—use a mix with xanthan gum for stability and consider a slightly coarser crumb for realism.
Frequently Asked Questions About Garden Plant Cupcakes
Q: Can I make Garden Plant Cupcakes without fresh mint?
A: Yes. Substitute with other herb stems like rosemary for sturdiness or edible flower stems for a decorative touch. Note the flavor will change; rosemary is more resinous and pairs differently with chocolate than mint does.
Q: How do I keep mint from wilting on the cupcake?
A: Use the freshest stems possible, trim at an angle, and insert just before serving. If you need to prepare ahead, store stems in a glass of water in the refrigerator and dry them before placing into cupcakes to prevent condensation.
Q: Will the cupcake crumbs stay crunchy on the frosting?
A: Crumbs will stay textured for several hours but absorb moisture over time. For maximum crunch, add crumbs within an hour of serving and store any leftover crumb-topped cupcakes in the fridge in a single layer.
Q: Can I make these cupcakes for a large event?
A: Absolutely. Bake in batches and cool completely. Pipe frosting and crumble ‘soil’ assembly can be an assembly line. Keep mint stems refrigerated and insert them on-site to maintain freshness.
Q: Are there vegan options for Garden Plant Cupcakes?
A: Use a vegan chocolate cake mix or a recipe substituting flax eggs or commercial egg replacer, nondairy milk, and vegetable oil. Choose a vegan frosting and verify that the mint is untreated. Texture may be slightly different; add a tablespoon of applesauce for moisture if needed.

Final Thoughts on Garden Plant Cupcakes
These Garden Plant Cupcakes are an easy way to elevate simple chocolate cupcakes into a memorable dessert that photographs beautifully. Try the Earth Day tutorial for creative presentation ideas with this style at garden plant cupcakes Earth Day tutorial.
If you want a carrot-themed spin or inspiration for vegetable-garden styling, see a playful variation at carrot garden cupcake variation. For help troubleshooting floral buttercream shapes and why some piped flowers behave oddly, this guide can be insightful: cupcake zinnia troubleshooting.
Please leave a star rating in the recipe card below and pin this to Pinterest if you enjoyed the idea.
Garden Plant Cupcakes
Ingredients
Method
- Mix the cake batter according to the box or recipe. Beat until smooth and free of lumps.
- Fill liners and bake cupcakes as directed until a toothpick comes out clean. Start checking at the lower end of the time range.
- Cool completely on a wire rack for at least 30 minutes.
- Pipe frosting on each cupcake, building a small mound to hold the crumbled 'soil'.
- Crumble extra cupcakes into fine to medium crumbs and sprinkle on top of frosted cupcakes.
- Insert a fresh mint stem into the center of each cupcake for decoration.