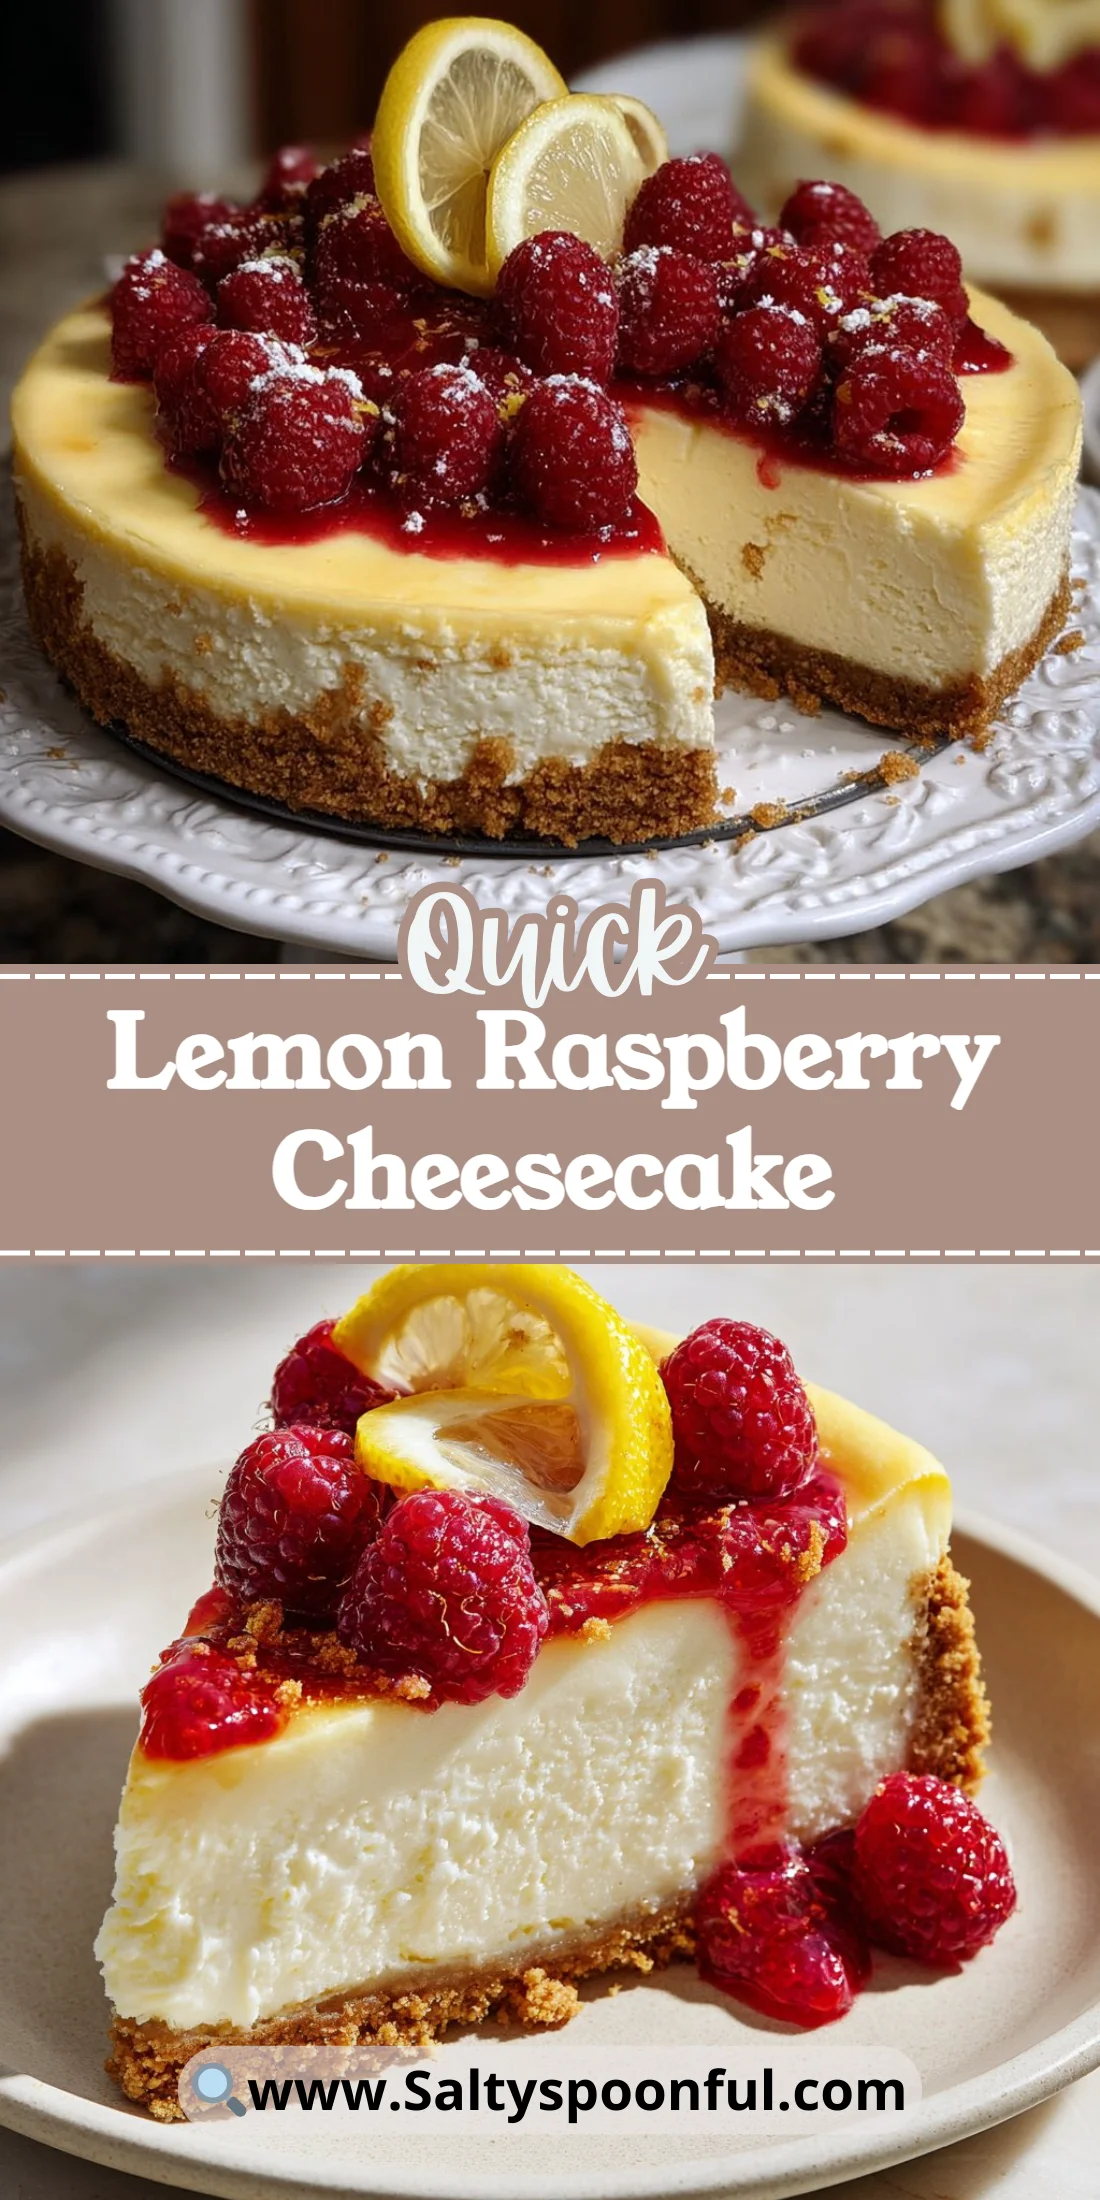
Bright, tangy lemon meets sweet raspberry in a cheesecake that feels both classic and celebratory.
This Lemon Raspberry Cheesecake is the sort of dessert that brightens holidays and elevates weeknight dinners alike.
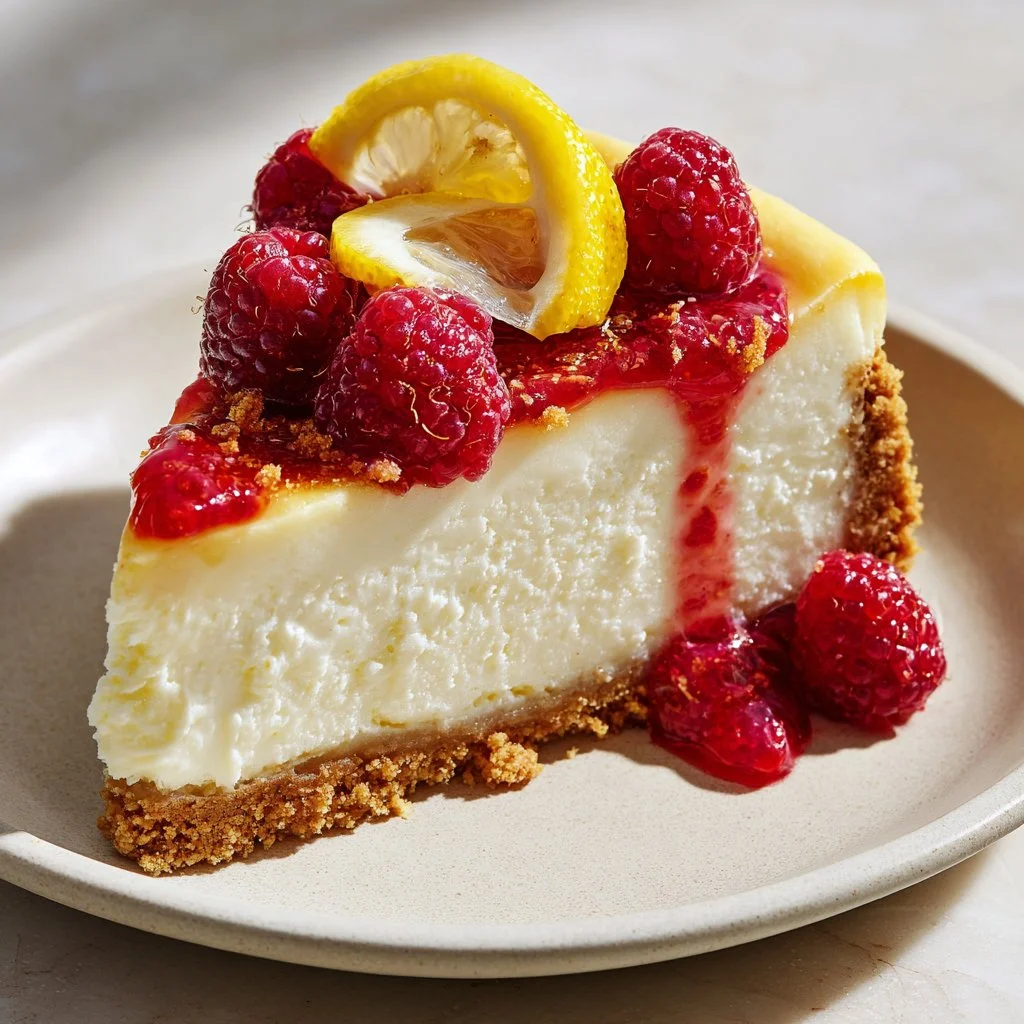
It’s creamy, smooth, and finished with a ribbon of vibrant fruit — and you can make it at home with pantry-friendly tools.
If you enjoy lemon-berry combinations, check out this chilled refresher for more inspiration: Blue Raspberry Lemonade.
Why You’ll Love This Lemon Raspberry Cheesecake
- Bright lemon flavor balanced with sweet raspberries.
- Silky, dense cheesecake with a tender graham crust.
- A showstopping swirl effect without complicated piping.
- Make-ahead friendly — improves after a night in the fridge.
- Uses simple, widely available ingredients.
- Easy to adapt for seasonality or dietary tweaks.
The taste is a perfect balance: lemon brings a clean, citrus bite that cuts through the rich, creamy tang of the cream cheese, while the raspberry puree adds a fruity lift and color contrast. Texture-wise it’s dense and velvety, with a buttery crumb crust that gives a pleasant contrast to the smooth filling.
"Five stars — festive, creamy, and perfectly tart. The raspberry swirl makes it look like I spent hours decorating. Guests couldn’t stop eating it." — A happy reader
Key Ingredients for Lemon Raspberry Cheesecake
Cream cheese — This is the backbone of the filling. Use full-fat, block-style cream cheese for the smoothest texture and best tang. If you substitute with a low-fat spread the filling can become watery and less stable, so expect a looser set. When shopping, avoid whipped tubs — they contain extra air and water.
Graham cracker crumbs — The crumbs form the structural base for the crust and add to the buttery mouthfeel. Buy pre-crushed crumbs for convenience or pulse whole crackers in a food processor for fresher flavor. If you swap for digestive biscuits or Oreo crumbs, adjust sugar and butter to account for sweetness and moisture.
Fresh lemon juice & zest — Fresh lemon is non-negotiable for bright, clean flavor and acidity that balances the rich cheese. Bottled lemon juice lacks the aromatic oils in the zest and will mute the citrus quality. If you must substitute, use freshly squeezed lime for a different but delicious profile, keeping the quantity identical.
Raspberry puree — Puree provides color, aroma, and natural sweetness while remaining fluid enough to swirl without sinking. Use frozen thawed raspberries if fresh aren’t available; pass through a sieve for smoothness. Replacing with jam will add more sugar and a denser swirl that won’t disperse as evenly.
Full Ingredient List for Lemon Raspberry Cheesecake
- 1 1/2 cups graham cracker crumbs
- 1/2 cup unsalted butter, melted
- 1 cup granulated sugar
- 4 packages (8 ounces each) cream cheese, softened
- 1 teaspoon vanilla extract
- 4 large eggs
- 1 tablespoon lemon zest
- 1/4 cup fresh lemon juice
- 1 cup raspberry puree
- Fresh raspberries and lemon slices for garnish
Step-by-Step Instructions for Lemon Raspberry Cheesecake
Step 1: Preheat oven and prepare the springform pan
Preheat your oven to 325°F (160°C) and lightly grease a 9-inch springform pan. Line the bottom with parchment for easier release and wrap the outside base with foil if you’ll use a water bath.
Pro Tip: The pan should look evenly greased with parchment visible under the crust after pressing.
Step 2: Make and press the graham crust
In a medium bowl, stir graham cracker crumbs and melted butter until the mixture holds together when squeezed. Press the mixture firmly and evenly into the bottom of the prepared pan to form a compact crust. Chill the crust briefly while you make the filling to help it set.
Pro Tip: The crust should feel firm and slightly glossy from the butter when pressed.
Step 3: Beat the cream cheese and sugar until smooth
Beat cream cheese and granulated sugar in a large mixing bowl until smooth and free of lumps. Scrape the bowl sides and mix briefly to ensure a uniform texture before adding flavorings. Use a stand mixer or handheld mixer on medium speed for best results.
Pro Tip: The batter should be silky and lump-free, not grainy — visible streaks should disappear.
Step 4: Add flavorings and eggs
Add vanilla extract, lemon zest, and lemon juice to the cream cheese mixture and mix until combined. Add eggs one at a time, mixing on low speed and stopping as soon as each egg is incorporated to prevent over-aeration. Overmixing introduces air that can crack the top during baking.
Pro Tip: The batter should flow slowly off the spatula — glossy but not frothy.
Step 5: Layer batter and raspberry puree
Pour half the cheesecake batter into the crust, then dot dollops of raspberry puree across the surface. Pour the remaining batter on top and use a knife to gently swirl the puree into the top layer, creating a marbled effect. Don’t over-swirl; the look comes from distinct ribbons of color.
Pro Tip: The swirl should show defined red ribbons against pale filling, not a single blended color.
Step 6: Bake until set but slightly jiggly
Bake for 55–65 minutes, or until the edges are set and the center still jiggles slightly when you gently shake the pan. The residual heat will finish setting the middle as it cools. Use a thermometer if unsure — the center should reach around 150–155°F (65–68°C).
Pro Tip: The edge should be matte and firm; the center will wobble like gelatin.
Step 7: Cool slowly in the oven
Turn off the oven and leave the cheesecake inside with the door slightly open for about an hour. Slow cooling reduces temperature shock and helps prevent top cracks. After an hour, transfer to a wire rack and let come to room temperature before chilling.
Pro Tip: You should see the top firm up and any tiny cracks minimal after the slow cool.
Step 8: Chill thoroughly to set
Refrigerate the cheesecake for at least 4 hours, ideally overnight, for full set and best flavor development. Cover loosely with plastic wrap to prevent condensation drips on the top. Overnight chilling yields a denser, more sliceable cheesecake.
Pro Tip: The center should be fully set and cool to the touch after chilling.
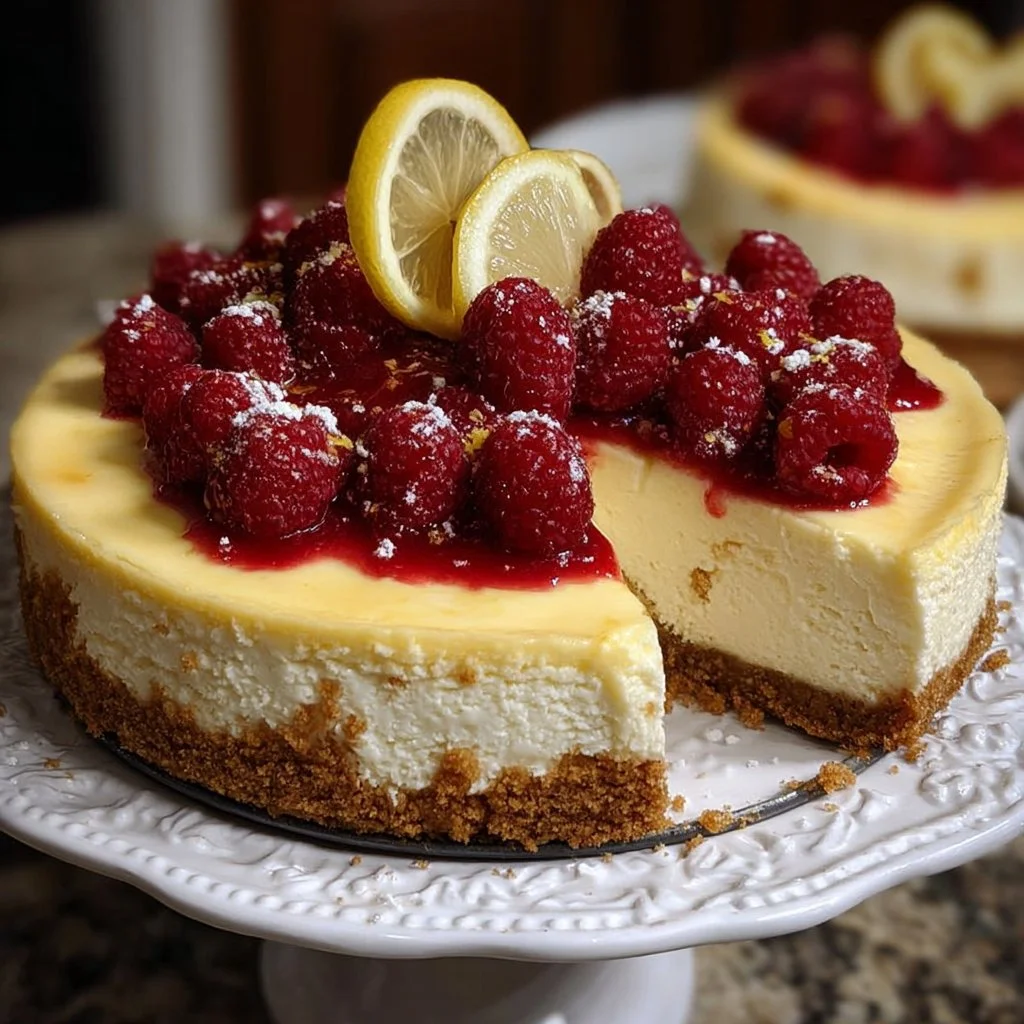
Step 9: Release, garnish, and serve
Before serving, run a thin knife around the edge of the pan to loosen the cake, release the springform, and transfer to a serving plate. Garnish with fresh raspberries and lemon slices for contrast and brightness. Slice with a hot, clean knife for neat pieces.
Pro Tip: Each slice should hold its shape with a clean cut and a visible swirl pattern.
Need a tangy lemon bake for breakfast or brunch? Try this complementary lemon-blueberry recipe to expand your citrus-berry repertoire: Lemon Blueberry Breakfast Bake.
Expert Tips for Lemon Raspberry Cheesecake
- Chill your cream cheese blocks overnight in the fridge; room-temperature softening should follow to avoid lumps.
- Use low mixing speeds once eggs are added to minimize air; too much air = cracks.
- Bake at 325°F (160°C) — a steady, moderate temperature reduces splitting and over-browning.
- Consider a water bath (wrap pan in foil) if your oven runs hot or you want the silkiest top.
- Let the cheesecake cool gradually in the oven to reduce cracks and promote even texture.
- For smoother raspberry puree, pass through a fine-mesh sieve to remove seeds.
- Use an offset spatula to spread batter and check the crust thickness; thin crusts bake faster and may over-brown.
- Common mistake: adding eggs too quickly. Add one at a time and mix just until combined to preserve density.
For an easy no-bake take on berry swirls, see this recipe for a quick chilled dessert: No-Bake Lucky Charms Cheesecake.
Storage & Freezing for Lemon Raspberry Cheesecake
Fridge storage: Store in an airtight container or cover the cake plate tightly with plastic wrap. Keeps well for up to 5 days in the refrigerator while maintaining best texture and flavor. Avoid storing near strong-smelling foods to prevent aromatic transfer.
Freezer storage: To freeze, flash-freeze individual slices on a tray for 1–2 hours, then wrap each slice in plastic wrap and place in a freezer-safe container or bag. Properly wrapped, cheesecake slices freeze for up to 3 months.
Thawing: Thaw slices in the refrigerator overnight for best texture. For quicker service, leave wrapped slices at room temperature 30–60 minutes, but avoid long exposure to warm air to prevent condensation on the surface.
Reheating: Cheesecake is best served cold or at room temperature. If you prefer a slightly warmer slice, let refrigerated portions sit at room temperature 20–30 minutes before serving — avoid microwaving, which can ruin texture.
Variations & Substitutions for Lemon Raspberry Cheesecake
Raspberry swirl with cream cheese frosting: Increase raspberry puree and reserve 1/2 cup to heat into a glossy coulis for drizzling. The extra puree intensifies fruit flavor and creates a brighter topping.
Lemon shortbread crust: Replace graham crumbs with finely crushed shortbread cookies and reduce sugar by 1–2 tablespoons. You’ll get a richer, more buttery base with a delicate crumb and slightly sweeter undernote.
No-bake lemon-raspberry version: Omit baking by using gelatin or melted white chocolate to stabilize a chilled filling, then chill until firm. This produces a softer, mousse-like texture and is ideal when avoiding the oven — see a similar chilled idea here: No-Bake Orange Creamsicle Cheesecake.
Gluten-free adaptation: Use gluten-free graham-style crumbs or almond flour mixed with a bit more melted butter for binding. Expect a slightly denser crust with nuttier notes and adjust butter to achieve the same compact feel.
Frequently Asked Questions About Lemon Raspberry Cheesecake
Q: Can I make the raspberry puree ahead of time?
A: Yes. Prepare the raspberry puree up to 3 days ahead and store in an airtight jar in the refrigerator. Keep it covered to prevent oxidation and stir before using. If seeds bother you, pass through a sieve when making it.
Q: Why did my cheesecake crack, and how can I prevent it?
A: Cracks are usually caused by overmixing (too much air), rapid temperature change, or overbaking. Mix on low after adding eggs, cool slowly in the oven with the door ajar, and remove when the center still slightly jiggles. A water bath and gradual cooling greatly reduce cracking.
Q: How do I get a perfect swirl without losing the marble effect?
A: Dollop the puree across the first layer of batter, then add the second layer and make a few gentle swirls with a knife. Avoid plunging the knife deeply or over-swishing. The goal is defined ribbons of puree, not full incorporation.
Q: Can I use frozen raspberries for the puree, and do I need to adjust sugar?
A: Yes — frozen raspberries work well. Thaw fully and strain to remove seeds. Taste and adjust sugar; frozen berries can be more tart or watery, so simmering briefly to concentrate flavor can help if needed.
Q: How should I slice this cheesecake for neat pieces?
A: Use a thin, sharp knife warmed under hot water and wiped dry between slices. Slice in straight, decisive strokes rather than sawing, and wipe the blade between cuts to keep edges clean.
Final Thoughts on Lemon Raspberry Cheesecake — Conclusion
This Lemon Raspberry Cheesecake is a bright, elegant dessert that rewards patience and attention to texture. Please leave a star rating in the recipe card below and pin this to Pinterest for later.
For inspiration on similar lemon-berry swirl cheesecakes, see this bright version with swirl details: Lemon Raspberry Swirl Cheesecake – Life Love and Sugar.
If you want a recipe focused on creamy lemon with a vibrant raspberry ripple, explore this classic take: Creamy, Tangy Lemon Cheesecake with a Vibrant Raspberry Ripple.
For a chilled, no-bake option that echoes the flavor pairing, this tutorial offers useful technique tips: Lemon Raspberry Cheesecake, No-Bake Recipe | Baker Bettie.
Lemon Raspberry Cheesecake
Ingredients
Method
- Preheat your oven to 325°F (160°C) and lightly grease a 9-inch springform pan. Line the bottom with parchment for easier release.
- In a medium bowl, stir graham cracker crumbs and melted butter until the mixture holds together. Press firmly into the bottom of the prepared pan to form a compact crust.
- In a large mixing bowl, beat cream cheese and sugar until smooth and free of lumps.
- Add vanilla extract, lemon zest, and lemon juice to the cream cheese mixture and mix until combined. Add eggs one at a time on low speed.
- Pour half the cheesecake batter into the crust, then dot with raspberry puree. Pour remaining batter on top and swirl gently.
- Bake for 55–65 minutes, until edges are set and the center jiggles slightly when shaken.
- Turn off the oven and leave the cheesecake inside with the door slightly open for about an hour.
- Refrigerate for at least 4 hours or overnight before serving. Garnish with fresh raspberries and lemon slices.