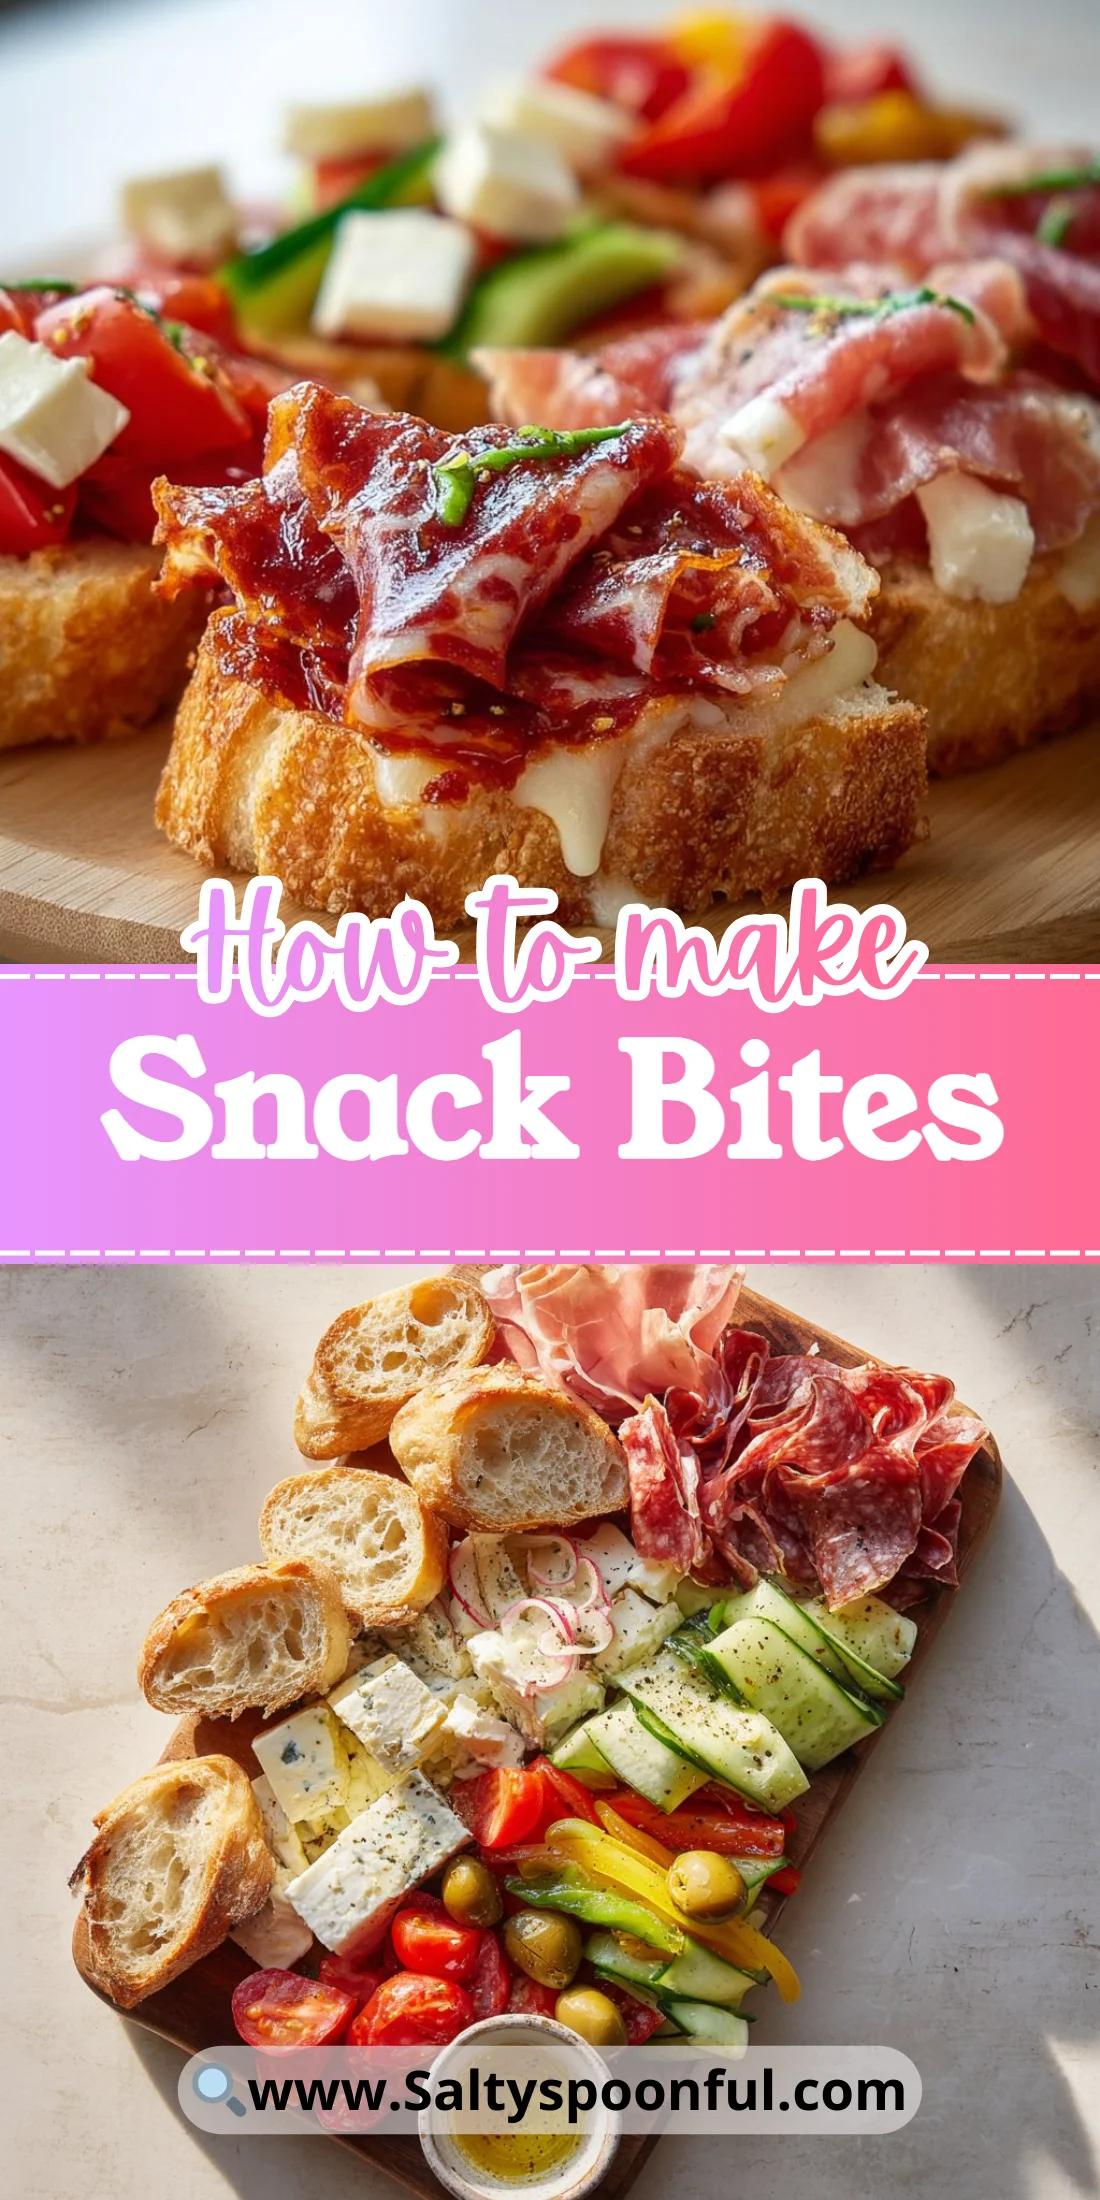
Bright, crunchy, and endlessly customizable — Snack Bites are the easiest way to turn a few high-quality ingredients into an irresistible party nibble.
They’re perfect for last-minute guests, picnic boxes, or a speedy weeknight appetizer. No oven expertise required.
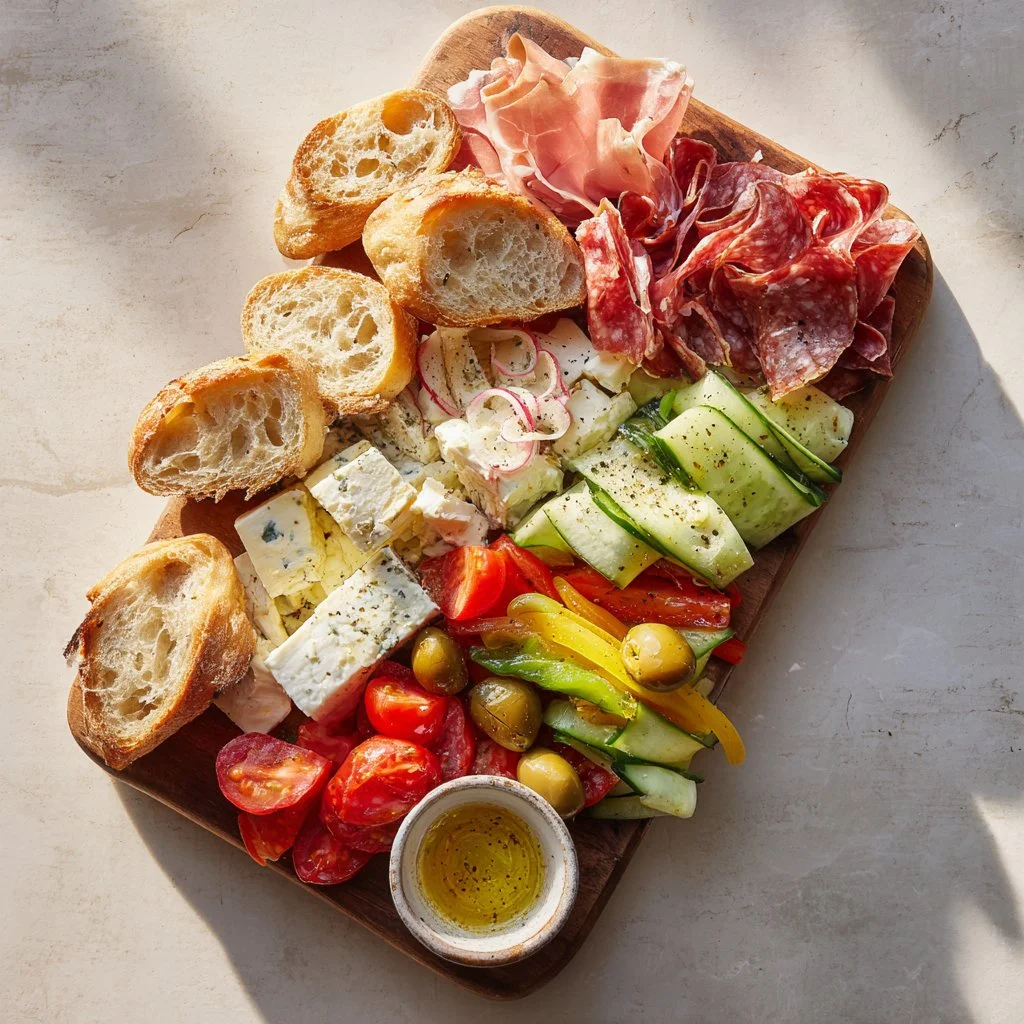
In under 10 minutes you can layer bold cured meats, tangy cheeses, and fresh veggies on toasted crusty bread and be ready to serve.
Why You’ll Love This Snack Bites
– Ready in minutes for busy hosts and weekday snackers.
– Minimal cleanup — mostly assembly, no complicated baking.
– High flavor impact from a few premium ingredients.
– Visually beautiful bites that perform well on socials and boards.
– Flexible: adapts to dietary needs and what’s in your fridge.
– Crowd-pleasing crunch plus savory, creamy, and bright contrasts.
These Snack Bites hit three satisfying contrasts: crunchy bread, fatty cured meat, and creamy or tangy cheese with a bright vegetable note on top. Each bite is a compact mouthful where texture and salt balance meet fresh acidity, so one piece feels like a complete mini-meal.
“Five stars — made these for a neighborhood get-together and they disappeared first. So quick to assemble and everyone loved the mix of spicy chorizo and tangy goat cheese.” — Maria R.
Key Ingredients for Snack Bites
Cured meats (e.g., chorizo, jamón) for Snack Bites
Cured meats bring concentrated savory and umami notes that make each bite feel festive. Buy thinly sliced pieces from a reputable deli counter or pre-sliced vacuum packs; look for even marbling and a glossy surface which signals proper curing. If you substitute with cooked deli lunch meats you’ll lose the depth and mouth-coating fat that makes these bites luxurious.
Cheeses (e.g., Manchego, goat cheese) for Snack Bites
Cheese supplies creaminess and a counterpoint to salty meat. Choose a firm sheep’s cheese like Manchego for texture or a soft goat cheese for tang; both pair well with crusty bread. If you swap with pre-shredded supermarket cheese, expect less flavor and a different mouthfeel — freshly sliced or crumbled cheese preserves texture and freshness.
Crusty bread or baguette, sliced into bite-sized pieces for Snack Bites
The bread is your crunchy foundation; a day-old baguette or sourdough adds extra crunch after toasting. Buy a loaf with an open crumb and thick crust so slices hold toppings without getting soggy. Substituting with crackers will change the experience — it’s crisper but less substantial and won’t soak up olive oil in the same satisfying way.
Fresh veggies (e.g., tomatoes, cucumbers, peppers) for Snack Bites
Fresh vegetables add brightness and crunch while cutting through fat. Choose ripe, firm tomatoes, cucumbers with a thin skin, and crisp peppers for color contrast. If you substitute with pickled vegetables, you’ll gain acidity but lose the crisp, fresh texture that lifts each bite.
Full Ingredient List for Snack Bites
– Cured meats (e.g., chorizo, jamón), thinly sliced
– Cheeses (e.g., Manchego, goat cheese), sliced or crumbled
– Fresh veggies (e.g., tomatoes, cucumbers, peppers), thinly sliced or diced
– Crusty bread or baguette, sliced into bite-sized pieces
– Olive oil, for drizzling
– Salt and freshly cracked black pepper, to taste
Step-by-Step Instructions for Snack Bites
Step 1: Slice the crusty bread or baguette into bite-sized pieces and toast if desired.
Use a serrated knife to cut uniform 1/2- to 3/4-inch slices so each bite is one tidy serving. If you prefer an extra-crisp base, toast slices for 3–5 minutes under a broiler or in a 375°F (190°C) oven until edges are golden. Pro Tip: The bread should feel firm and slightly warm, with golden edges and a dry surface that’ll resist sogginess.
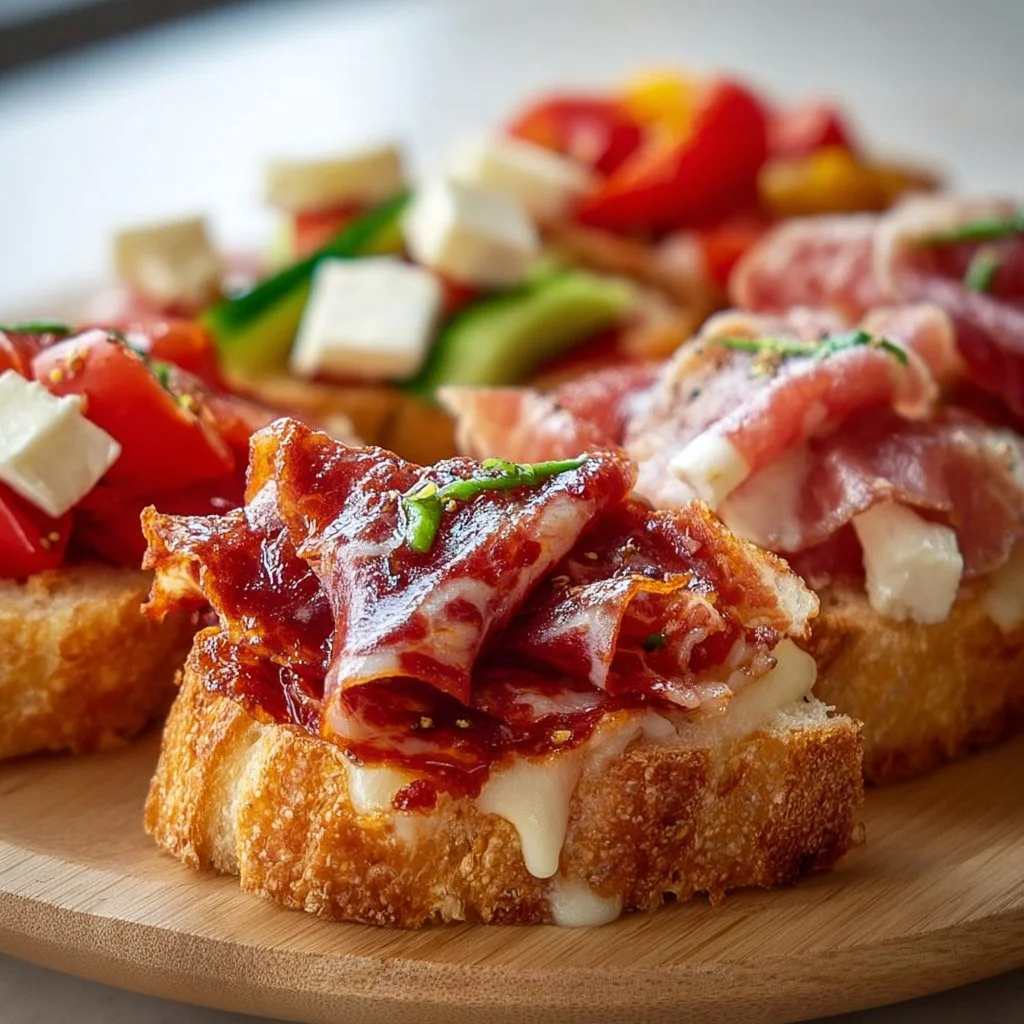
Step 2: Layer cured meats and cheeses on top of the bread.
Fold or drape thin slices of cured meat over the bread and add either a slice of firm cheese or a spoonful of crumbled soft cheese. Keep the layering light — one or two thin meat slices and a modest cheese portion preserves balance. Pro Tip: Look for a visual of glossy cured meat and a neat cheese mound; the cheese shouldn’t overwhelm the meat.
Step 3: Add fresh veggies to each bite.
Top each meat-and-cheese base with a small dice or slice of your chosen vegetables. A quarter cherry tomato, thin cucumber round, or sliver of pepper adds freshness and color. Pro Tip: The veggies should look bright and hydrated, not watery — they should pop visually and snap when pressed.
Step 4: Drizzle with olive oil and season with salt and pepper.
Finish with a light drizzle of high-quality extra-virgin olive oil and a pinch of flaky sea salt and freshly cracked black pepper. Keep the oil minimal to avoid sogginess; a teaspoon per 6–8 bites is usually enough. Pro Tip: Visual cue — a slight sheen from the oil and a few visible crystals of salt on top; you should smell a bright olive aroma without oil pooling.
Step 5: Serve immediately for best crunch or cover loosely if prepping ahead.
Serve at once for optimal texture. If you must prep in advance, assemble bread with meat and cheese, then cover loosely and add veggies and oil 15 minutes before serving. Pro Tip: When ready to serve, the bites should still have crisp edges and a fresh vegetable pop; if the base is soft, re-crisp briefly in a warm oven.
Expert Tips for Snack Bites
– Temperature tip: Serve components at slightly below room temperature; cold cheese can be chalky, while slightly warmed cured meat releases aroma.
– Texture troubleshooting: If bread goes soggy, toast it longer or assemble right before serving.
– Equipment tip: A serrated knife and a small offset spatula make assembly cleaner and faster.
– Common mistake: Overloading each bite — large piles collapse and compete with the crunch.
– Salt balance: Taste cheeses first — some aged cheeses are already very salty, so adjust added salt sparingly.
– Visual plating tip: Alternate colors when arranging on the board to make bites pop in photos.
– Make-ahead tip: Keep produce and oil separate until the last 10–15 minutes to preserve crispness.
– Pairing tip: Offer a small jar of honey, mustard, or a pepper jam so guests can personalize sweetness and heat.
Storage & Freezing for Snack Bites
Fridge storage: Fully assembled Snack Bites are best consumed within 4–6 hours if left at room temperature for serving. If storing in the fridge, place components separately: bread in a paper bag (to keep a bit of crust), meats and cheeses in an airtight container, and veggies in a breathable container with a paper towel to absorb moisture. Consume within 2–3 days when meat and cheese are stored properly.
Freezer storage: Assembled Snack Bites do not freeze well due to texture changes. However, you can freeze components: cured meats freeze well for up to 1 month in vacuum-sealed bags, and firm cheeses up to 2 months wrapped tightly in plastic and foil. Bread can be frozen for up to 1 month; thaw at room temperature and toast to revive crispness.
Thawing and reheating: Thaw frozen meats overnight in the fridge and unwrap to prevent condensation. For bread, re-toast or warm briefly at 350°F (175°C) for 5–7 minutes to restore crunch. Avoid microwaving assembled bites; the microwave destroys texture and makes veggies limp.
Variations & Substitutions for Snack Bites
Mediterranean Snack Bites: Swap Manchego for feta, add a sliver of roasted red pepper, and finish with a drizzle of balsamic glaze. This creates a tangy, slightly sweet bite with Mediterranean aromatics.
Vegetarian Snack Bites: Omit cured meat and add roasted or marinated mushrooms and a smear of ricotta or soft goat cheese. The mushrooms add umami while ricotta keeps each bite creamy and satisfying.
Spicy Chorizo & Avocado Snack Bites: Use spicy chorizo, thin avocado slices, and a squeeze of lime over the top. The fat from avocado mellows chorizo’s heat and introduces a silky texture that contrasts with the crusty bread.
Seafood Twist Snack Bites: Replace cured meat with a small spoonful of chilled crab salad or smoked salmon and top with dill and cucumber. The seafood variation offers a lighter, briny flavor profile that pairs beautifully with lemony olive oil.
Frequently Asked Questions About Snack Bites
Question: How long do Snack Bites stay crispy after assembly?
Answer: If assembled with toasted bread and served at room temperature, Snack Bites stay crisp for about 30–60 minutes. Crispness depends on humidity and the juiciness of toppings; to maximize crunch, add delicate vegetables and dressing right before serving.
Question: Can I make Snack Bites ahead for a party?
Answer: Yes — prep components up to 24 hours ahead. Keep bread, meats, cheeses, and fresh veggies stored separately in appropriate containers; assemble within 30 minutes of serving for best texture. For large events, set up an assembly station so guests can build their own.
Question: What cheeses pair best with spicy cured meats?
Answer: Creamy and tangy cheeses like goat cheese or fresh ricotta soften the heat, while aged options like Manchego add nutty balance. The key is contrast: choose cheeses that complement fat and spice rather than compete.
Question: Are Snack Bites suitable for kids?
Answer: Absolutely. For children, choose milder cured meats (like plain jamón) and simple cheeses such as young Manchego or mild cheddar. Keep slices small and avoid strongly flavored condiments; swap in fruit for veggies if preferred.
Question: How do I adapt Snack Bites for gluten-free diets?
Answer: Use toasted gluten-free baguette slices or sturdy gluten-free crackers as the base. Ensure all toppings — especially cured meats and condiments — are labeled gluten-free to avoid cross-contamination.
Final Thoughts on Snack Bites
Snack Bites are a fast, elegant snack that rewards good ingredients and simple technique. They’re perfect for entertaining, adaptable to many diets, and excellent for social sharing.
Please leave a star rating in the recipe card below and pin this to Pinterest if you loved it.
Conclusion: Snack Bites
For a protein-forward, bold-flavored option you can compare ideas with, see the Korean Barbecue Pork Snack Bites product page for inspiration on bold cured meat flavors.
If you want a sweet-savory kid-friendly riff, check the classic PB&J Snack Bites recipe for assembly ideas and portioning.
To explore seafood-based ready snacks that can inspire a briny variation, see the Louis Kemp Crabjoy Snack Bites product page.
For long-form thoughts on food culture and small-batch snack trends, read the On The Frontier Substack newsletter.
If you’re curious about frozen dessert or novelty-brand Snack Bites, browse the NadaMoo! Snack Bites collection for creative product ideas and pairing inspiration.
Snack Bites
Ingredients
Method
- Slice the crusty bread or baguette into bite-sized pieces and toast if desired.
- Layer cured meats and cheeses on top of the bread.
- Add fresh veggies to each bite.
- Drizzle with olive oil and season with salt and pepper.
- Serve immediately for best crunch or cover loosely if prepping ahead.