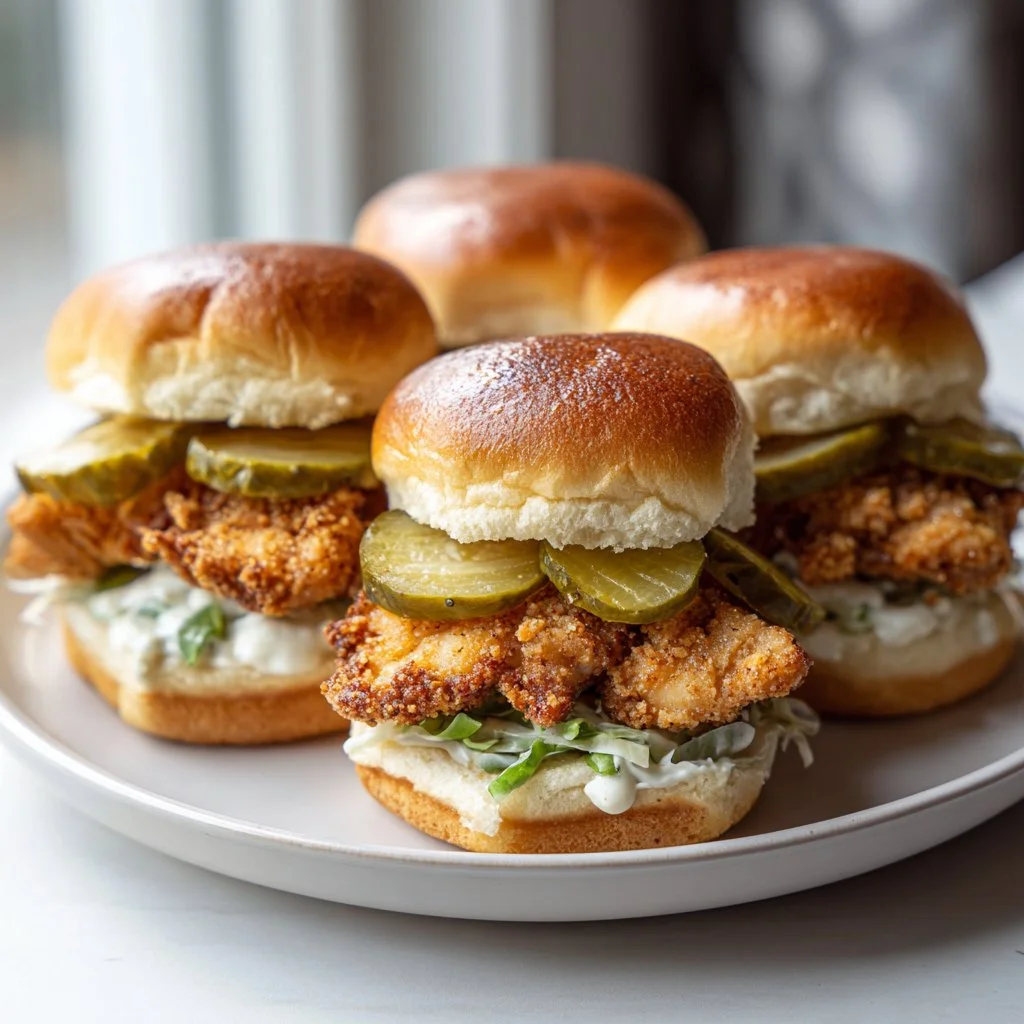
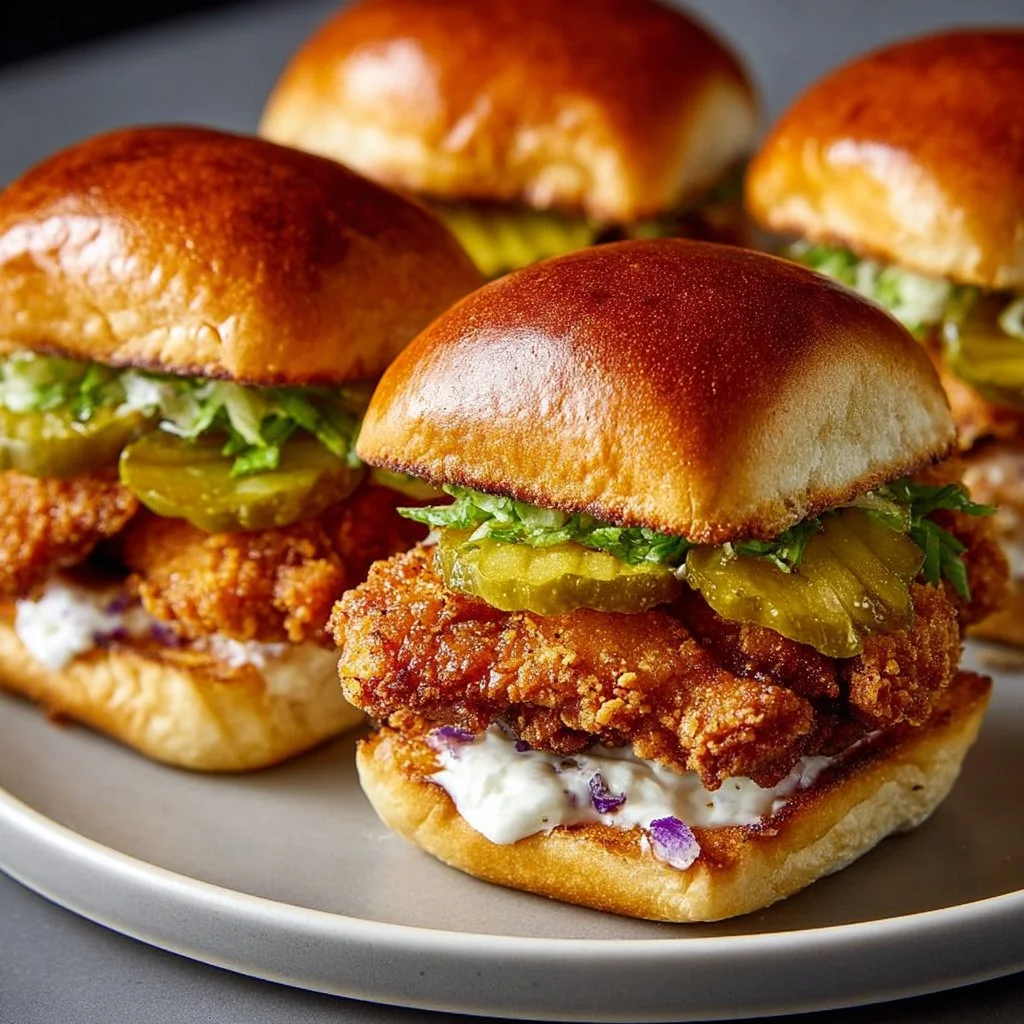
Bright, tangy, and impossibly crunchy — these sliders turn a simple weeknight meal into something worth bookmarking. The secret is everyday pickle brine, which brims with acid and flavor and keeps the chicken juicy.
They’re easy to scale for parties, quick to fry, and addictive hot from the pan. Try one bite and you’ll understand why they disappear fast.
If you like bold contrasts — salty, tangy, crisp, and soft — these sliders are for you. Serve with simple condiments or go full diner-style.
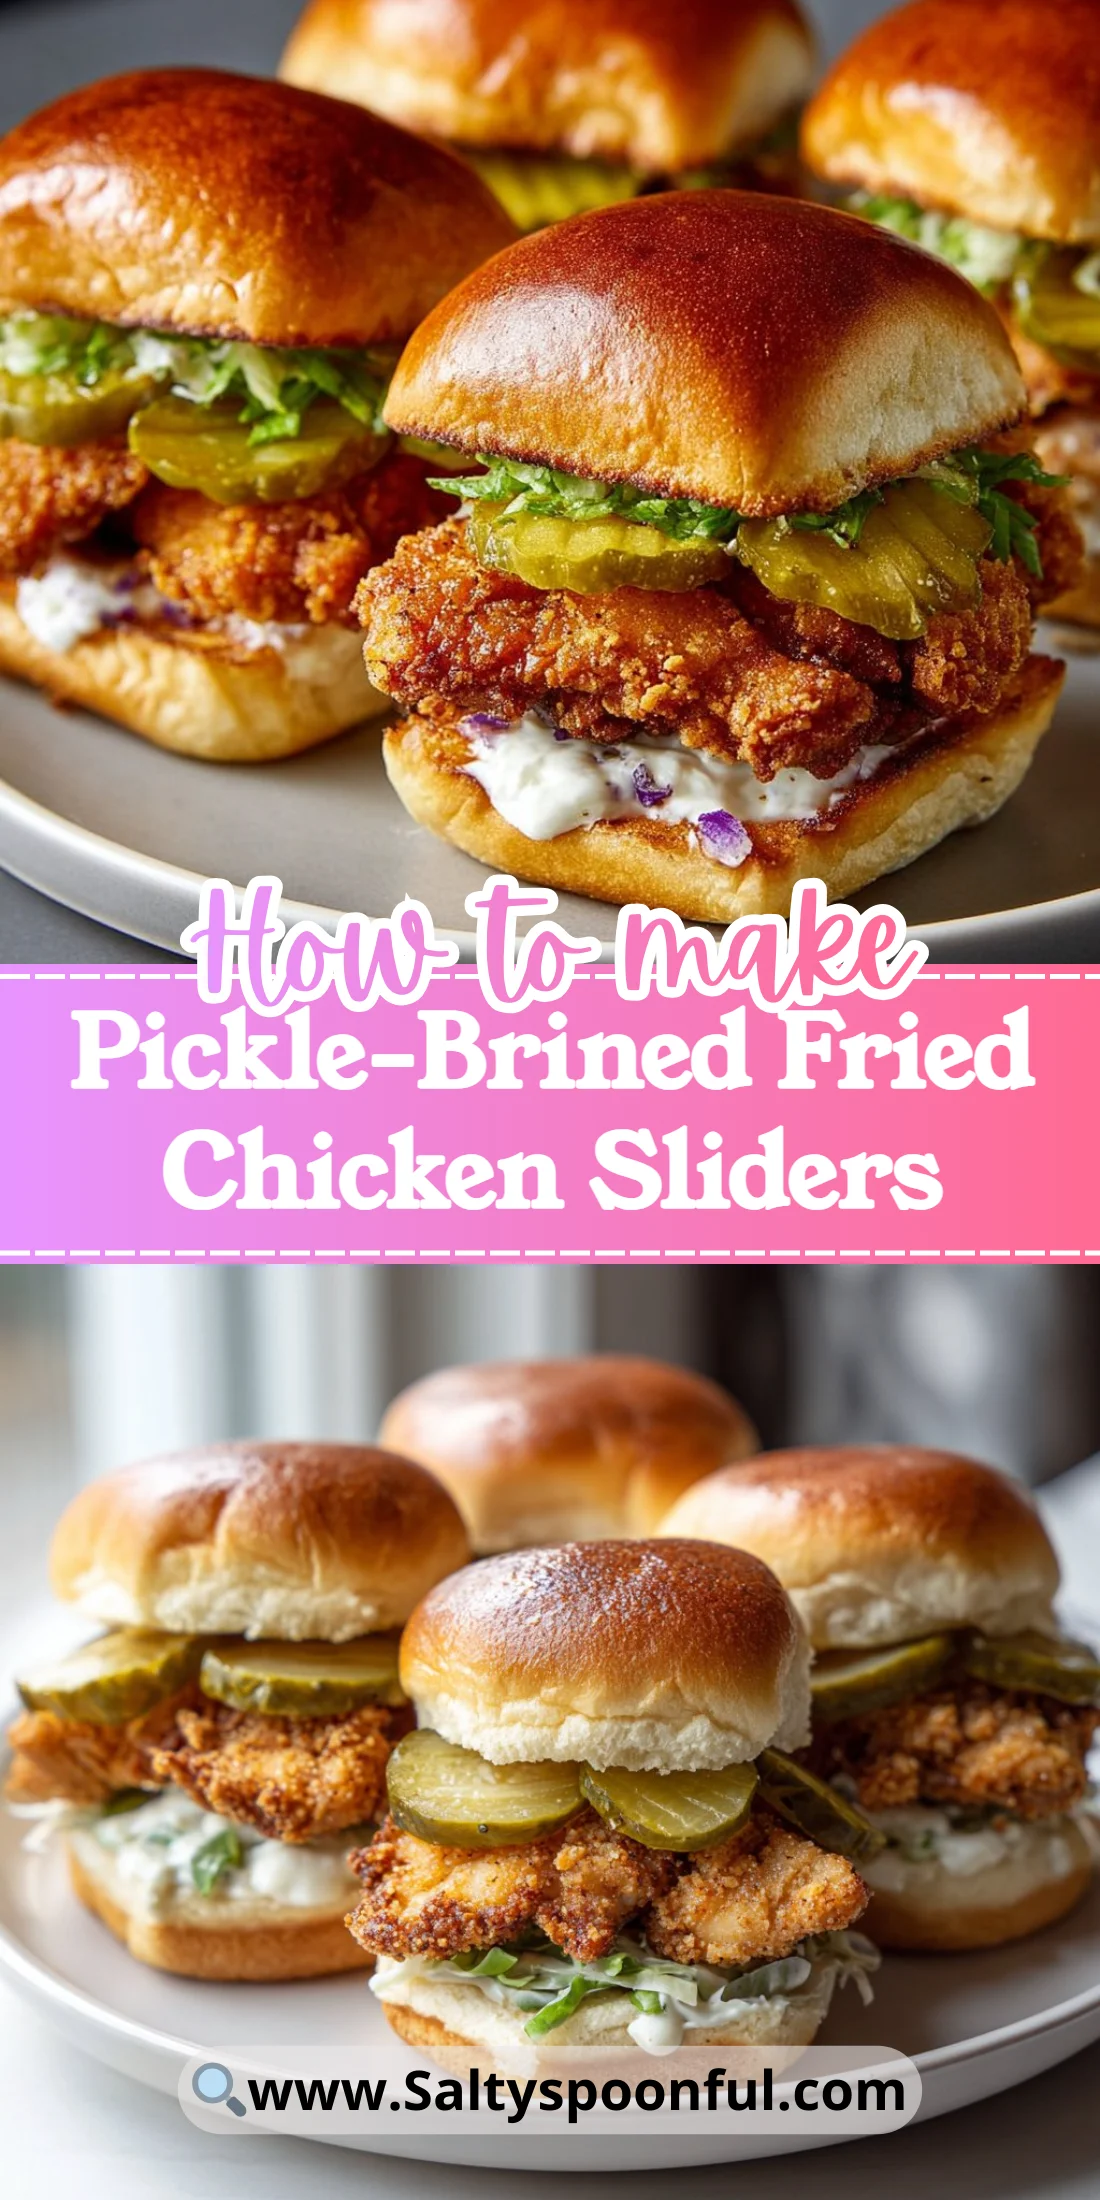
Why You’ll Love This Pickle-Brined Fried Chicken Sliders
- Bright, tangy flavor from pickle brine that cuts through the fried crust.
- Juicy chicken breasts that stay tender from an acidic brine.
- Extra-crispy exterior thanks to a flour + cornstarch dredge and panko crumbs.
- Fast to make and easy to scale for a crowd or weeknight dinner.
- Great make-ahead brine step for flexible timing.
- Perfect slider size for parties, kids, or sampling multiple toppings.
The contrast is the star: the tang of the pickle brine sinks into the meat while the breadcrumb crust snaps with each bite. You’ll get a buttery soft bun, crunch, and a salty-tangy chicken center that feels both comforting and exciting.
"These Pickle-Brined Fried Chicken Sliders were the hit of our game night — crunchy outside, juicy inside, and that brine? Genius. Five stars!" — A very satisfied reader
Key Ingredients for Pickle-Brined Fried Chicken Sliders
Chicken breasts
Chicken breasts are lean and cook quickly, which makes them ideal for sliders. Choose boneless, skinless cuts about 4–6 ounces each so they fit slider buns; pound lightly for even cooking. If you substitute thighs, expect a richer flavor and a slightly longer cook time.
Pickle brine (from jarred pickles)
The brine provides acid and salt to tenderize and flavor the meat without extra fuss. Use the brine from a good-quality dill or garlic pickle jar for best results. If you swap for plain vinegar, you’ll get acidity but miss the layered pickle flavor.
All-purpose flour (with cornstarch)
All-purpose flour creates the base of the dredge while cornstarch adds brittle crunch. Mixing them gives a light, crisp crust that clings to the chicken. If you try only flour, the crust will be denser and less shatteringly crisp.
Bread crumbs (plain or panko)
Panko gives an airy, extra-crispy shell; plain breadcrumbs make a more uniform, tighter coating. For the crispiest texture, use panko and press it into the egg wash so it adheres. Swap for crushed crackers or cornflakes for a different crunch profile.
Full Ingredient List for Pickle-Brined Fried Chicken Sliders
- Chicken breasts
- Pickle brine (from jarred pickles)
- All-purpose flour
- Cornstarch
- Eggs
- Bread crumbs (plain or panko)
- Slider buns
- Salt
- Pepper
- Favorite condiments (mayonnaise, lettuce, pickles, etc.)
Step-by-Step Instructions for Pickle-Brined Fried Chicken Sliders
Step 1: Marinate the chicken breasts in pickle brine
Place the chicken breasts in a resealable bag or shallow dish and pour enough pickle brine to cover. Refrigerate for at least 2 hours, or for best flavor, overnight.
Pro Tip: The chicken should look pale and slightly firm from the brine; it will have a faint pickle aroma.
Step 2: Mix the dry dredge
In a bowl, whisk together all-purpose flour, cornstarch, a pinch of salt, and ground black pepper until homogenous. This dry mix creates the base texture for the crisp crust.
Pro Tip: The flour mix should be free-flowing and pale; no clumps.
Step 3: Prepare the egg wash
Beat eggs in a separate shallow bowl until smooth and slightly frothy. The egg wash is the glue that holds the breadcrumbs and creates a golden color.
Pro Tip: The eggs should be glossy and streak-free when beaten.
Step 4: Dredge, dip, and coat the chicken
Remove the chicken from the brine, letting excess drip back into the bowl. Dredge first in the flour mixture, then dip in the beaten eggs, and finally press into breadcrumbs to coat thoroughly. Set on a rack while you heat the oil.
Pro Tip: Visually, the chicken should be fully covered in breadcrumbs with no bare white spots.
Step 5: Heat oil and fry the chicken
Heat a 1/3–1/2 inch of neutral oil in a frying pan over medium-high heat until shimmering. Fry the chicken 6–7 minutes per side, adjusting heat so the exterior browns evenly without burning. Cook until internal temperature reaches 165°F (74°C).
Pro Tip: The crust should be a deep golden brown and the oil should gently bubble around the edges of the chicken.
Step 6: Drain the cooked chicken
Transfer the fried chicken to a paper towel-lined plate or rack to drain excess oil for a minute or two. Resting briefly lets the crust set and the juices redistribute.
Pro Tip: The drained surface should look dry and crisp, not greasy.
Step 7: Assemble the sliders and serve warm
Place each fried chicken piece on a slider bun and add mayonnaise, lettuce, extra pickles, or your preferred condiments. Serve immediately for best texture contrast.
Pro Tip: The finished slider should be warm with steam escaping, a crunchy crust, and a soft, pillowy bun.
Expert Tips for Pickle-Brined Fried Chicken Sliders
- Control oil temperature: keep it around 325–350°F for even browning without burning. Use a thermometer for accuracy.
- Brine time matters: 2 hours gives flavor; overnight yields deeper tang and juicier meat. Don’t exceed 24 hours or the texture can get mealy.
- Use a thin, even thickness: pound breasts to uniform thickness so each slider cooks at the same rate.
- For maximum crunch: mix cornstarch into the flour and press panko into the egg wash to build layers that shatter.
- Texture troubleshooting: if crust peels off, it likely needed more flour adhesion or the oil was too cool; increase heat slightly and press crumbs in firmly next time.
- Equipment tip: a heavy skillet (cast iron is ideal) maintains steady oil temperature better than thin pans.
- Common mistake: overcrowding the pan; fry in batches to keep oil temperature steady.
- Rest before serving: a 1–2 minute rest after frying tightens the crust and prevents sogginess from trapped steam.
Storage & Freezing for Pickle-Brined Fried Chicken Sliders
Refrigerator storage: Store cooled cooked chicken in an airtight container for up to 3–4 days. Keep buns separate to avoid sogginess. Use shallow containers to cool quickly.
Freezer storage: Flash-freeze individual fried chicken pieces on a tray until solid, then transfer to freezer bags or airtight containers for up to 2 months. Wrap in parchment then foil for best texture protection.
Thawing: Thaw overnight in the refrigerator for best texture. Avoid microwave thawing which can make the crust soggy and the meat unevenly warmed.
Reheating: Reheat in a 375°F oven on a wire rack for 8–12 minutes until internal temperature reaches 165°F and the crust is crisp. Avoid microwaves unless in a pinch; they soften the coating.
Variations & Substitutions for Pickle-Brined Fried Chicken Sliders
Spicy pickled sliders
Add 1 teaspoon cayenne or smoked paprika to the flour mix and use jalapeño slices as a topping. The result is a smoky, chile-forward slider that balances pickle tang with heat.
Air-fryer or oven-baked version
After coating, spritz the chicken lightly with oil and bake at 400°F or air-fry at 375°F for about 10–12 minutes per side until crisp and cooked through. You’ll sacrifice a touch of deep-fry flavor but gain a lighter, lower-fat finish.
Buttermilk + pickle brine hybrid brine
Swap half the brine for buttermilk to create a richer, tangy-sour profile that produces an exceptionally tender interior. The crust browns similarly but the inside will be silkier.
Gluten-free crunch
Use rice flour and gluten-free panko or crushed GF cereal in place of all-purpose flour and regular breadcrumbs. The texture will remain crisp, though slightly less airy than wheat panko.
Frequently Asked Questions About Pickle-Brined Fried Chicken Sliders
What does pickle brine do to chicken?
Pickle brine adds both salt and acid, which season the meat and break down proteins to improve tenderness. It also infuses subtle dill/garlic/gherkin flavors depending on the brine used. Brining for at least 2 hours gives noticeable flavor; overnight is best for deeper penetration.
Can I use pickle brine with chicken thighs instead of breasts?
Yes. Thighs are more forgiving and remain moist even with longer brine times. Expect slightly longer frying times and a richer flavor that pairs well with spicier coatings.
How do I keep the coating from falling off after frying?
Ensure a three-stage breading: flour mix for dry adhesion, egg wash for glue, and panko for texture; press each layer lightly. Also, avoid flipping too frequently and let the crust form before turning. Proper oil temperature helps the coating set quickly.
Is it safe to reuse frying oil after cooking these sliders?
You can reuse oil once or twice if strained and stored in the fridge, but flavor and smoke point degrade each time. Discard oil that smells off or is dark and thick. Solidify and dispose responsibly if you won’t reuse.
Can I prepare sliders ahead for a party?
You can brine chicken the day before and pre-coat pieces, keeping them on a tray covered in the fridge. Fry shortly before serving for best texture. Alternatively, fry ahead and re-crisp in a hot oven for 5–8 minutes before serving.
Final Thoughts on Pickle-Brined Fried Chicken Sliders
These Pickle-Brined Fried Chicken Sliders are a small sandwich with a big personality — tangy, juicy, and crisp. If you loved this recipe, please leave a star rating in the recipe card below and pin it to Pinterest.
For more recipe inspiration inspired by pickle-brined chicken sandwiches check out Pickle-Brined Crispy Chicken Sandwich Recipe | Little Spice Jar.
If you want a refined take from a national paper, see the Pickle-Brined Fried Chicken Sandwich Recipe – NYT Cooking.
For another home-cook perspective with tips and photos, try the Fried Chicken Sandwich (with Pickle Brine) – What’s Gaby Cooking.
For oven or air-fryer variations with crisp results, read Crispy Pickle-Brined Chicken Sandwiches (Air Fryer or Oven).
If you want a minimal-ingredient approach that still delivers, see the 5-Ingredient Fried Chicken Sandwiches Recipe – Serious Eats.
cottage cheese chicken parmesan bowl
steak and cheese sliders
steak and cheese sliders
cottage cheese chicken parmesan bowl
steak and cheese sliders
Pickle-Brined Fried Chicken Sliders
Ingredients
Method
- Place chicken breasts in a resealable bag or shallow dish and cover with pickle brine. Refrigerate for at least 2 hours or overnight for best flavor.
- In a bowl, mix all-purpose flour, cornstarch, salt, and pepper until combined.
- Beat eggs in a separate bowl until smooth and slightly frothy.
- Remove chicken from the brine, letting excess drip off. Dredge in the flour mix, dip in egg wash, and then coat with breadcrumbs. Set aside.
- Heat oil in a frying pan over medium-high heat until shimmering. Fry chicken for 6–7 minutes per side or until internal temperature reaches 165°F.
- Transfer cooked chicken to a paper towel-lined plate to drain. Assemble on slider buns with desired condiments and serve warm.